How to Generate AI Avatars in Dreamina by CapCut
If you’ve ever wanted to create AI avatars quickly and easily, Dreamina by CapCut provides a simple way to do it. In this article, I will walk you step by step through the process of generating an AI avatar inside Dreamina.
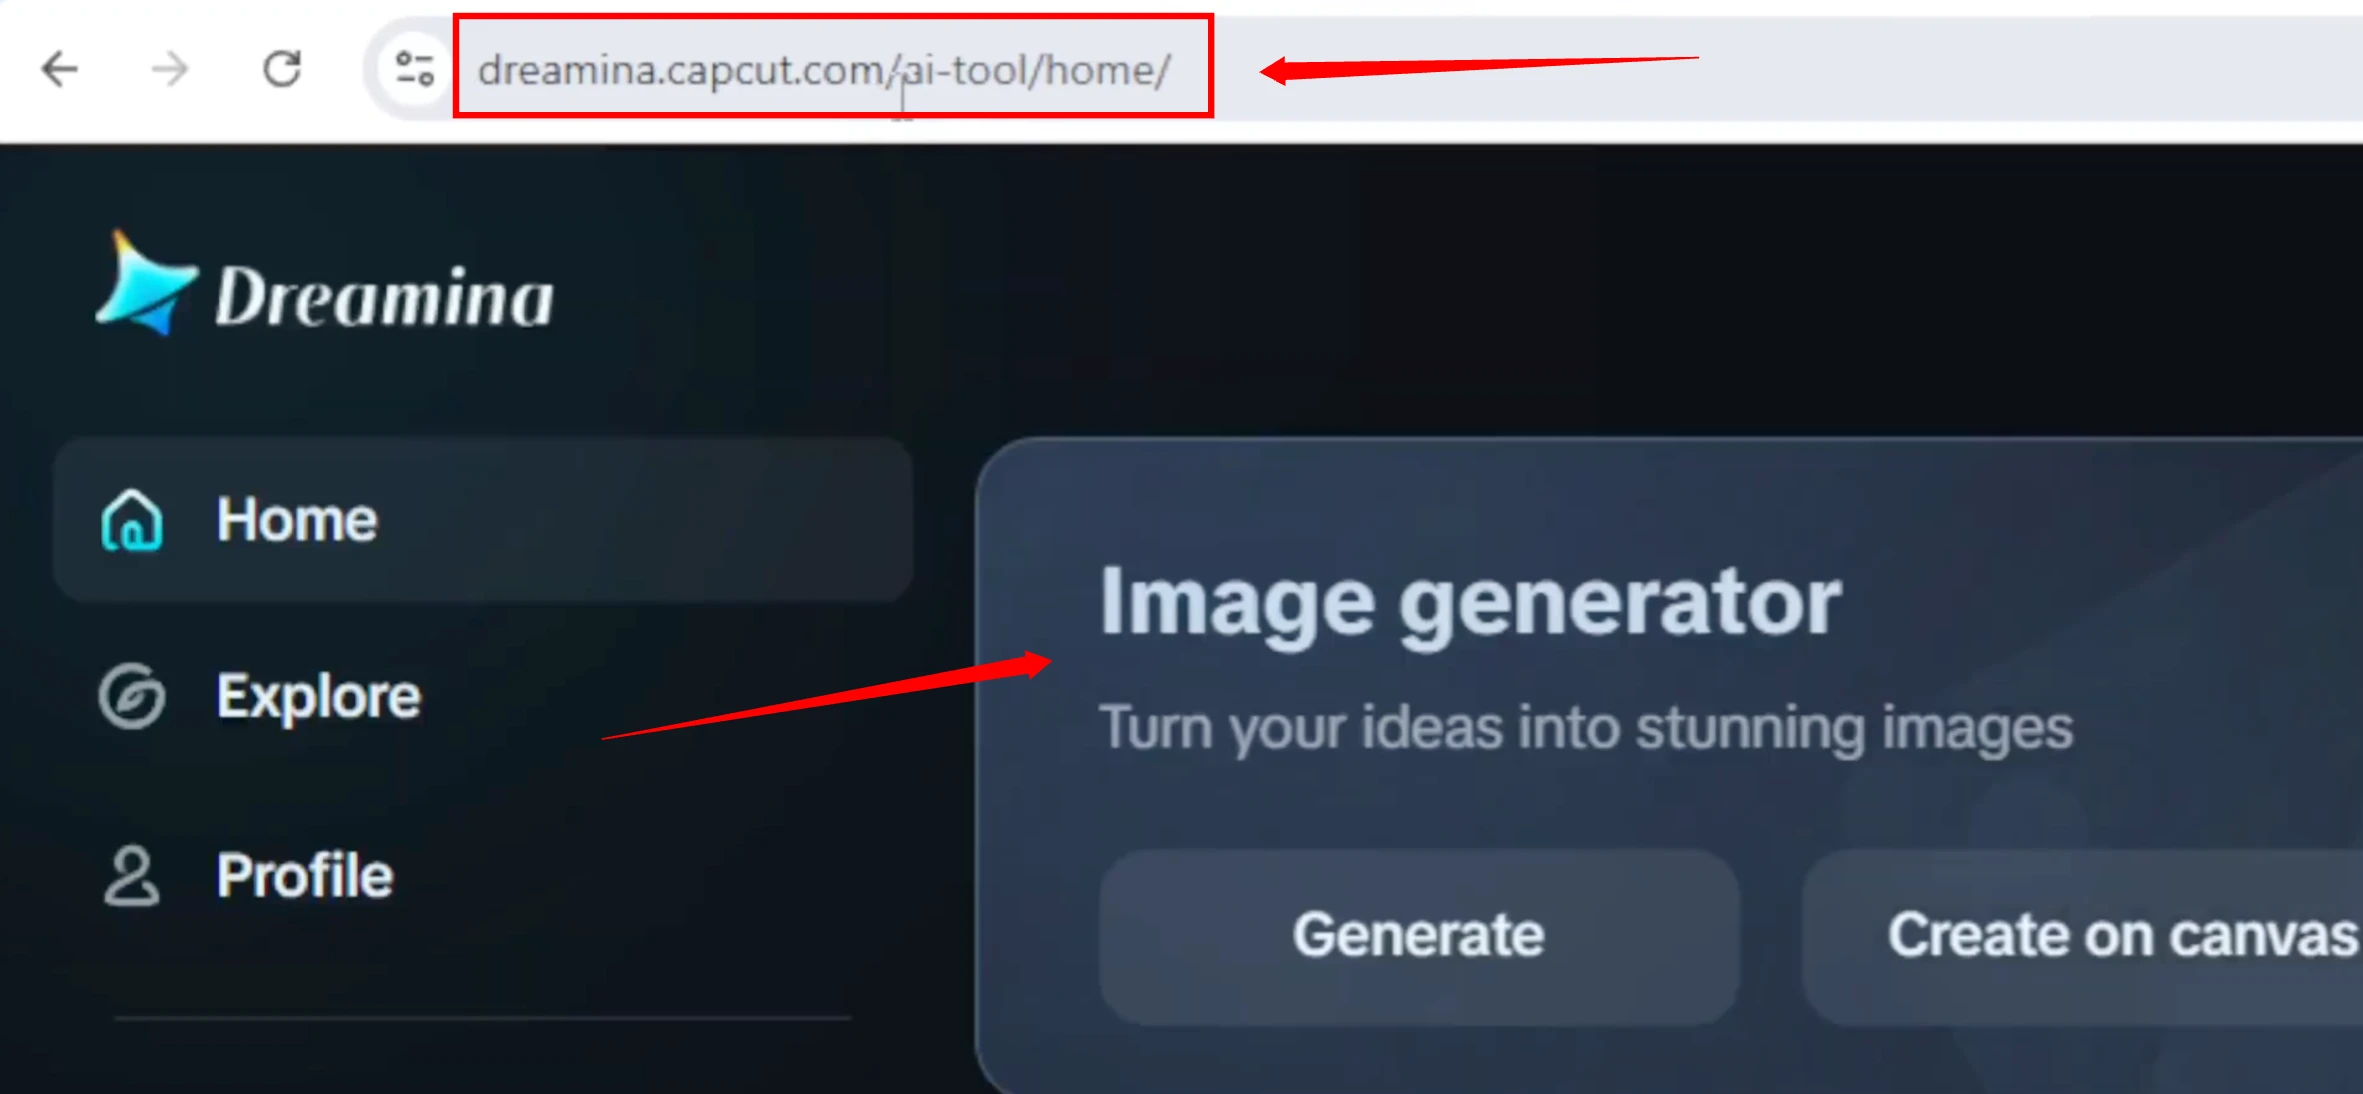
Accessing Dreamina by CapCut
The very first step is to go over to Dreamina by CapCut.
If you are not able to access it directly, you can use a VPN.
Once you are inside the platform, you’ll notice several different sections and features available to you.
For creating an avatar, the focus is on the third option, which is labeled AI Avatar.
Selecting an AI Character
When you are inside the AI Avatar section, you can start by choosing a character.
You can delete the default or previously selected character image.
If you have already generated an image in the first section of Dreamina, it will automatically appear inside the assets folder.
From there:
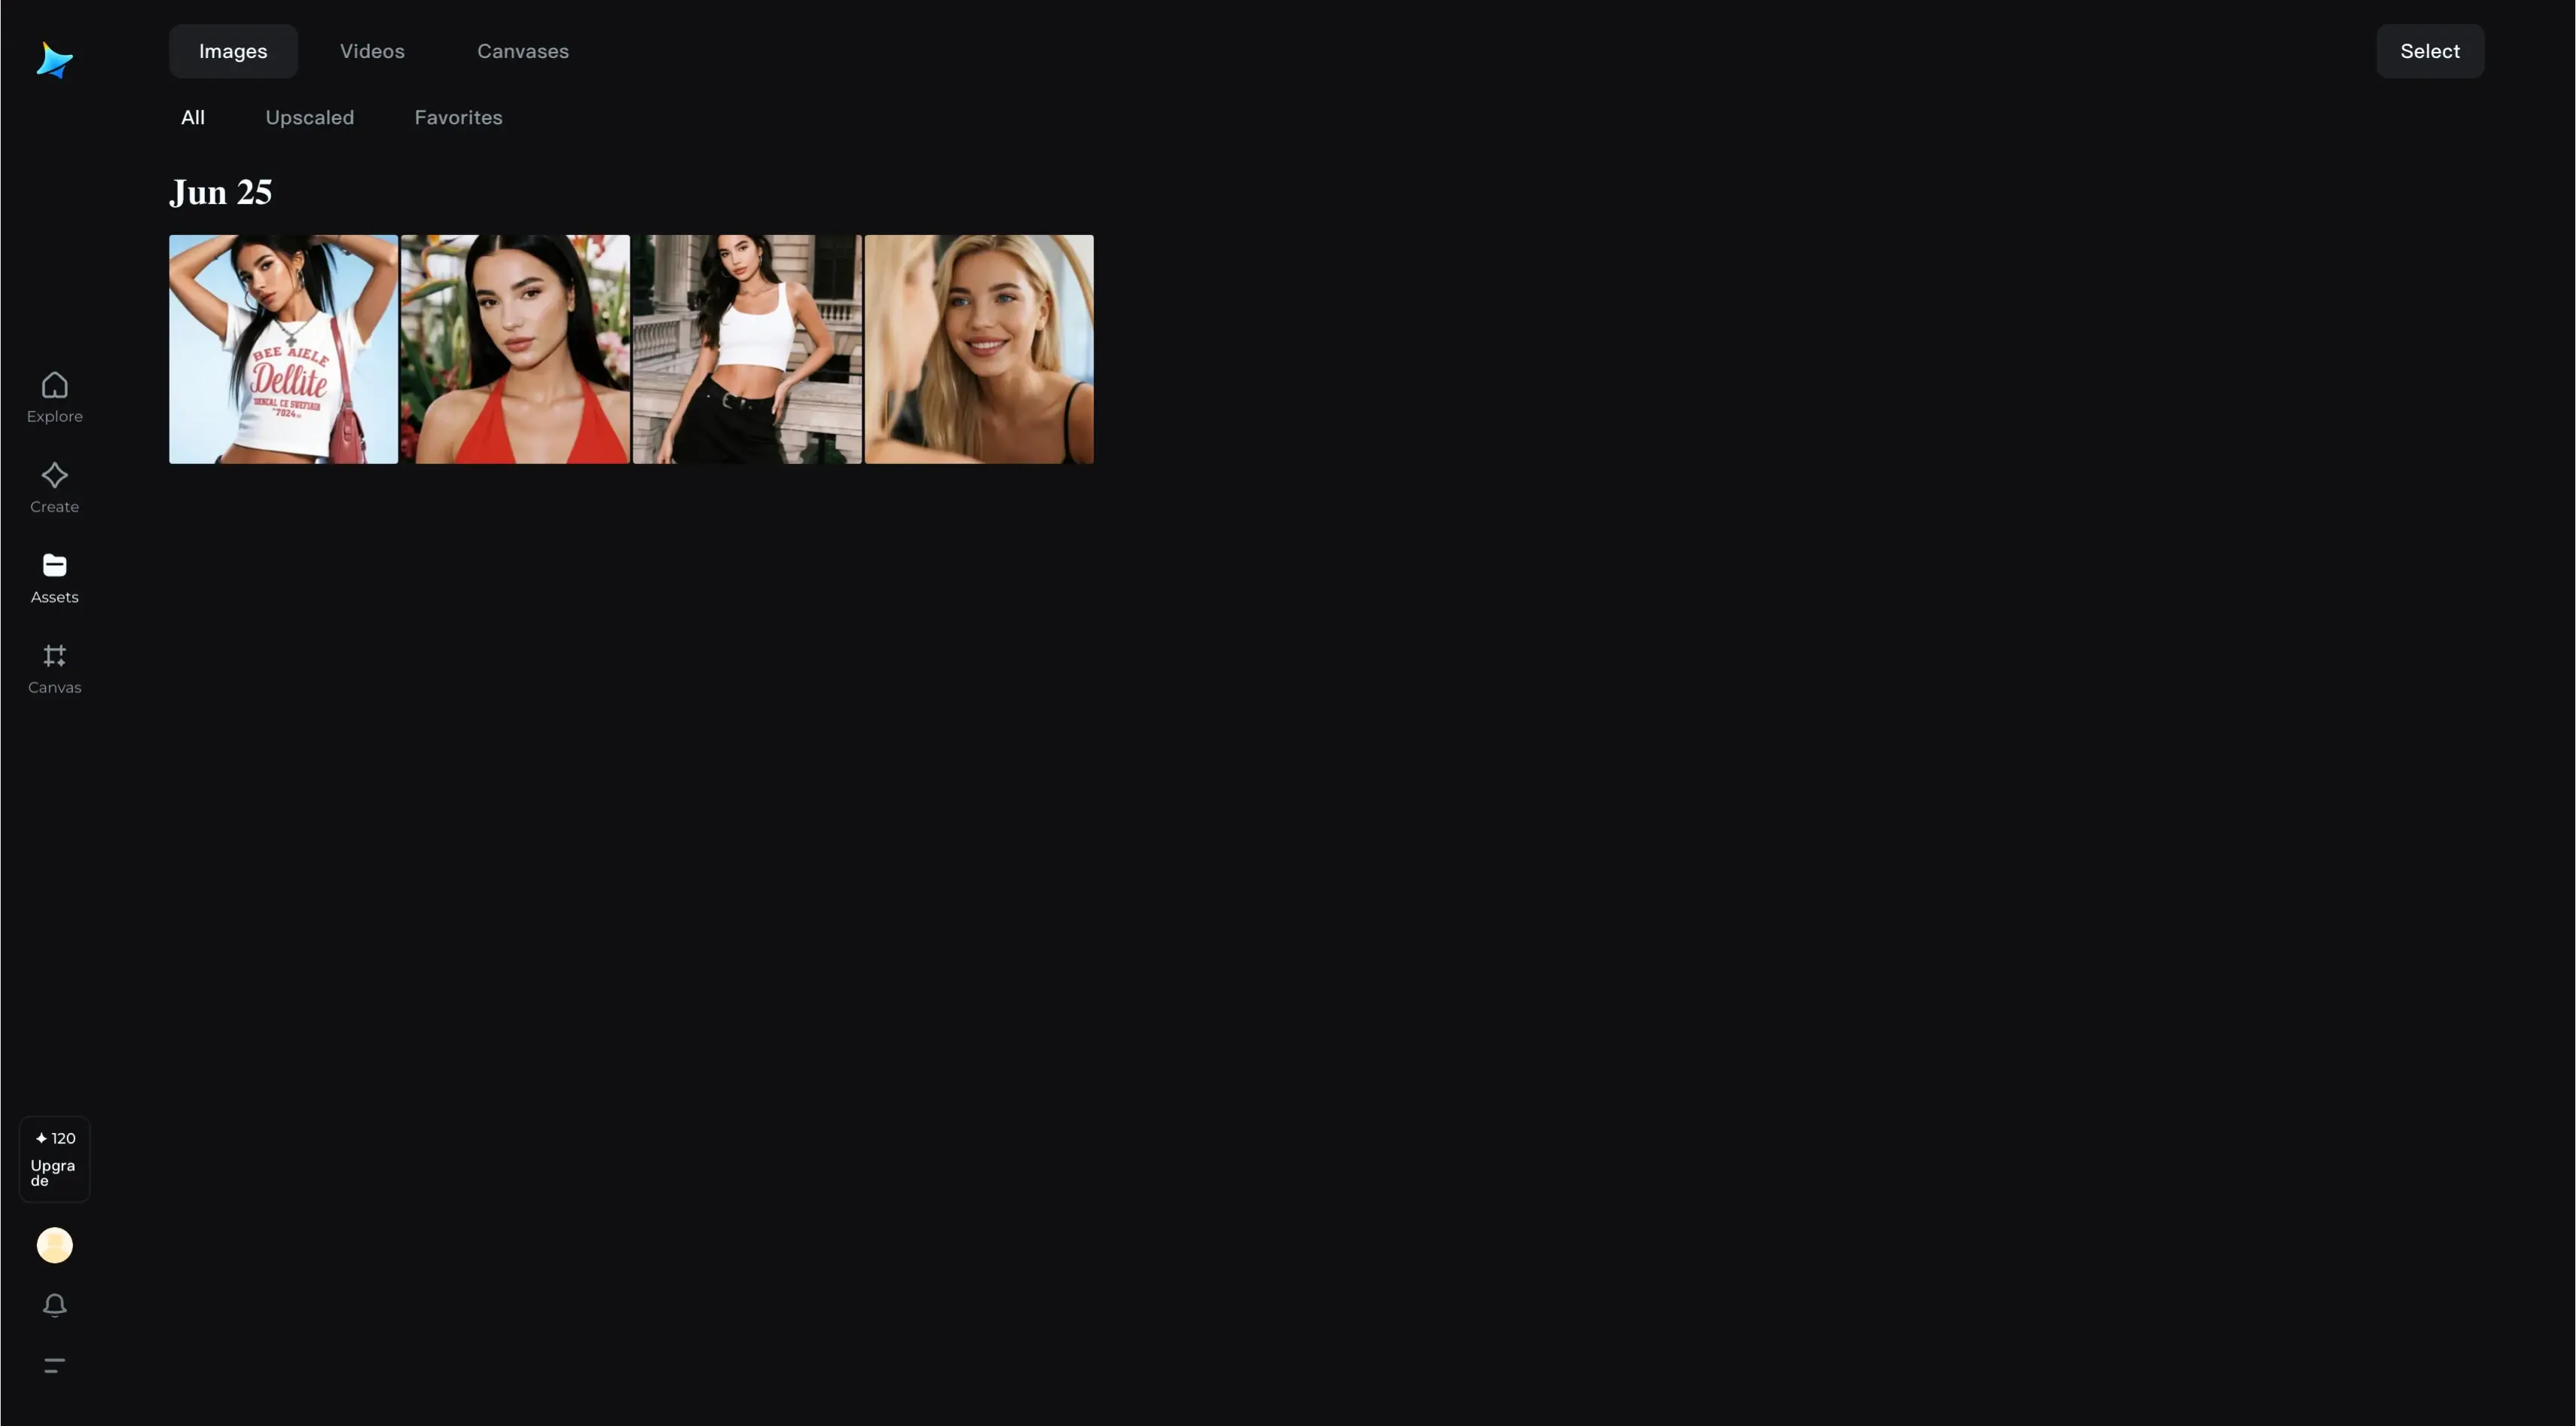
- Click Add from Assets.
- Select the image you want to use.
- Add it into your project directly.
This way, you already have a ready character image to begin with.
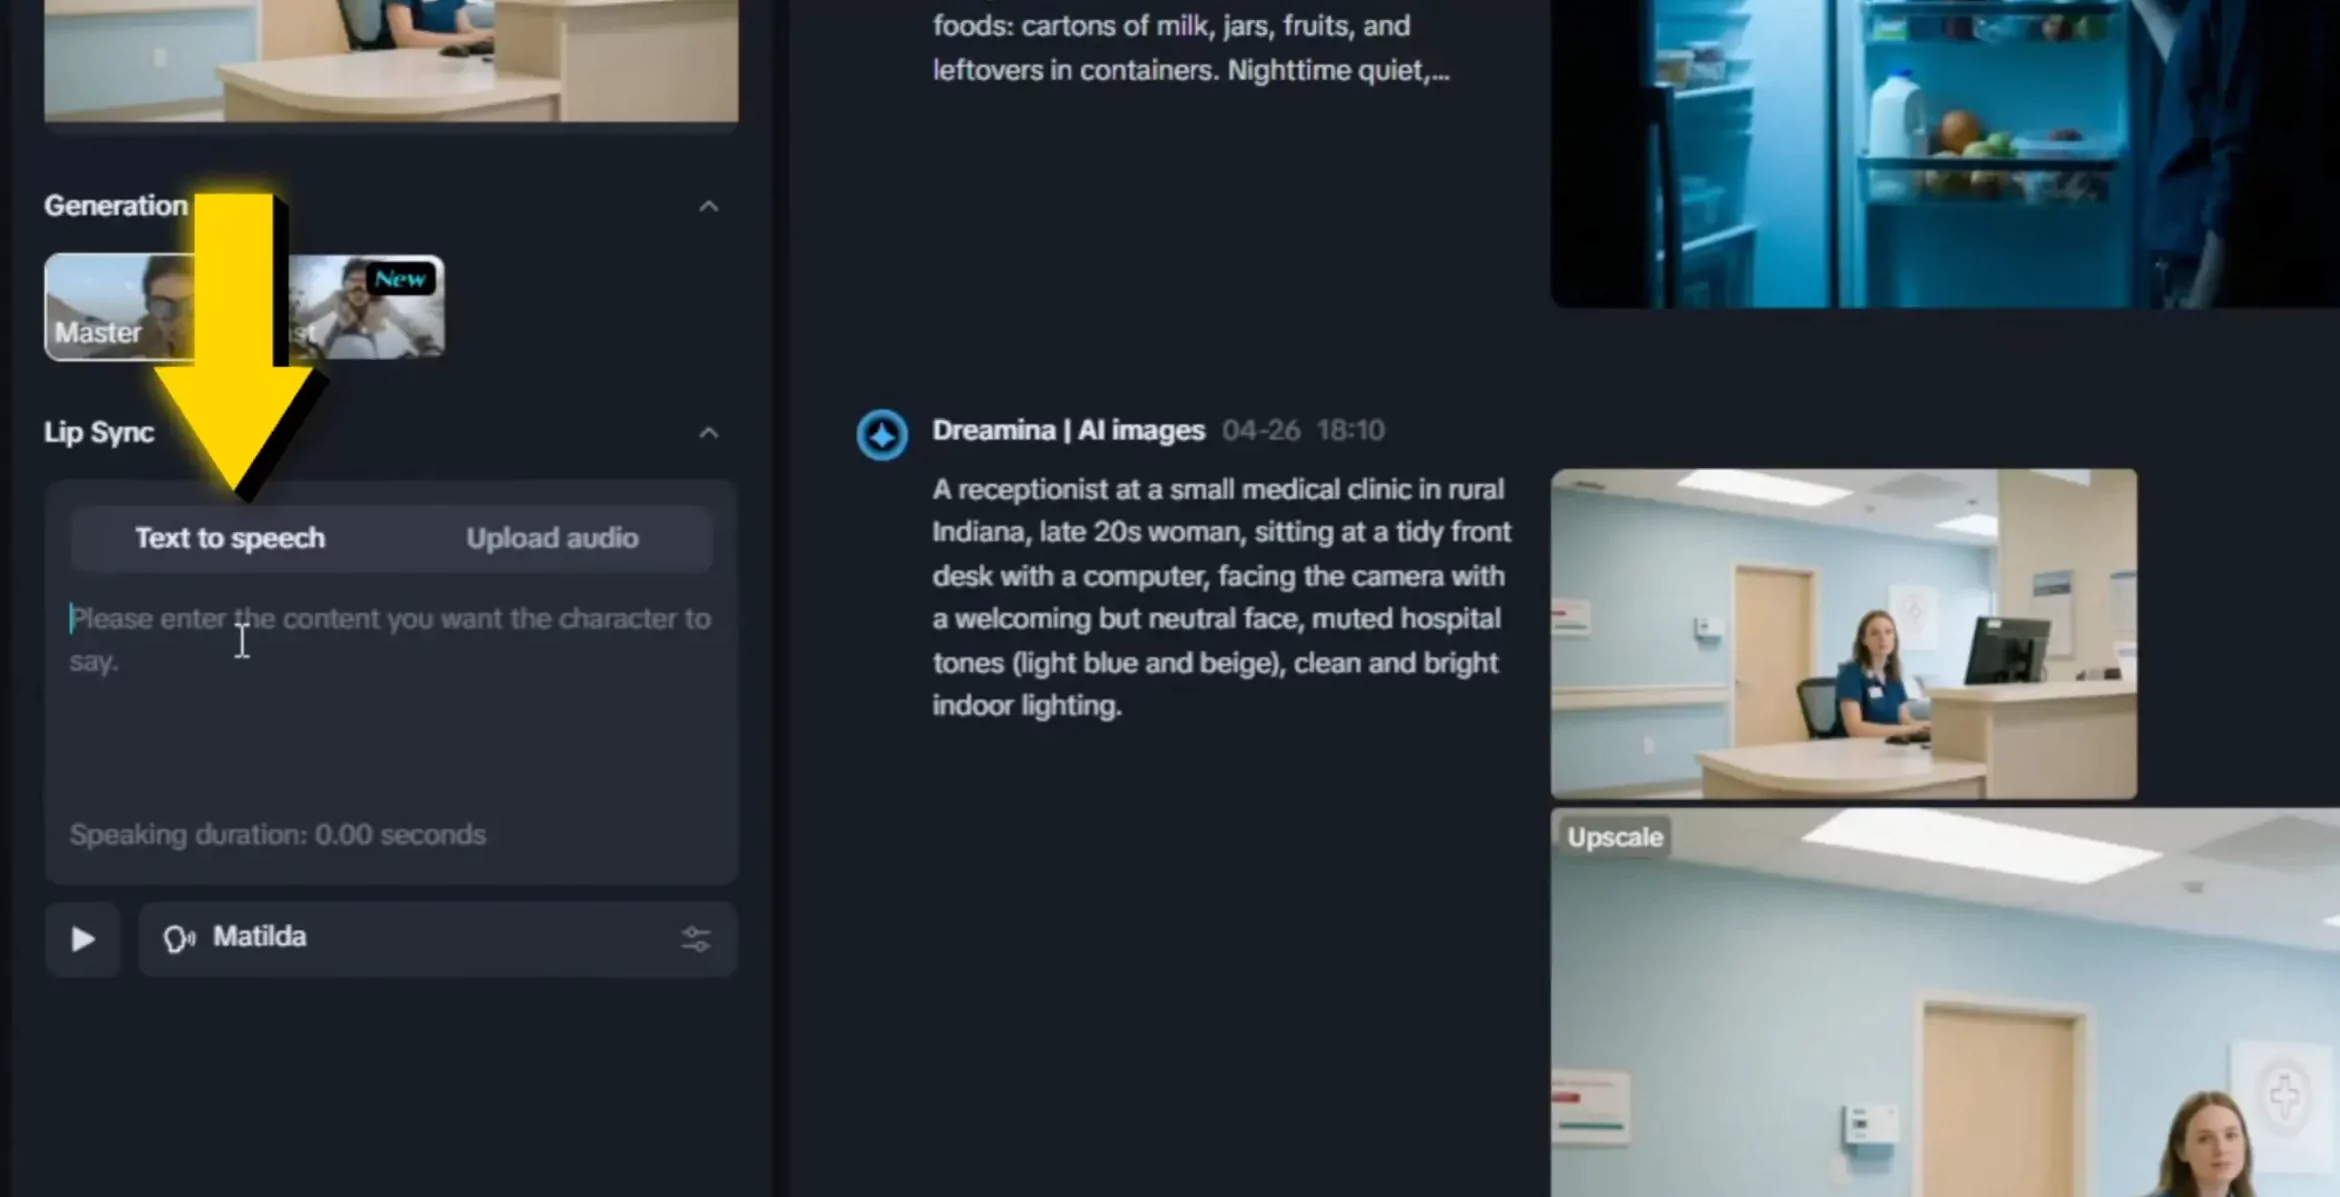
Choosing the Generation Effect
After selecting your character, the next step is to set the generation effect.
You’ll notice there are different options, such as Fast and Master mode.
Personally, I prefer selecting the Fast option.
Both options are available, but in most cases, Fast mode works much better for quick results.
Lip Sync Options
One of the most interesting parts of creating an AI avatar is adding lip sync. Dreamina makes this possible in two different ways:
Text-to-Speech
You can simply type in the text you want the avatar to speak.
The speaking duration will show up automatically.
Upload Audio
You can record your own voice.
Upload your audio file.
Dreamina will automatically lip sync your uploaded audio with the avatar.
This flexibility means you can either use your own recorded speech or rely on the built-in text-to-speech system.
Text-to-Speech Voices
Dreamina provides a wide selection of voices that you can experiment with.
Once you click on the voice options, you will see all the available voices inside the platform.
These include both male and female voices.
There are even trending voices available for you to try.
For example, in my test, I chose the Trickster voice.
It sounded like this:
“Solve base is here to solve your tech and gaming problems.”
This voice gave a clear and smooth speaking tone, and it matched the avatar well.
Adjusting the Speaking Speed
Below the voice selection option, there is also a Speaking Speed setting.
This allows you to control how fast or slow the avatar is going to speak.
By adjusting this, you can fine-tune the rhythm and pacing of the generated voice.
Understanding Credits in Dreamina
Each time you generate an AI avatar, it consumes credits.
For every generation, it takes 16 credits.
In my account, I had 86 credits available.
When you sign up for Dreamina, you receive 120 credits by default.
This system helps you keep track of how many avatars you can generate before needing more credits.
Generating Your AI Avatar
Once you’ve:
- Selected your character,
- Added the image from assets,
- Chosen the effect mode,
- Set up the lip sync,
- Picked the text or audio, and
- Selected a voice and speed,
It’s time to click on Generate.
The system will immediately start generating your AI avatar video.
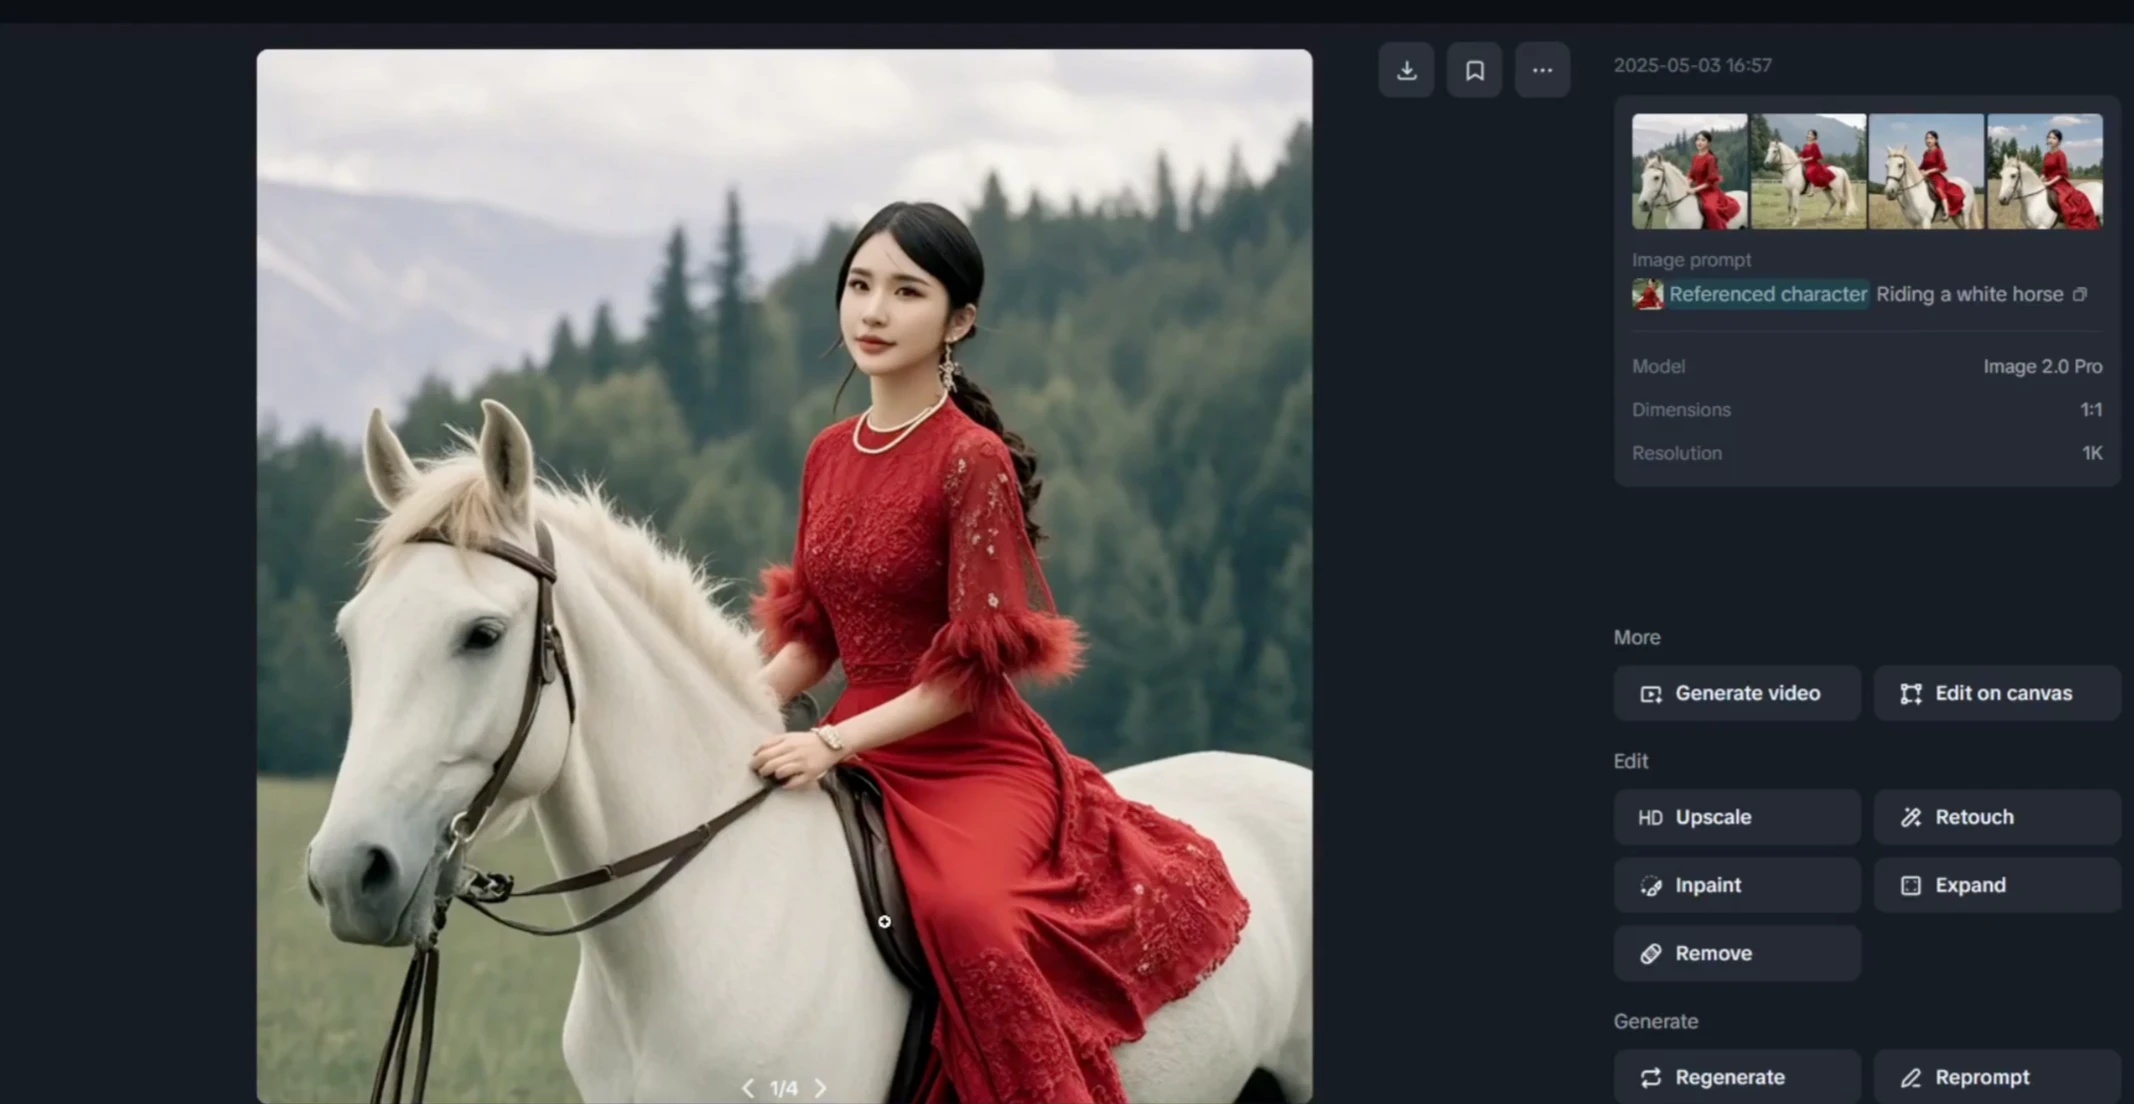
Example of a Previously Generated Avatar
While the system is processing, you can also review previously created avatars.
For instance, one of my earlier outputs was titled:
“Your friendly neighborhood super dog.”
This avatar had smooth movement, and the sound synced very nicely with the image.
Inside the assets folder, you’ll also find all the other avatars you have created before.
Additional Resources for Learning Dreamina
If you want to learn more about Dreamina in general, I have a full tutorial available on my channel.
At the end of this article, you can find references to the playlist.
On the right-hand side of the Dreamina interface, you’ll also see more tutorials that guide you step by step through different features.
Reviewing the Generated Avatar
After waiting for the processing to finish, the new AI avatar is ready to view.
In my test, the result played with the audio:
“Solve base is here to solve your tech and gaming problem.”
The final output looked good.
The mouth movement matched the audio accurately.
The speaking was clear and smooth.
Importantly, there were no unwanted artifacts in the animation.
This was definitely a positive outcome.
Final Thoughts
This is exactly how you can generate an AI avatar using Dreamina by CapCut.
To summarize the process:
- Open Dreamina by CapCut.
- Use a VPN if you cannot access it.
- Select AI Avatar from the menu.
- Choose or delete a character image.
- Add a new image from the assets folder.
- Select a generation effect (Fast or Master mode).
- Add lip sync with text-to-speech or uploaded audio.
- Choose a voice and adjust speaking speed.
- Keep track of credits (16 credits per generation).
- Click Generate to create your avatar.