Dreamina AI Credits Limits Every Day
Today I'm thrilled to introduce you to an amazing AI tool that will become your new creative partner for turning words into stunning images. This powerful platform makes it super easy to create realistic portraits, anime characters, fantasy art, or stylish digital designs. Just type a simple prompt and it generates high-quality images in seconds.
In this comprehensive guide, I'll show you how to use this AI tool and explain all its features like prompt editing, style selection, upscaling, and more. You'll learn everything you need to know to start creating like a pro.
Getting Started: Creating Your Account
With Dreamina AI, you can create your design, whatever your purpose. The platform caters to character design, fashion, beauty, or visual storytelling, helping you realize the AI art of your dreams. You can blend multiple layers of AI generated imagery onto a single canvas, explore different styles and ideas, and bring your vision to life. Find your inspiration in a sea of creativity where your imagination is the only limit.
Step-by-Step Account Setup
First, we'll create our account on Dreamina AI. Here's how to get started:
- Go to the website
- Click on "sign in"
- Choose "continue with Google" to quickly create your account using your Google login
After signing in, you'll receive 120 free credits to get started. These credits let you generate high-quality images, try different styles, and explore all the features of Dreamina AI without any payment.
Image Generation:
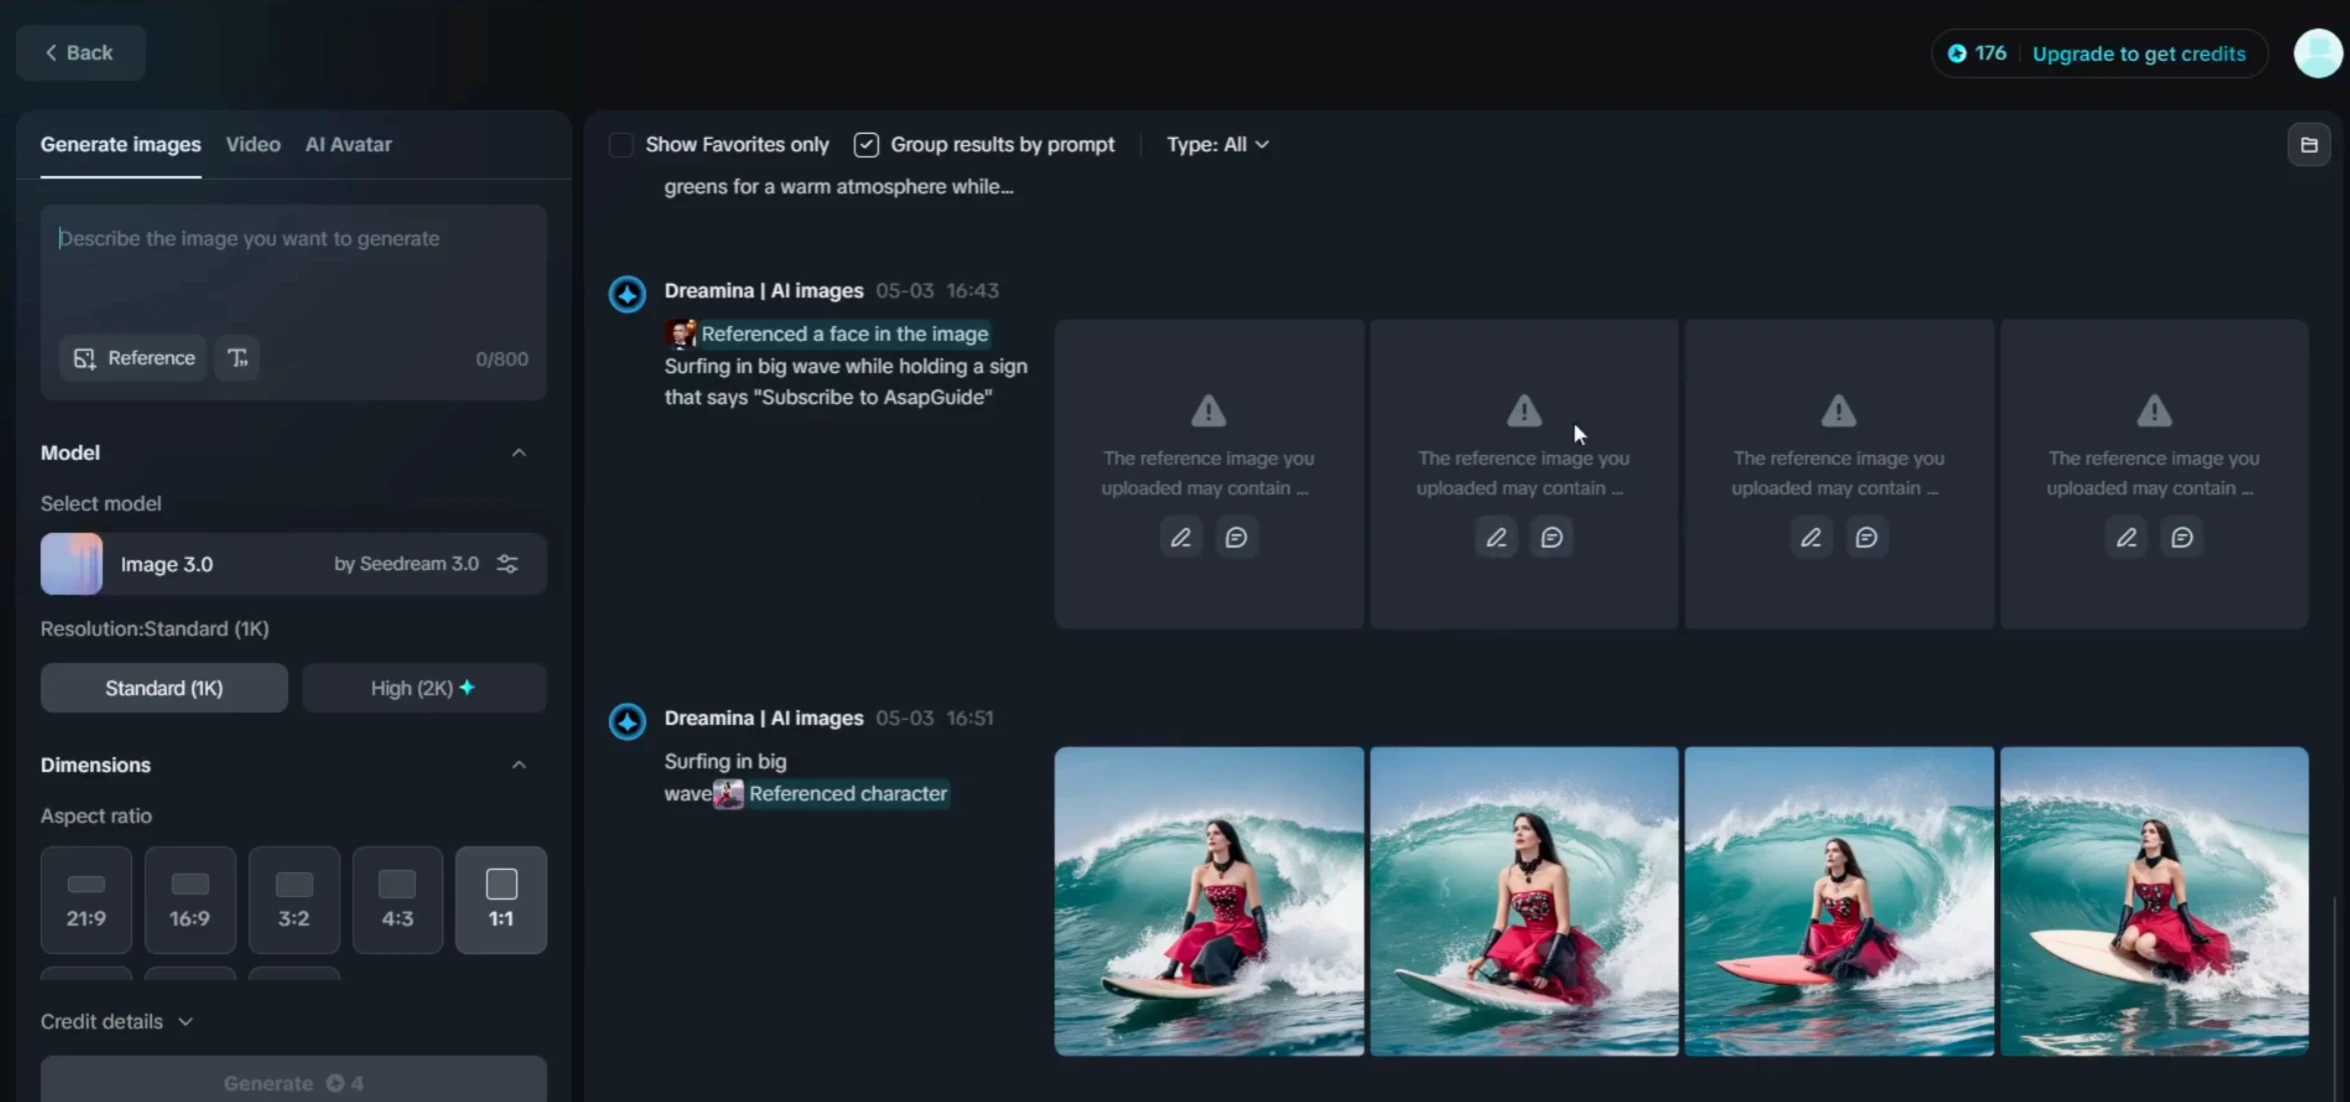
First, we're heading over to the image generator option. Right here is the prompt box where you'll type a description of the image you want to create. Just describe your idea in simple words and Dreamina will turn it into stunning artwork in seconds.
Understanding the Model Options
Next, we have the model option. Dreamina offers several AI models, each with its own style and output quality. For this tutorial, we're using the image 3.0 model, the latest and most advanced one.
Resolution Settings
Now, let's move on to the resolution setting. Here, we can choose the quality of the final image. For now, we'll select standard 1K. This gives us a good balance between speed and quality.
Aspect Ratio Selection
Next up is the aspect ratio. This controls the shape of the image - square, vertical, or horizontal. There are several options available, but for this one, we'll select 16:9, which is perfect for widescreen images.
Generating Your First Image
After setting everything up - the prompt, model, resolution, and aspect ratio - we simply click on the generate button. Now, just wait a few seconds, and Dreamina AI will create a beautiful image based on your prompt.
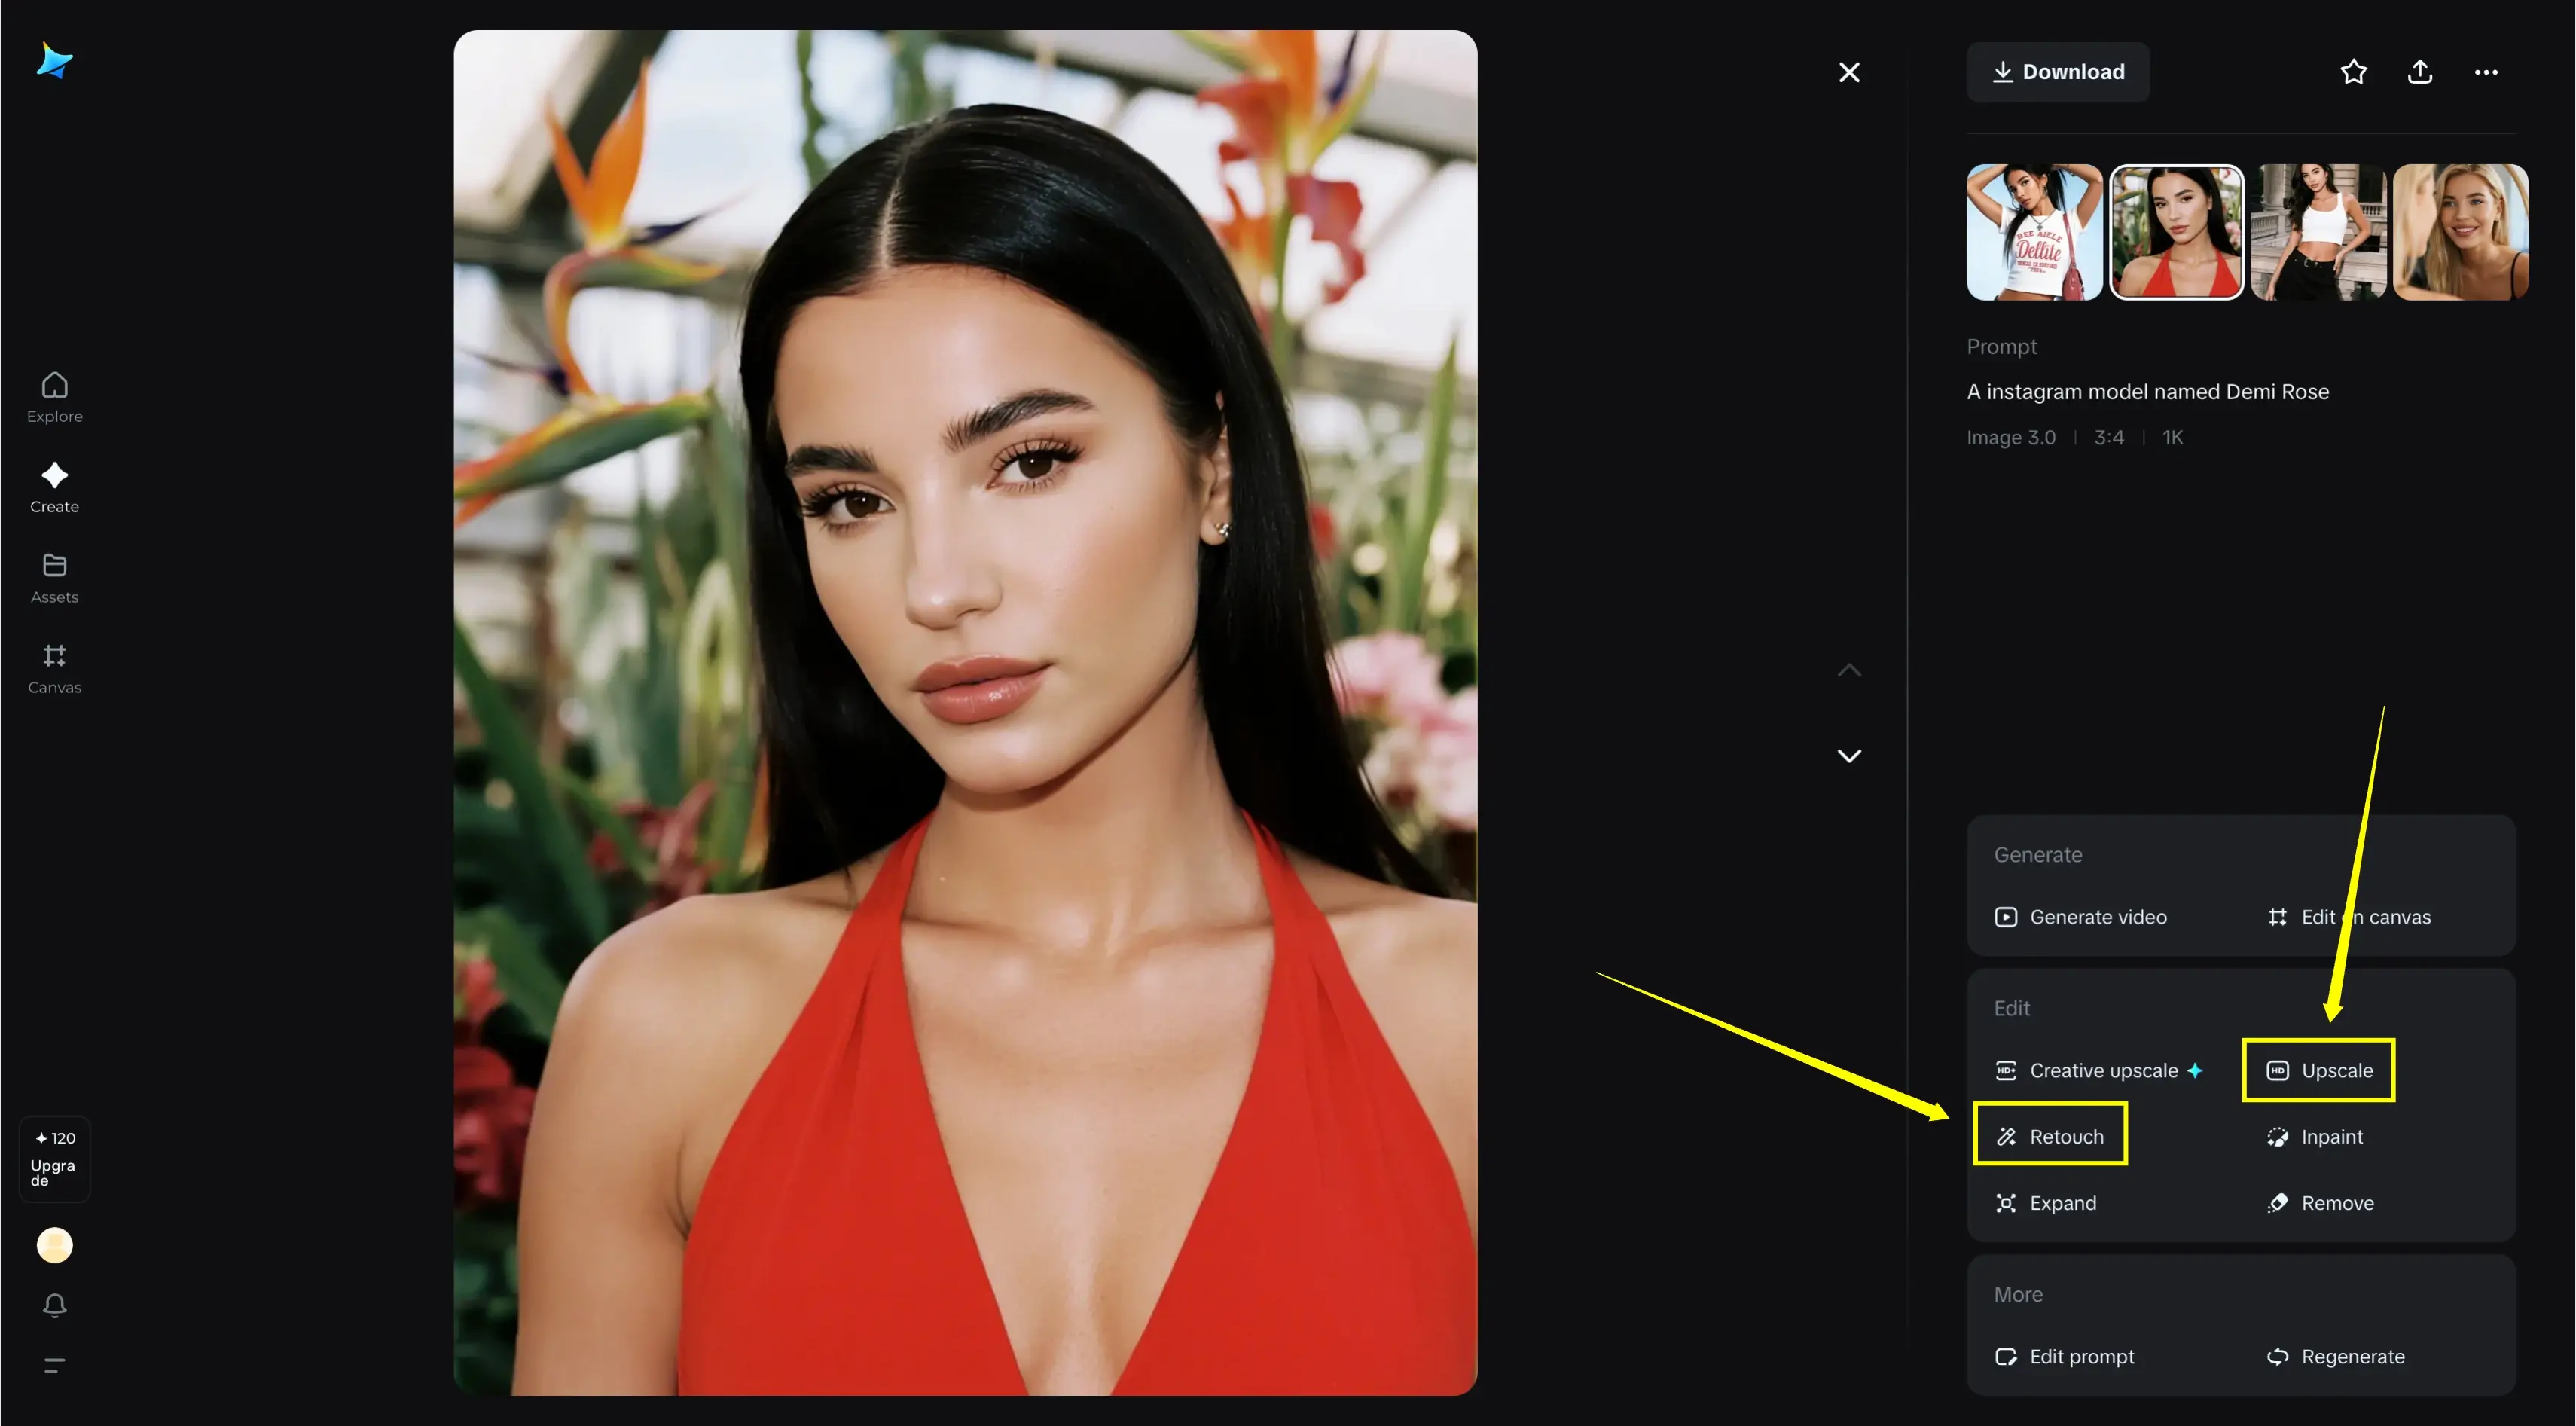
Now, our image is ready. As you can see, Dreamina AI has generated four different versions based on our prompt. Each one has a slightly different style or interpretation, so you can choose the one you like best. Each of these images looks absolutely stunning. The quality, the details, the lighting - everything is on point. Dreamina AI does a fantastic job bringing our ideas to life with such professional and polished results.
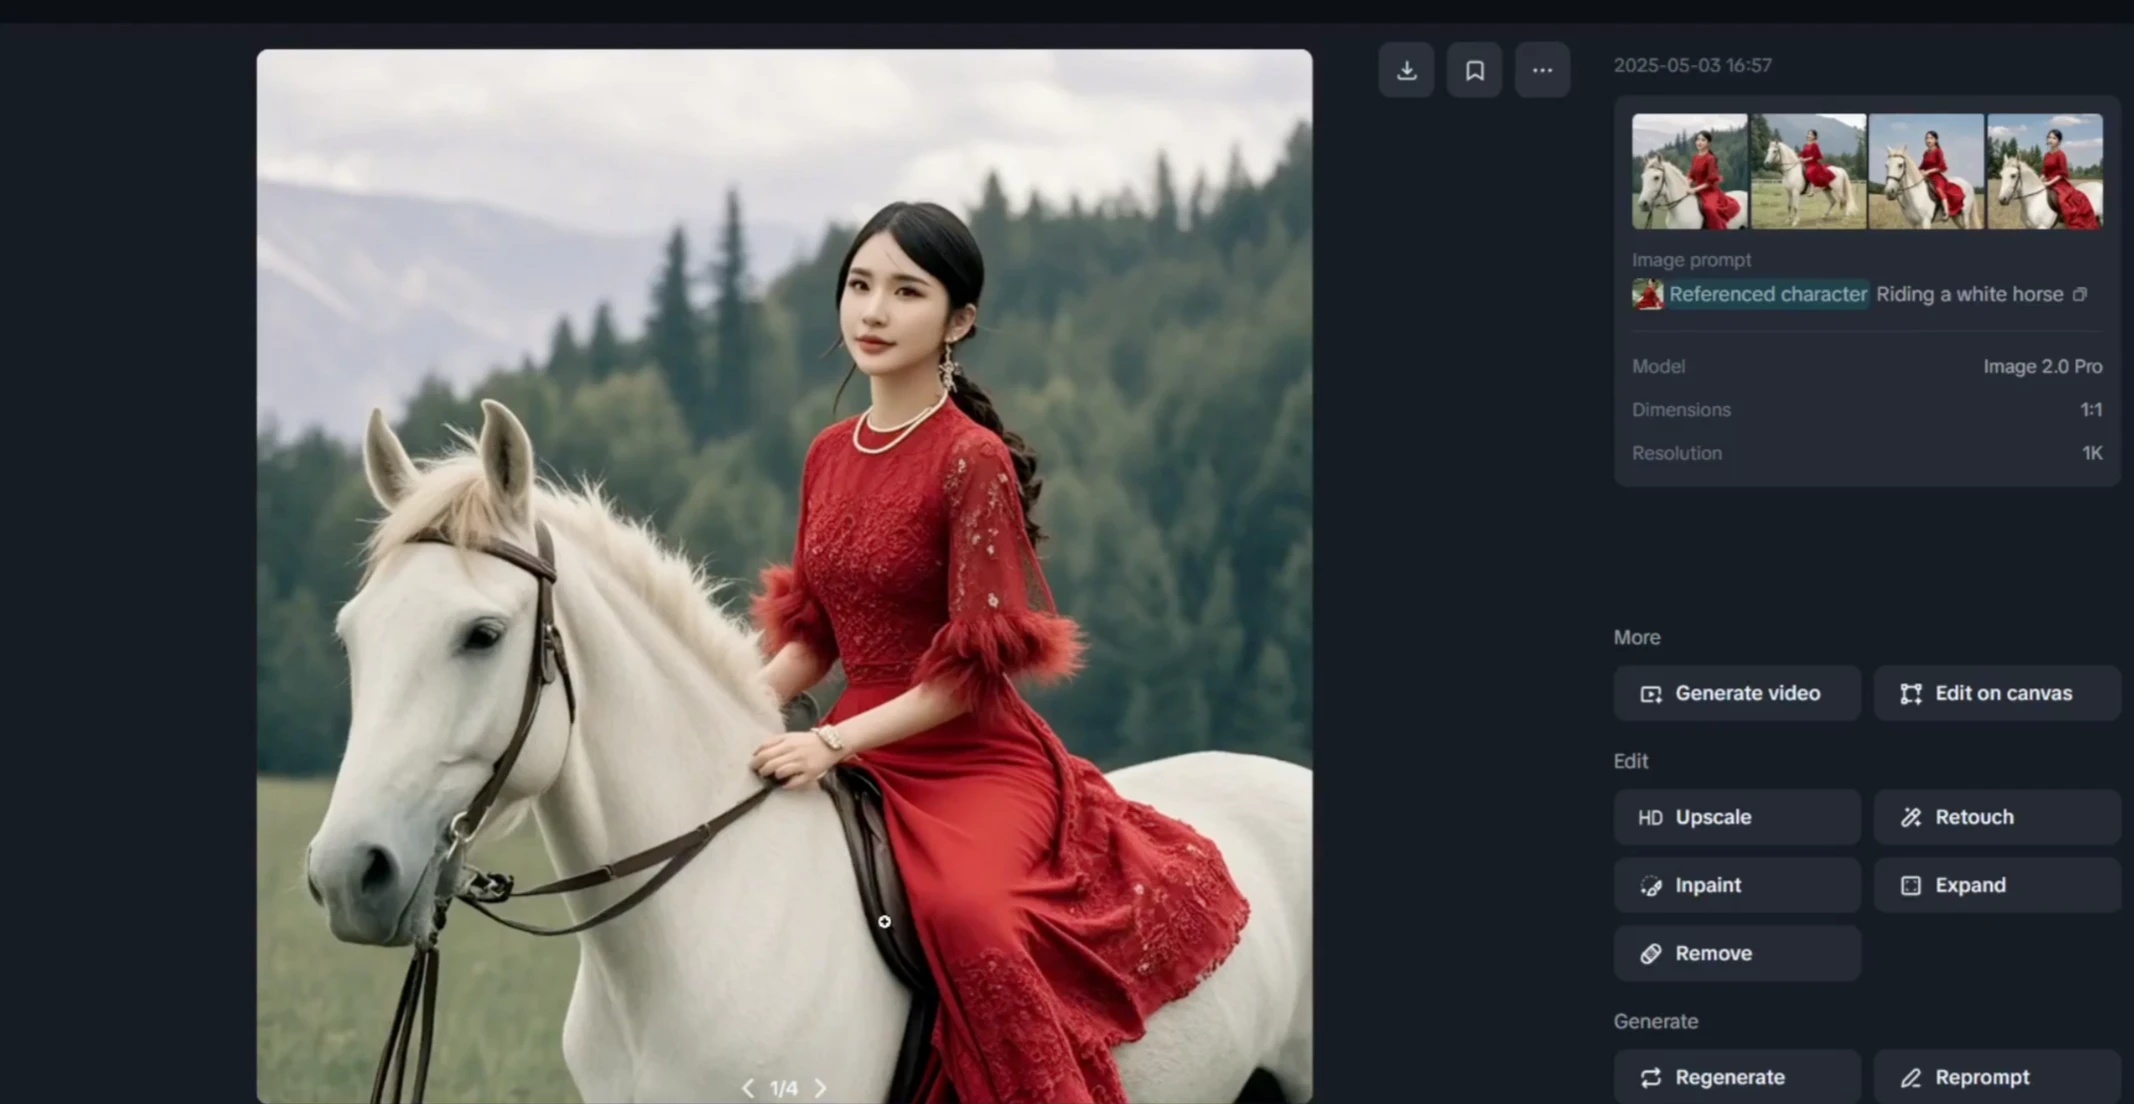
Downloading and Additional Options
After choosing your favorite image, you can easily download it by clicking the download button right here. This saves the high-quality image directly to your device.
At the bottom, you'll find two useful options:
- Regenerate: Click this if you want Dreamina to create new variations of the same prompt
- Reprompt: Use this if you want to edit or completely change your original prompt to try something different
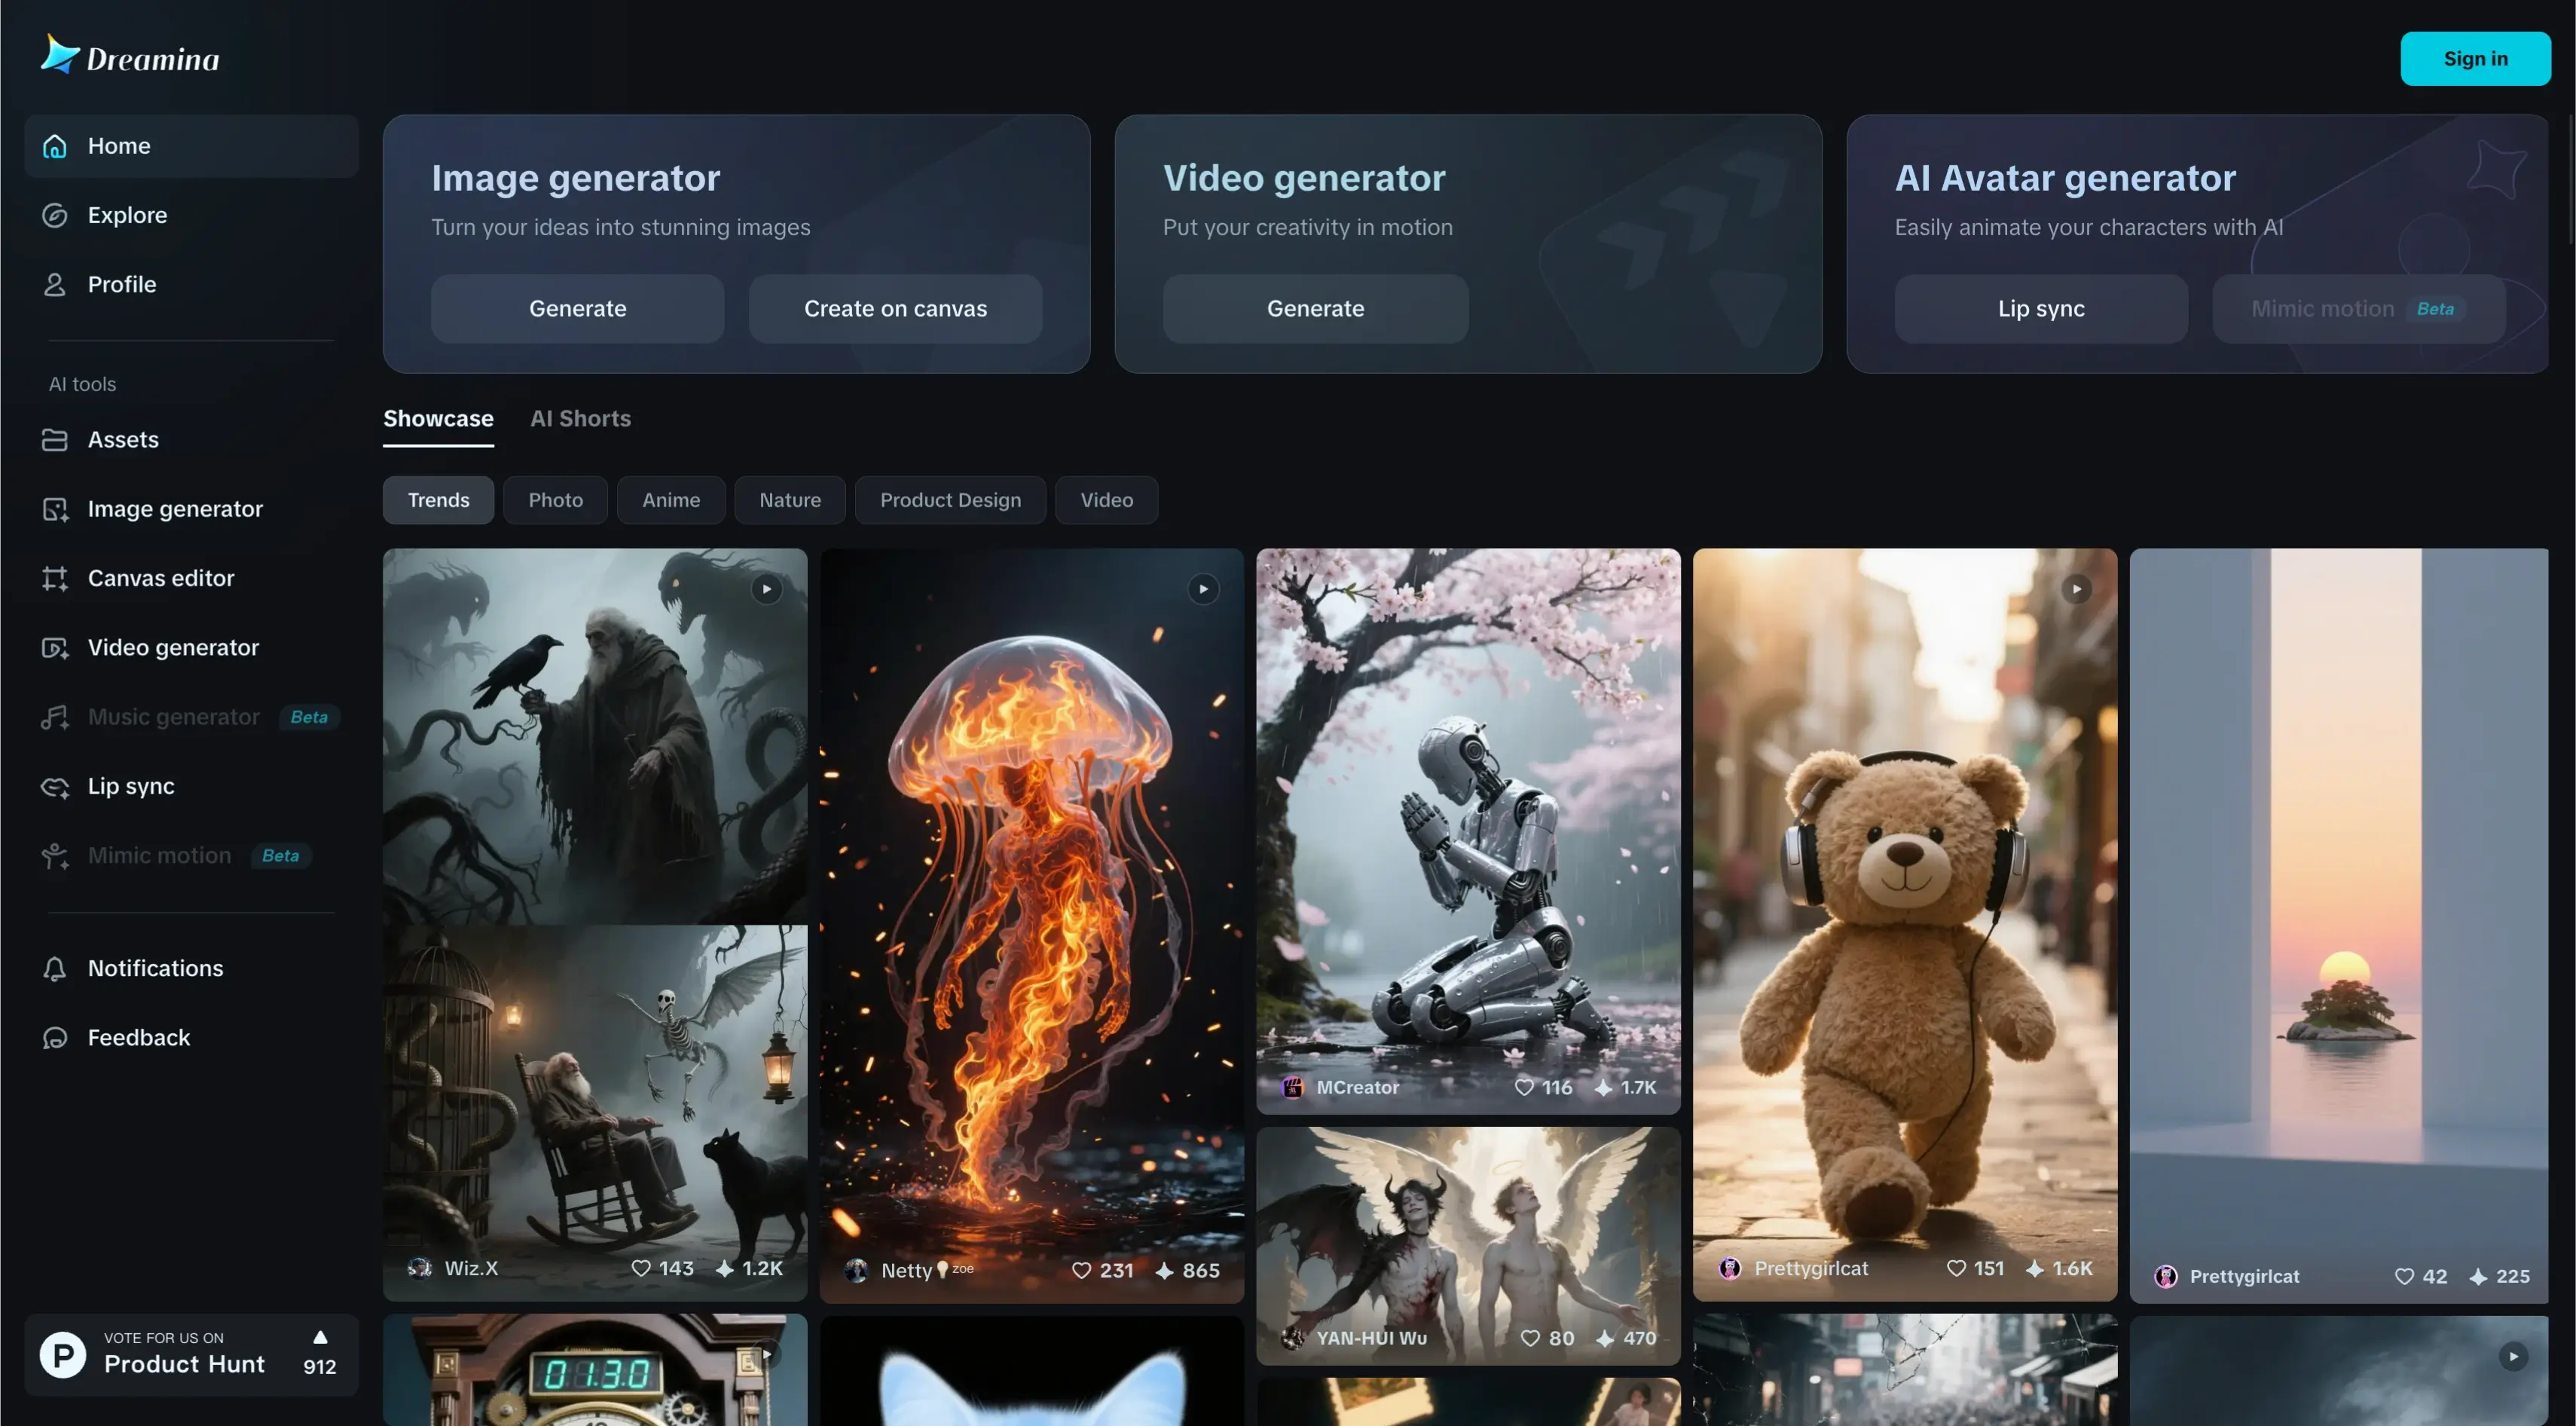
Here you can also see some amazing images created by others using Dreamina AI. Take a look to get inspired and spark your own creativity.
Advanced Image Editing Features
Dreamina AI also gives you flexible image editing options. You can fine-tune your results, make changes to specific parts of the image, or even build on top of existing designs. Perfect for getting the exact look you want.
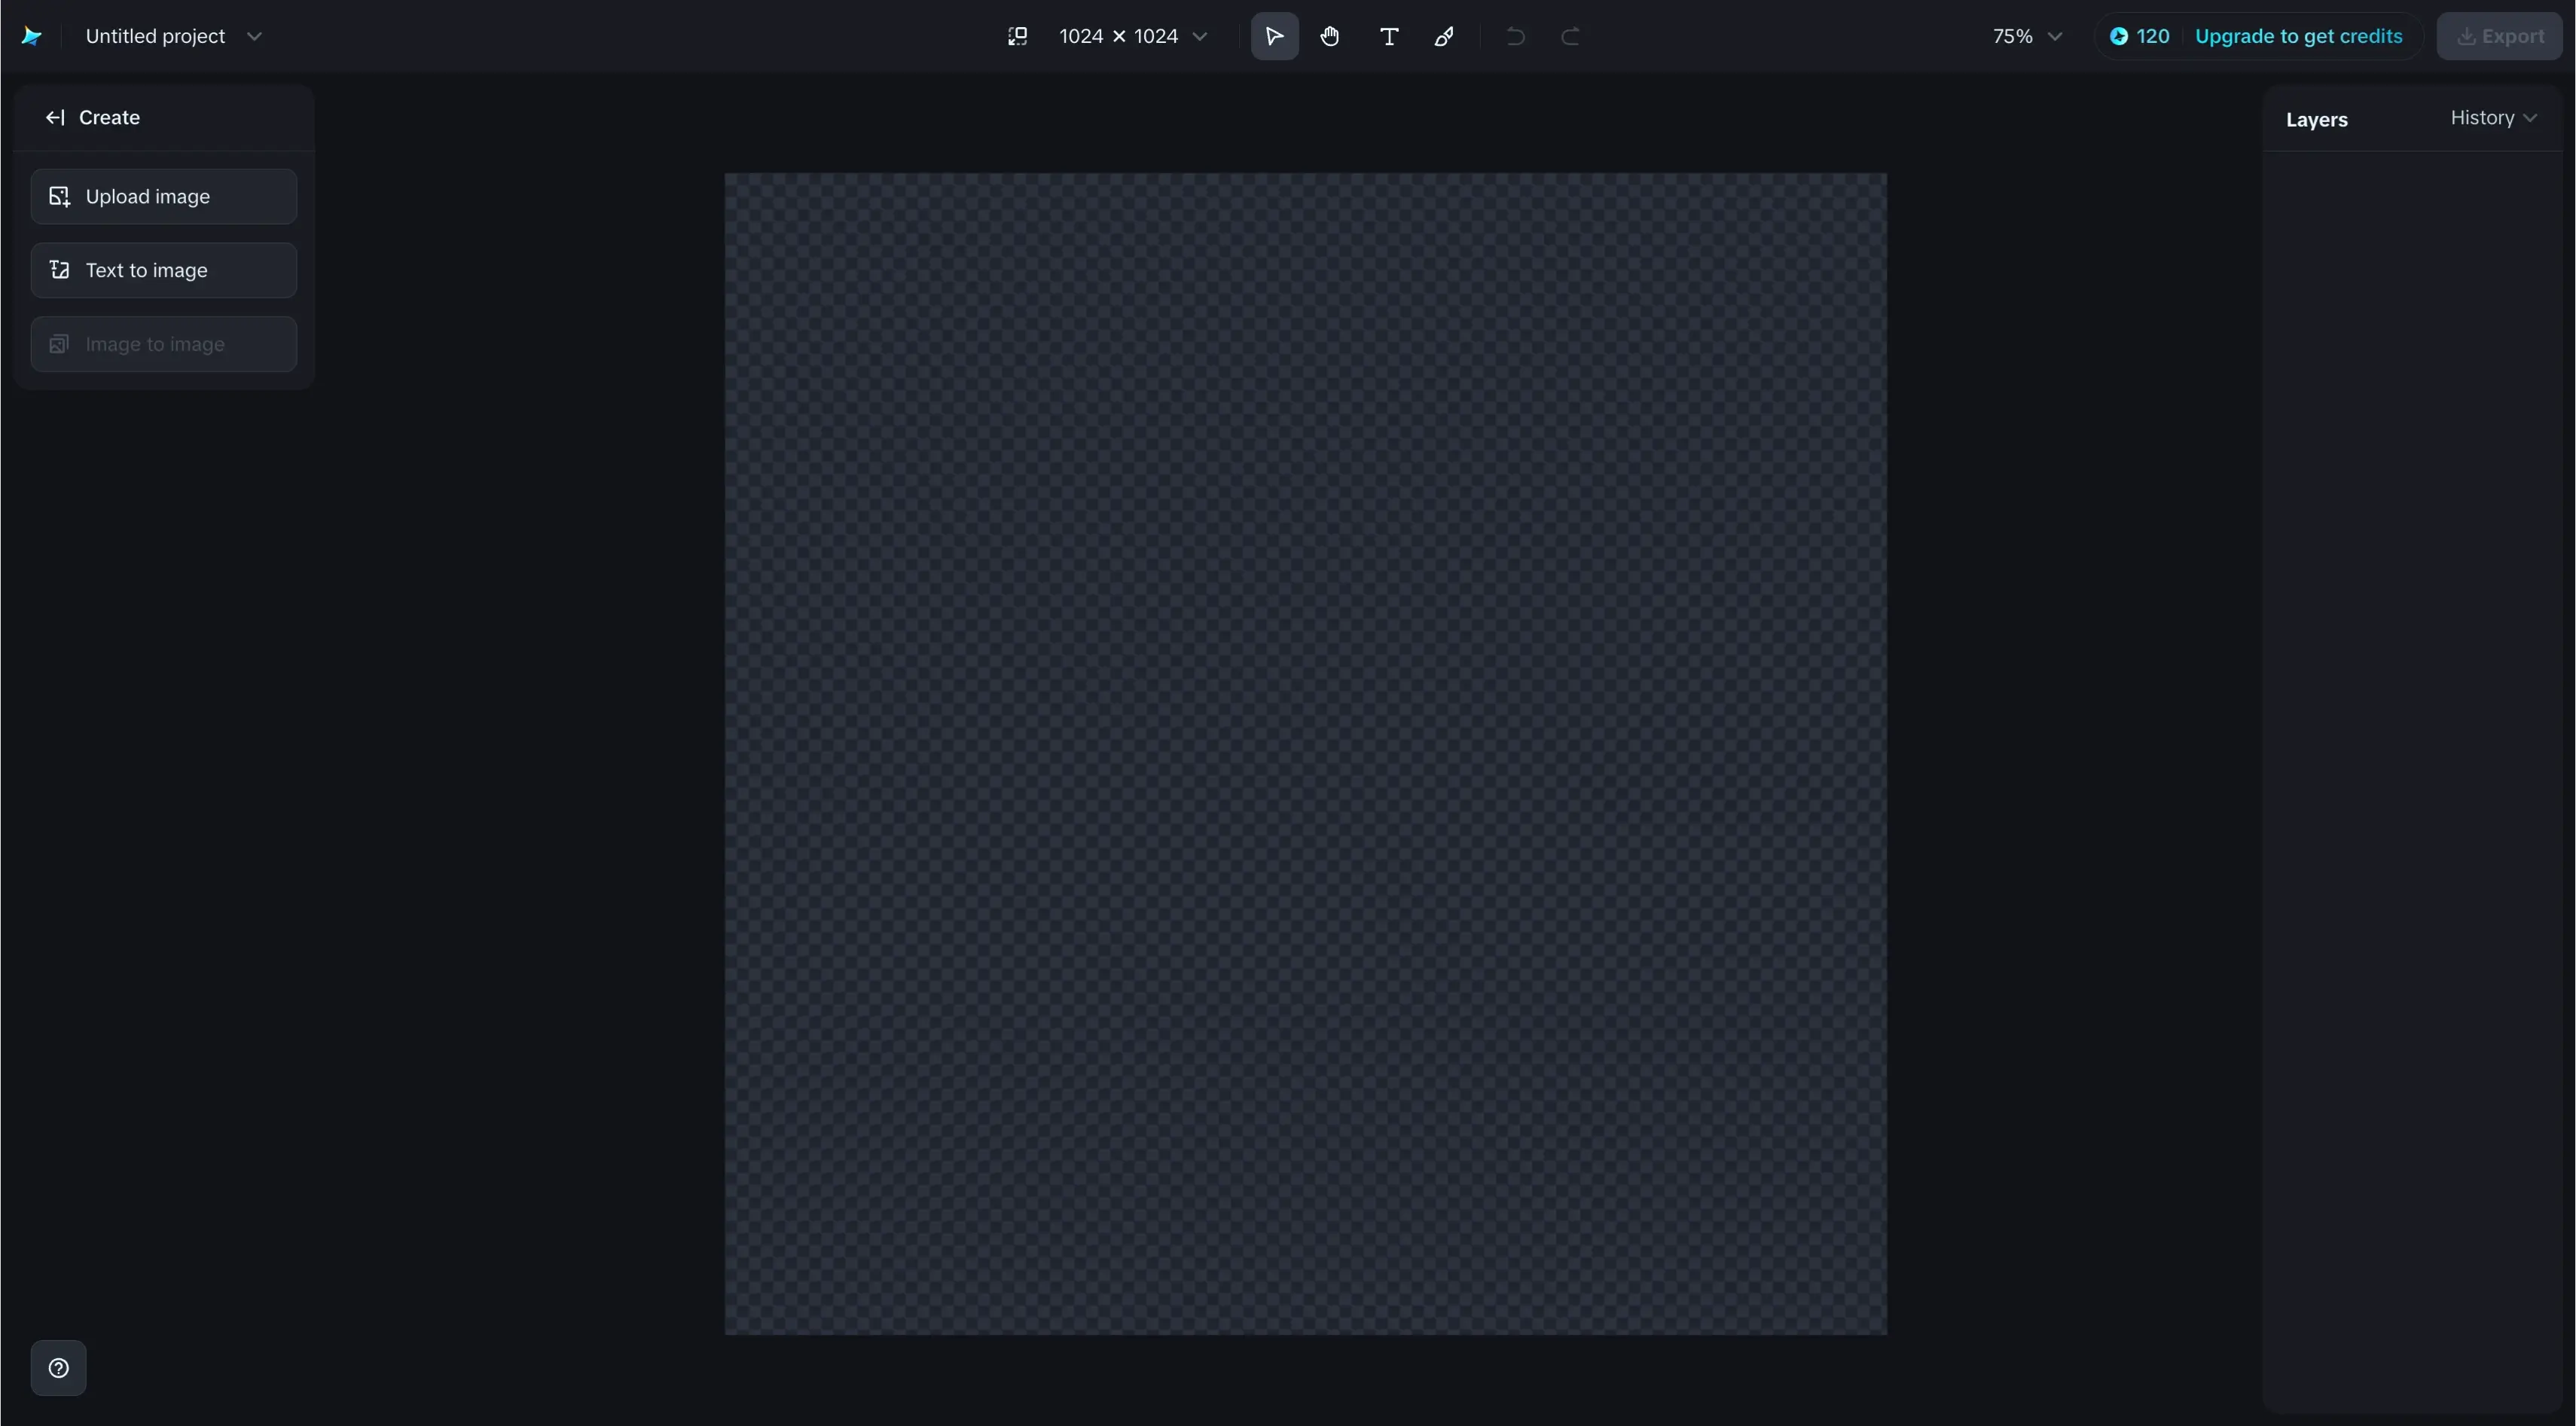
Canvas Editor Dashboard
So, now we click on the canvas editor section to start editing. Inside, you'll find several powerful editing tools. This is our dashboard where we have several options to choose from. You can either upload your own image or use the text to image tool to generate one from a prompt, whichever suits your project. For now, we'll go ahead and upload an image to start editing it inside the canvas editor.
1. Retouch Feature
One retouch replicant sty of Clyde Spike and deep bane. This lets us clean up or refine parts of the image like smoothing the skin, fixing small imperfections, or enhancing certain areas for a more polished look. Here, we need to click on the retouch option.
Once it's applied, you'll see a comparison between the before and after images, so you can easily notice the improvements and fine details that have been enhanced.
Exporting Your Edited Image
So, after we're done editing, it's time to download the final image:
- First, click on the export button
- Then, choose your file type. We'll select PNG for high-quality output
- Next, pick the image size, either 1x or 2x. For this tutorial, we'll go with 1x
- Under the export options, make sure to select this canvas
- Finally, click on download
And that's it. Our edited image is now saved to the device.
2. Inpaint Feature
A second is inpaint. Click on inpaint option after that feature that lets you fix or change specific parts of your image using AI. Just select the area you want to edit. Describe what you want to appear there in the prompt box and Dreamina will intelligently fill in or replace that part with brand new details that blend perfectly with the rest of the image. It's perfect for removing unwanted elements or adding creative touches.
3. Expand Tool
Third is expand. Now that our image is uploaded, we're going to use the expand tool. Just click on expand. This feature allows you to extend your image beyond its original borders. Perfect for adding more background scenery or creating a wider composition.
To start, you simply select one of the given aspect ratios based on how much and where you want to expand the image like landscape, portrait or square. Once selected, now simply go to click on expand.
Now our image is fully expanded in the 16:9 aspect ratio and it looks really good. The added background blends in naturally with the original image and now we can download this image.
4. Remove Feature
Fourth is remove. Click on the remove option. Then simply select the area in the image that you want to erase. It could be an object, a person or anything unwanted. After making your selection, just click on the remove button and Dreamina AI will automatically clean up that area and fill it in naturally as if it was never there.
Now we can clearly see the difference between the before and after images. The selected part is completely removed and the background has been filled in naturally. It looks clean and natural with no signs of editing. Now we can download this image.
5. HD Upscale
Fifth is HD upscale. Now simply click on the HD upscale option. This tool allows you to enhance the quality of your image by increasing its resolution without losing detail. Just click on HD upscale and Dreamina will start processing the image to make it sharper, clearer, and more vibrant. Perfect if you want to print the image, use it in high-res projects or simply get a more polished result.
6. Remove Background
Sixth is remove background. To remove the background, just click on the remove background option. After that, simply hit the remove button and in just a few seconds, Dreamina will automatically detect and erase the background, leaving you with a clean, transparent subject. It's super quick and great for creating cutouts or using your image in different designs.
Popular Image Generation Styles
Now, I'm going to show you three trending types of image generation that Dreamina AI can do beautifully. These are some of the most popular styles people are using right now.
1. Ghibli Style Images
First is Ghibli image. Let's start by clicking on the image generator. Then simply go to the prompt box and type in a Ghibli style prompt. After that, customize your settings like model resolution and aspect ratio based on your needs. Once everything's set, just click on generate and Dreamina will create a beautiful image in that unique Ghibli inspired style.
Now our images are generated and wow, they look amazing. Dreamina has created four stunning variations, each with that beautiful Ghibli style charm. Every image has its own unique feel and the quality is seriously impressive. Here you can easily download your favorite image by clicking the download button.
2. Viral Action Figure Images
Second is viral action figure Image. Now we're heading to the prompt box and here we'll type a prompt for a viral action figure image. You can write your own prompt manually or if you're not sure what to type, you can always get help from ChatGPT to craft the perfect one.
Once your prompt is ready, you can customize the settings. I'll set the aspect ratio to 16:9 for a wide and cinematic look. Then just click on generate and Dreamina will start creating your image.
Now our images are ready. Let's take a look. And wow, they look really great. The details, lighting, and style are perfect for a viral action figure image. Dreamina has done an amazing job capturing that cool, eye-catching look.
Here we have four different versions of the viral action figure image. Each one has its own unique style and pose, and they all look fantastic. You can simply download the one you like the most by clicking the download button.
3. Creating Posters
Third is create poster. Now let's click on the prompt box because this time we want to create a poster. I'll type a prompt that matches the style and theme of the poster we want to design. After that we'll customize the settings. I'm setting the aspect ratio to 16:9 to give it a perfect wide format for a poster.
Once everything's ready, just click generate and Dreamina will start creating the poster image. Our poster is ready. Let's check it out. Dreamina has generated four different images using the same prompt, and each one looks beautifully designed and well-crafted. You can simply download your favorite version by clicking the download button.
AI Avatar with Lip-Syncing
Now, let's explore something really exciting. You can easily create an AI avatar with lip-syncing that talks using Dreamina AI avatar.
Creating Talking Avatars
To generate an AI avatar with lip-sync:
- First go to the lip sync option in Dreamina AI
- Then upload the character image you want to animate
- You'll see two generation modes: master and fast. We'll go with fast for quicker results
- Next, choose what you want to use: text to speech or upload your own audio. You can pick whichever suits your project. I'll be using text to speech
- So here I'll type in the speech I want my avatar to say
- Now here we can choose a voice for our avatar. I'll go with the cute boy voice for this example
- After selecting the voice, I'll adjust the speaking speed to make it sound more natural
- Once everything is set, simply click on generate and Dreamina will start creating your animated talking avatar
"Hey, this is a Dreamina AI. I hope you're learning well."
That was really amazing. We've also generated a few more avatar videos to inspire you. Make your visuals amazing with lips sync, realistic voice and expression.
"Hello guys, let's play the hide and seek game."
Powerful and creative, Dreamina AI brings your ideas to life.
Video Generation with Videos 2.0 Pro
Videos 2.0 Pro is a powerful video generation model that transforms text, images, or voice into high-quality cinematic videos.
Text-to-Video Generation
So, first we need to click on the video generator section. Here you'll see two parts:
- The first is image prompt
- The second is text prompt
We'll begin with the text prompt option.
Step-by-Step Video Creation
- Now in the prompt box, you can either type your own creative idea or paste a ready-made prompt
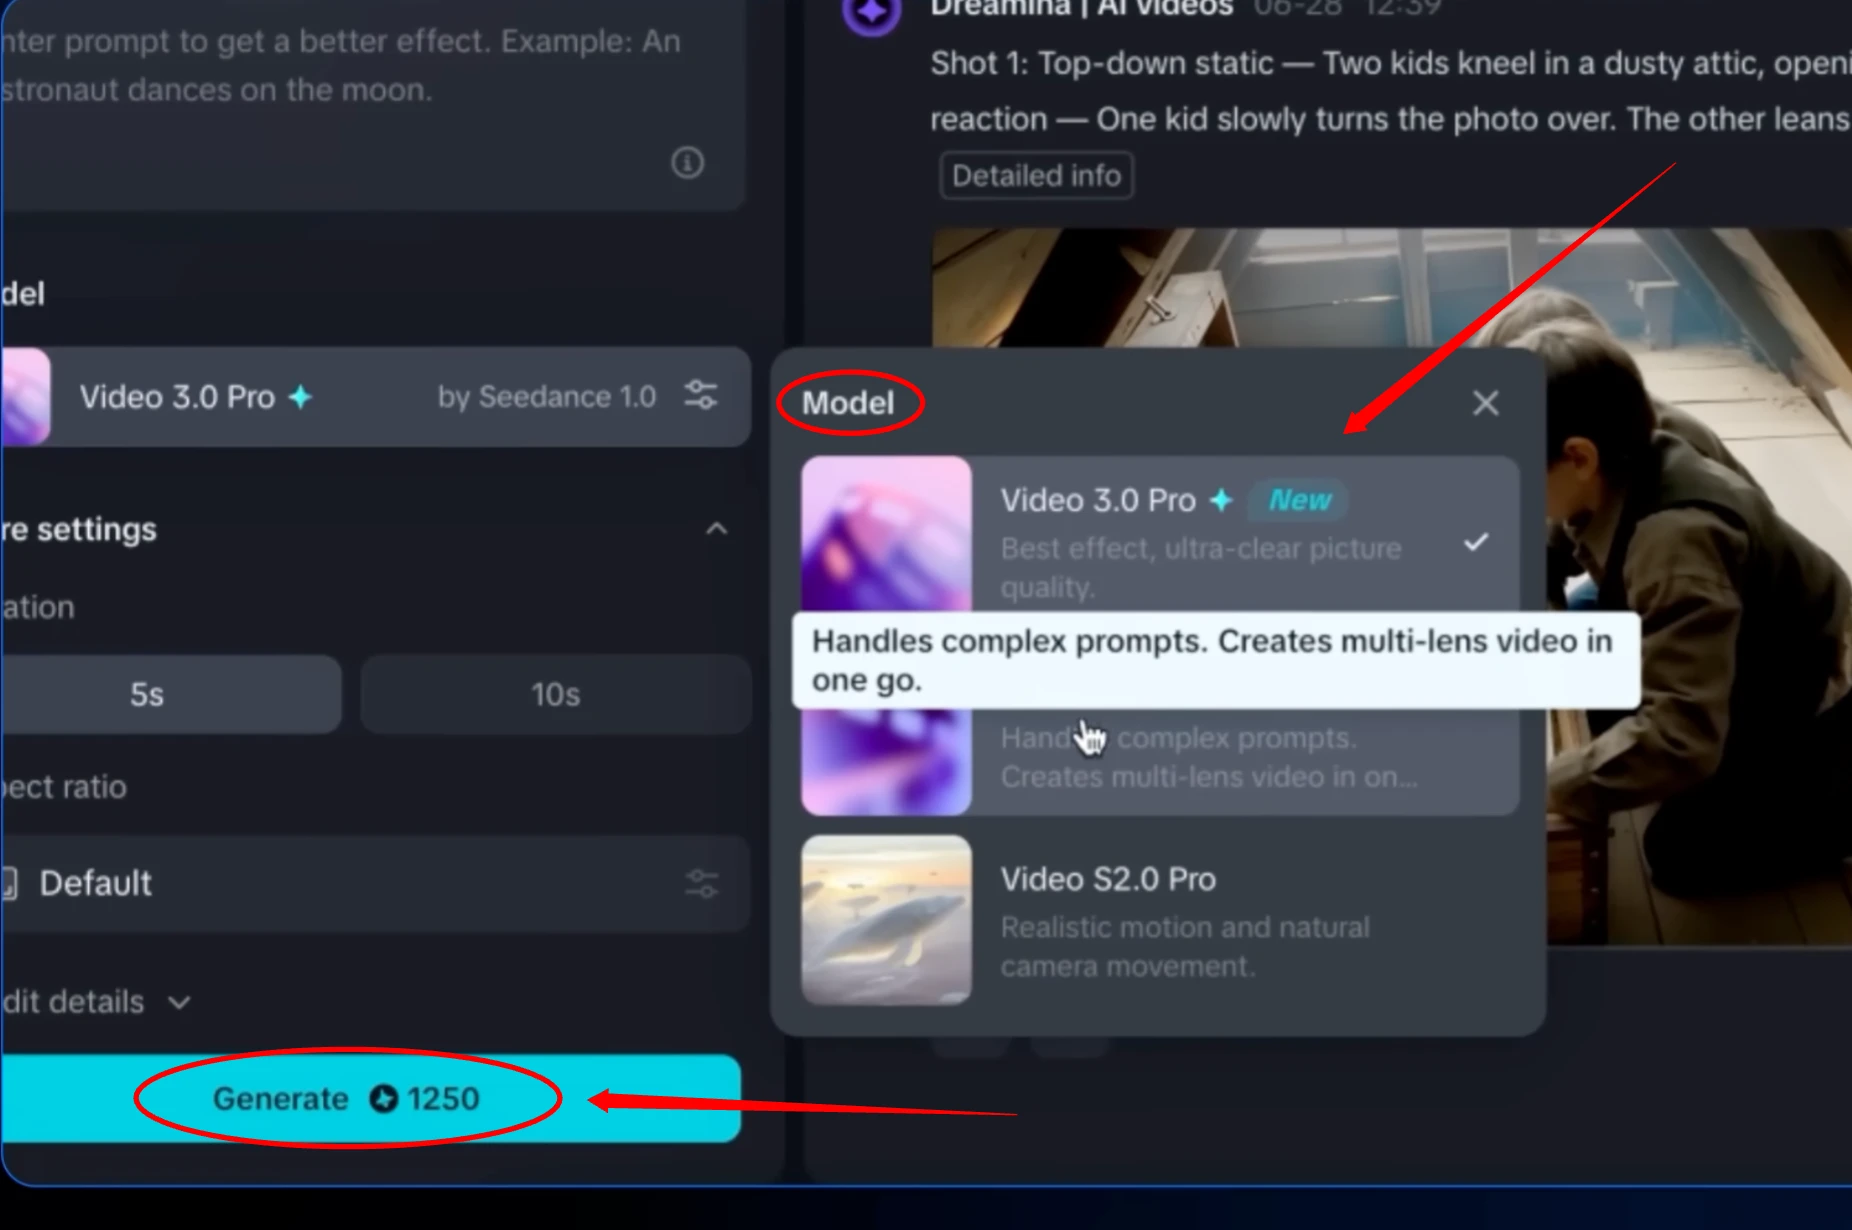
- After entering our prompt, the next step is to click on the model option
- From the available models, we'll select videos 2.0 pro. This model provides high-quality, smooth, and realistic video generation, perfect for professional-looking results
- Now select the aspect ratio that suits your project. I'll go with 16:9 for a widescreen look
- Once everything is set, just click on the generate button and Dreamina AI will start creating your video based on the prompt
Now our video has been generated. Let's check it out. The results look amazing and you can see how Dreamina AI has beautifully brought the prompt to life with smooth visuals and great detail. And here we can easily download the video by clicking the download button.
Image-to-Video Generation
After using text to image, we click on the image prompt option:
- Then simply upload the image we want to turn into a video
- Once uploaded, we type our prompt to guide the video generation
- Now we select the model videos 2.0 Pro
- Then simply click on generate to start the video creation
And it's truly amazing. Smooth, realistic, and visually stunning. With Videos 2.0 Pro, the transitions are natural. The motion feels natural.
Conclusion
Dreamina AI proves to be an incredibly powerful and versatile platform for anyone looking to create stunning AI-generated content. From simple image generation to complex video creation and animated avatars, this tool offers everything you need to bring your creative visions to life. With 120 free credits to get you started and an intuitive interface that makes professional-quality results accessible to everyone, Dreamina AI opens up new possibilities for digital creativity.
The platform's comprehensive editing tools, multiple generation styles, and advanced features like lip-syncing avatars and Videos 2.0 Pro make it a complete solution for content creators, designers, and anyone interested in exploring the potential of AI-powered creativity.