How to Use Dreamina AI: A Complete Step-by-Step Guide
Today I'm super excited to introduce you to an amazing AI tool—your new creative partner for turning words into stunning images. If you want to create realistic portraits, anime characters, fantasy art, or stylish digital designs, this tool makes it super easy. Just type a simple prompt, and it generates high-quality images in seconds.
In this guide, I'll walk you through how to use this AI tool, explain all its features like prompt editing, style selection, upscaling, and more. Everything you need to know to start creating like a pro. So, let's jump right in.
Introduction to Dreamina AI
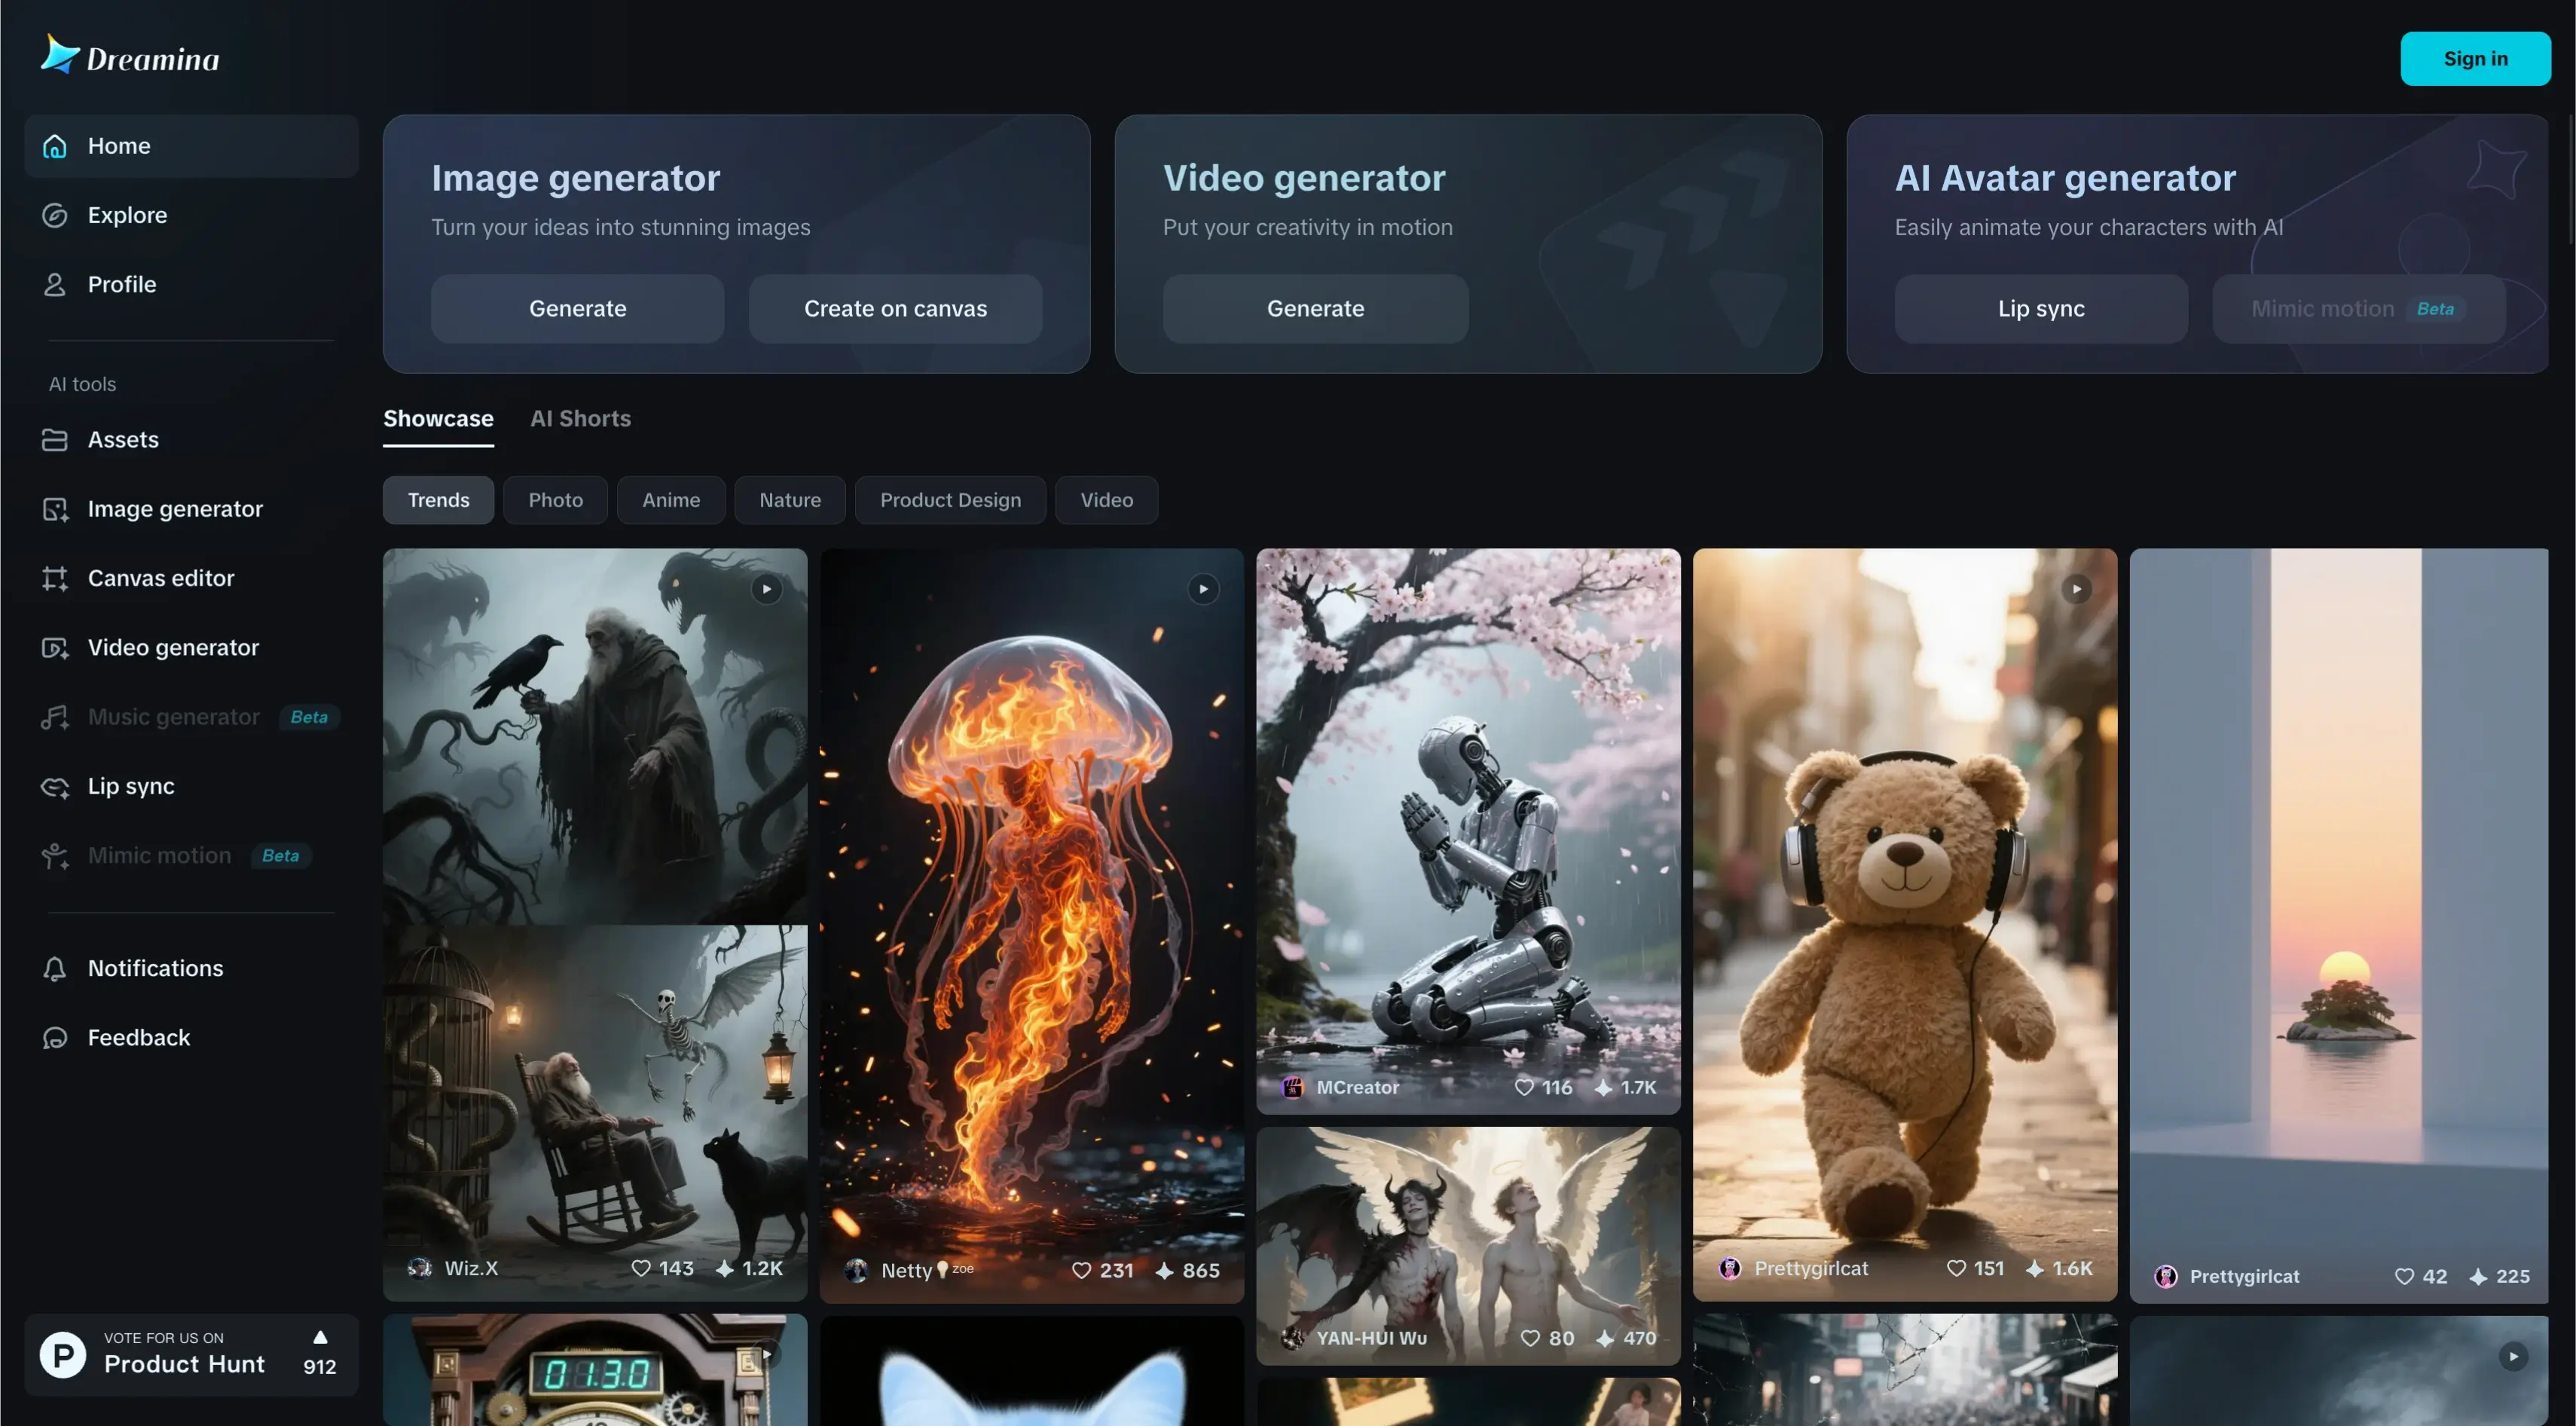
With Dreamina AI, you can create your design for any purpose:
- Character design
- Fashion
- Beauty
- Visual storytelling
Dreamina helps you realize the AI art of your dreams by allowing you to blend multiple layers of AI-generated imagery onto a single canvas. You can explore many styles and ideas and bring your vision to life.
Step 1: Create an Account on Dreamina AI
- Go to the Dreamina AI website
- Click on Sign in
- Choose Continue with Google to quickly create your account using your Google login
Upon signing in, you'll receive 120 free credits to get started. These credits let you:
- Generate high-quality images
- Try different styles
- Explore all features of Dreamina AI without any payment
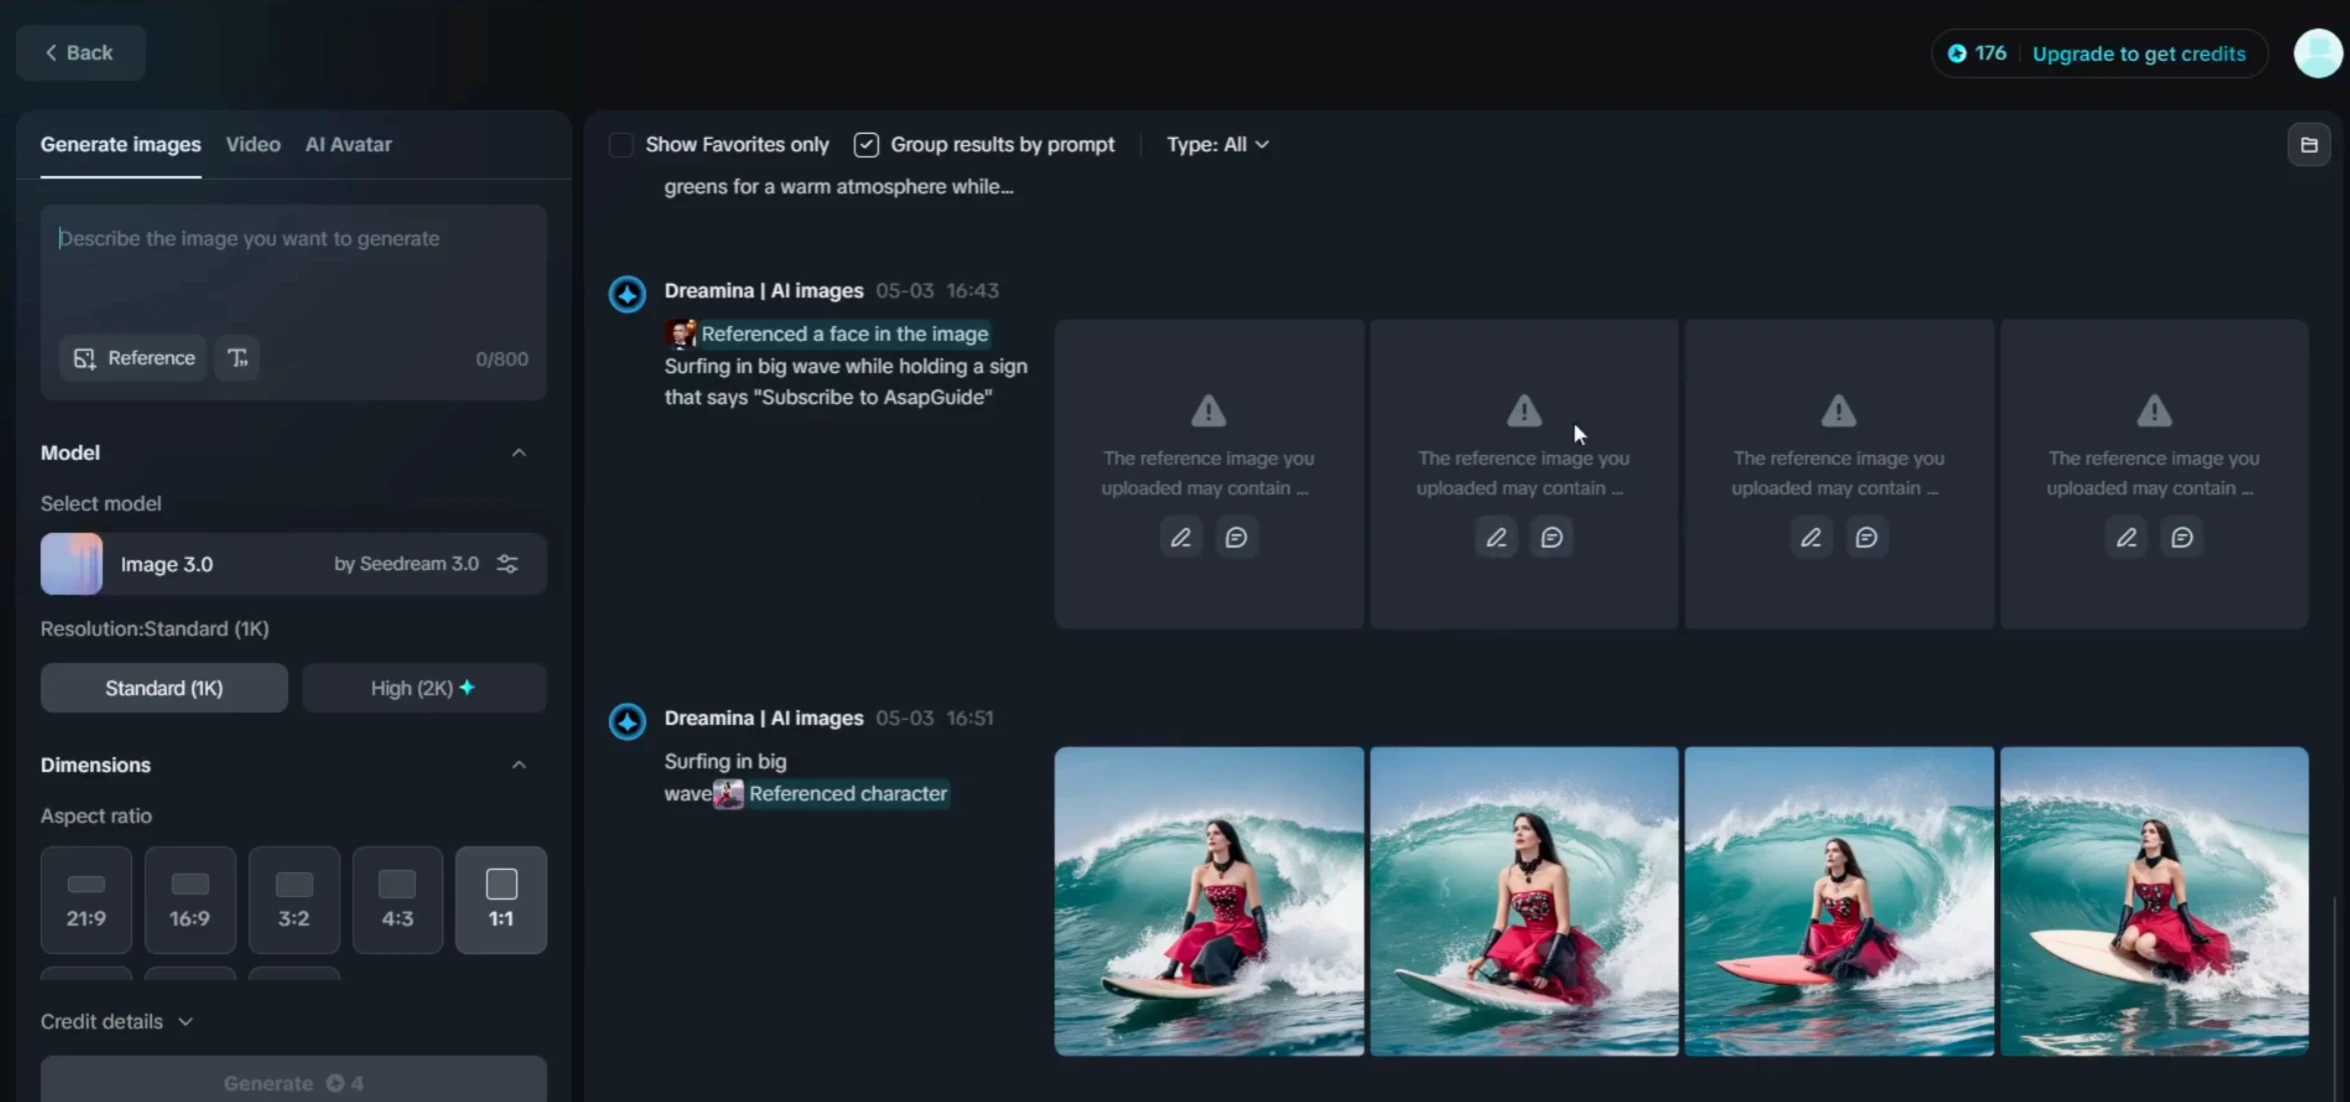
Step 2: Use the Image Generator
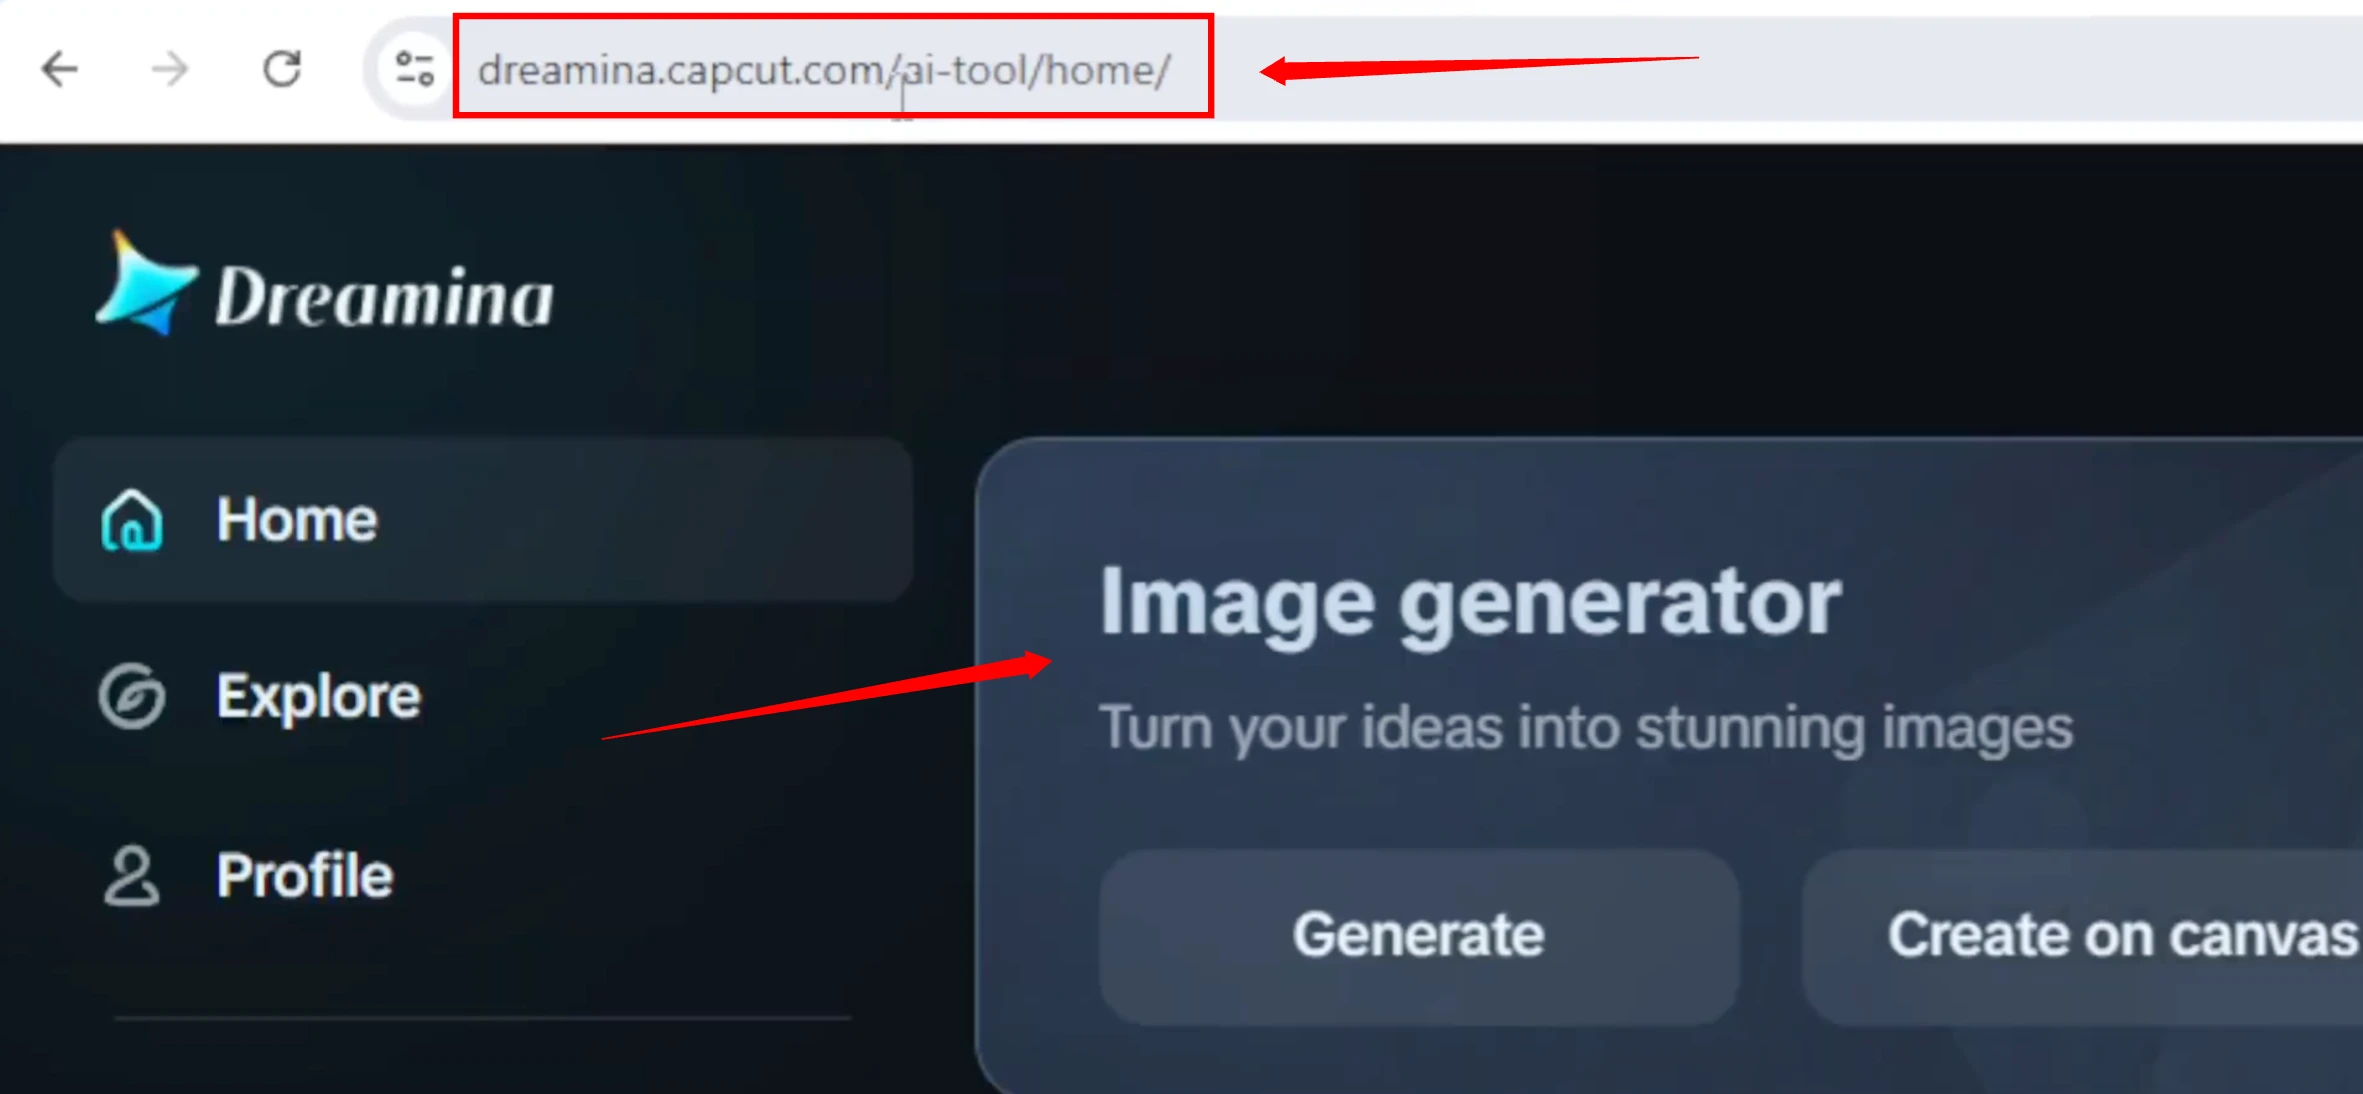
Here's how to get started:
- Prompt Box: Type a description of the image you want to create
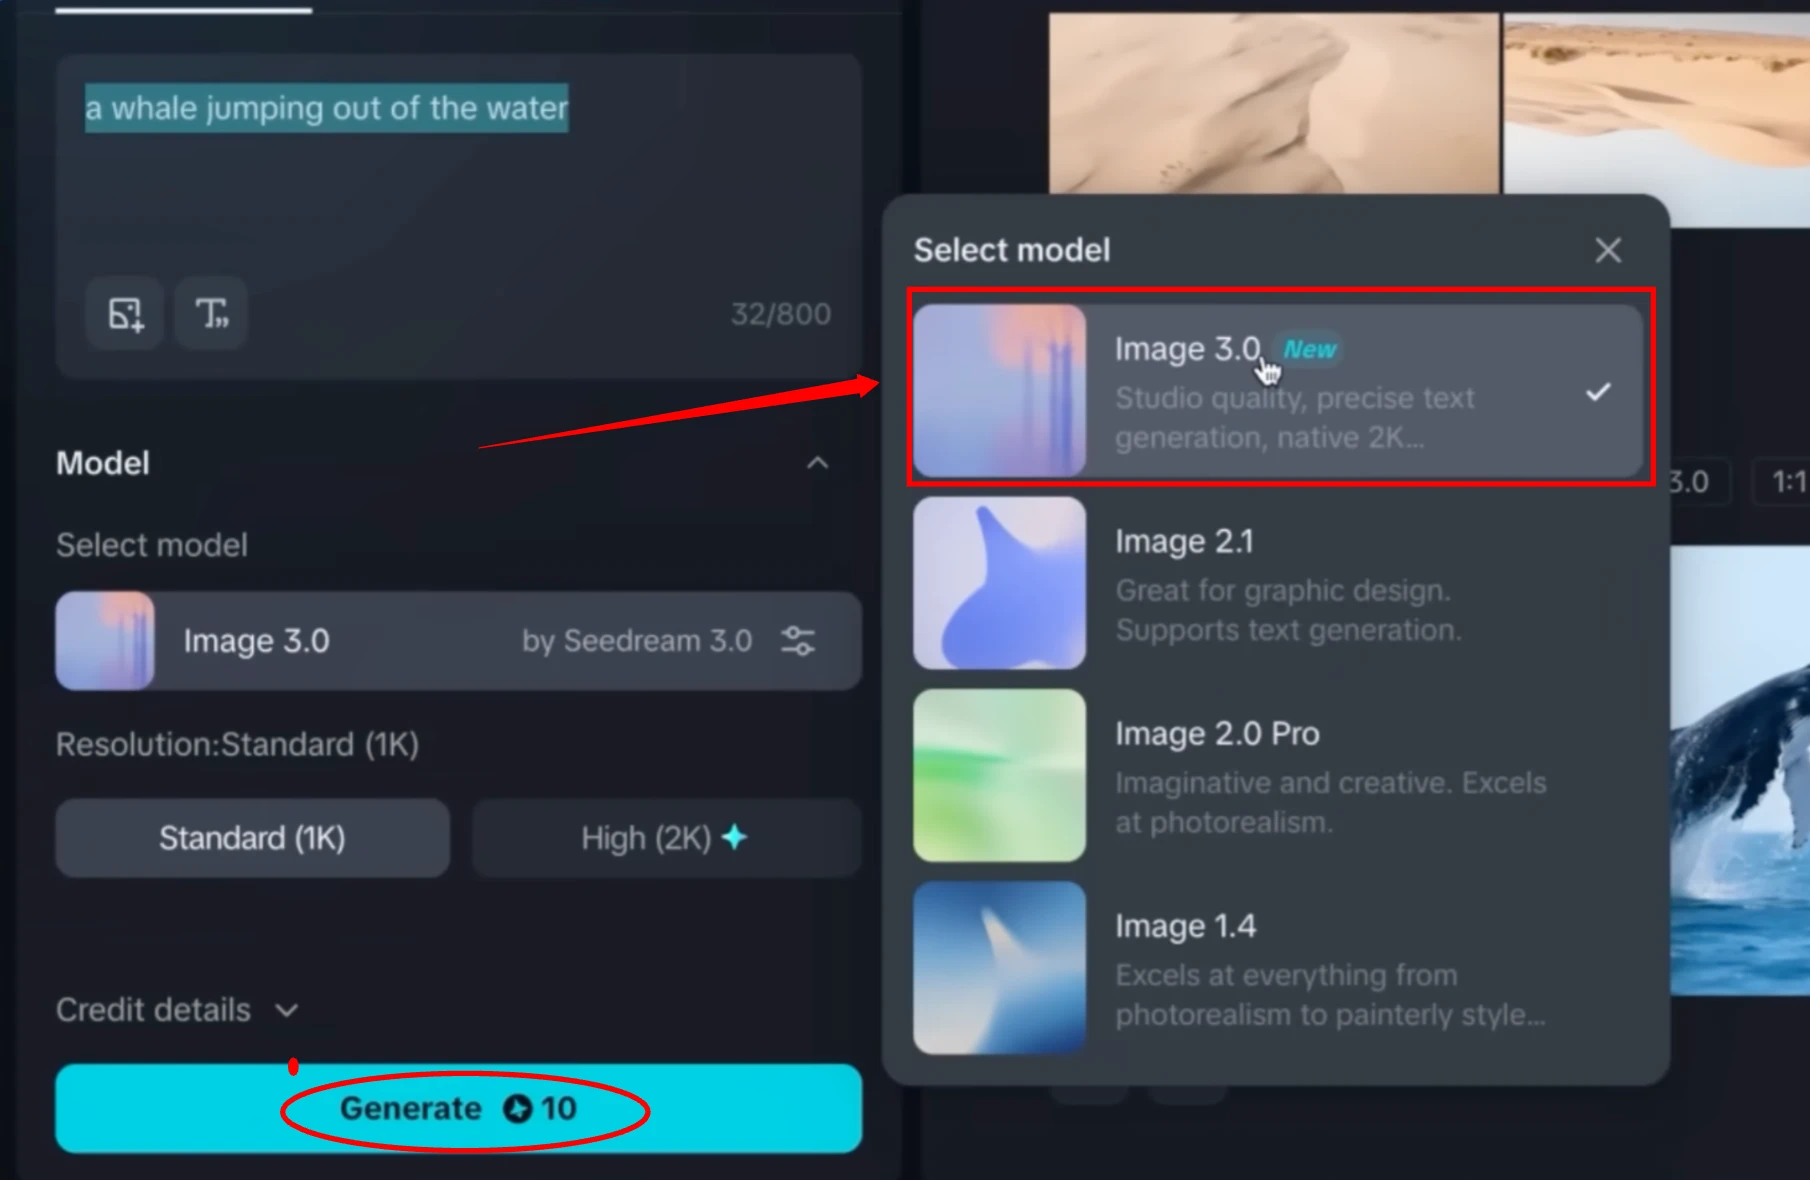
- Model Option:
- Dreamina offers multiple AI models
- For this tutorial, select Image 3.0 (the latest one)
- Resolution Setting:
- Choose Standard 1K for a good balance between speed and quality
- Aspect Ratio:
- Options include square, vertical, horizontal
- Select 16:9 for widescreen images
Once you set everything:
- Click Generate
- Wait a few seconds, and Dreamina AI will create a beautiful image

Step 3: Choose and Download Your Image
Dreamina generates four different versions of the prompt.
Each image:
- Has a unique style or interpretation
- Is detailed and professional
After choosing your favorite:
- Click the Download button to save it
Additional Prompt Options
At the bottom, you'll see:
- Regenerate – Creates new variations of the same prompt
- Reprompt – Edit or change your original prompt to try a different concept
You can also scroll down to see images created by other users to spark your creativity.
Step 4: Image Editing Options
Dreamina provides a Canvas Editor for in-depth editing.
Features:
- Upload your own image or use the text-to-image generator
- Retouch, fix, or build on top of existing designs
Getting Started:
- Click on Canvas Editor
- Choose an image (upload or generate)
- Begin editing with the following tools:
Tool 1: Retouch
Use this for:
- Smoothing skin
- Fixing imperfections
- Enhancing image areas
Steps:
- Click Retouch
- View the before and after comparison
- Click Export
- File type: PNG
- Size: 1x or 2x (Choose 1x here)
- Export canvas
- Click Download
Tool 2: Inpaint
Perfect for fixing or changing specific areas.
Steps:
- Click Inpaint
- Select area in the image
- Type what you want to appear in the prompt box
- Click Generate
Dreamina intelligently fills the selected part with new details that blend in perfectly.
Tool 3: Expand
Used to extend image borders.
Steps:
- Click Expand
- Choose aspect ratio (landscape, portrait, square)
- Click Expand again
- Download the expanded image
Tool 4: Remove
Remove unwanted objects or people.
Steps:
- Click Remove
- Select the area you want to erase
- Click Remove
Dreamina fills the background naturally.
Tool 5: HD Upscale
Used for increasing image resolution.
Steps:
- Click HD Upscale
- Dreamina processes and enhances your image
Tool 6: Remove Background
For transparent backgrounds.
Steps:
- Click Remove Background
- Hit Remove
The background is erased in seconds, leaving a transparent subject.
Step 5: Trending Image Styles
Here are three trending types of image generation:
Style 1: Ghibli Image
Steps:
- Go to Image Generator
- Type a Ghibli-style prompt
- Set your:
- Model
- Resolution
- Aspect ratio
- Click Generate
- Choose and download your favorite image
I also generated several other Ghibli-style images earlier. These can inspire your next artwork.
Style 2: Viral Action Figure Image
Steps:
- Go to prompt box
- Type a prompt for a viral action figure
- Use ChatGPT to help you craft a perfect prompt (optional)
- Set aspect ratio to 16:9
- Click Generate
Now you'll get four unique variations with perfect lighting and poses.
More styles and prompts for action figures are available for further inspiration.
Style 3: Poster Creation
Steps:
- Type your poster-style prompt
- Set the aspect ratio to 16:9
- Click Generate
- Choose your favorite poster image and download it
Several poster examples are shown below in the tool for reference.
Step 6: Create a Talking AI Avatar (Lip-Sync)
Dreamina lets you animate an avatar with lip-sync!
Steps:
- Go to Lip Sync
- Upload your character image
- Choose generation mode:
- Master
- Fast (for quick results)
- Pick:
- Text to Speech, or
- Upload your own audio
- Type in the speech
- Select a voice (e.g., Cute Boy)
- Adjust speaking speed
- Click Generate
Sample output:
"Hey, this is Dreamina AI. I hope you're learning well."
Here are a few more sample avatars:
- "Hello guys, let's play the hide and seek game."
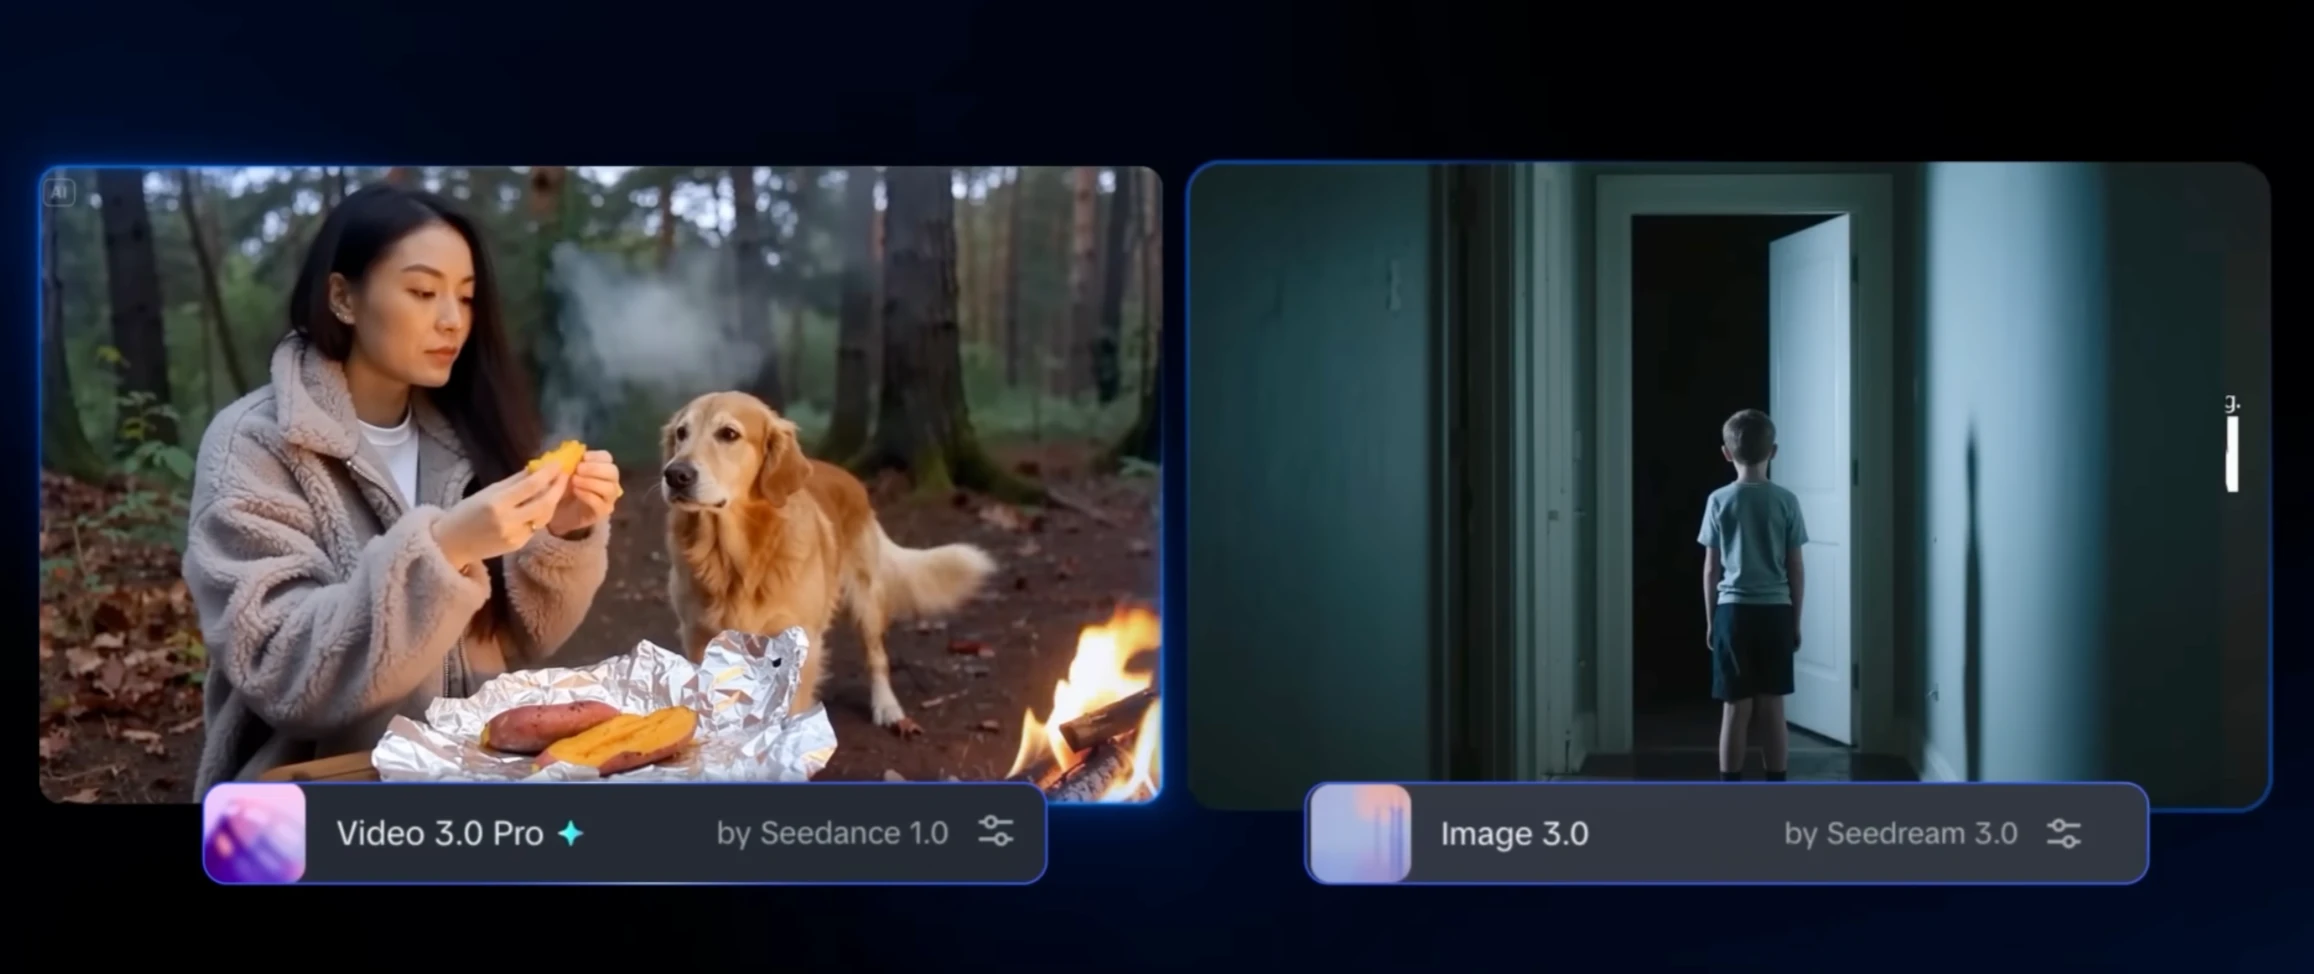
Step 7: Video Creation with Videos 2.0 Pro
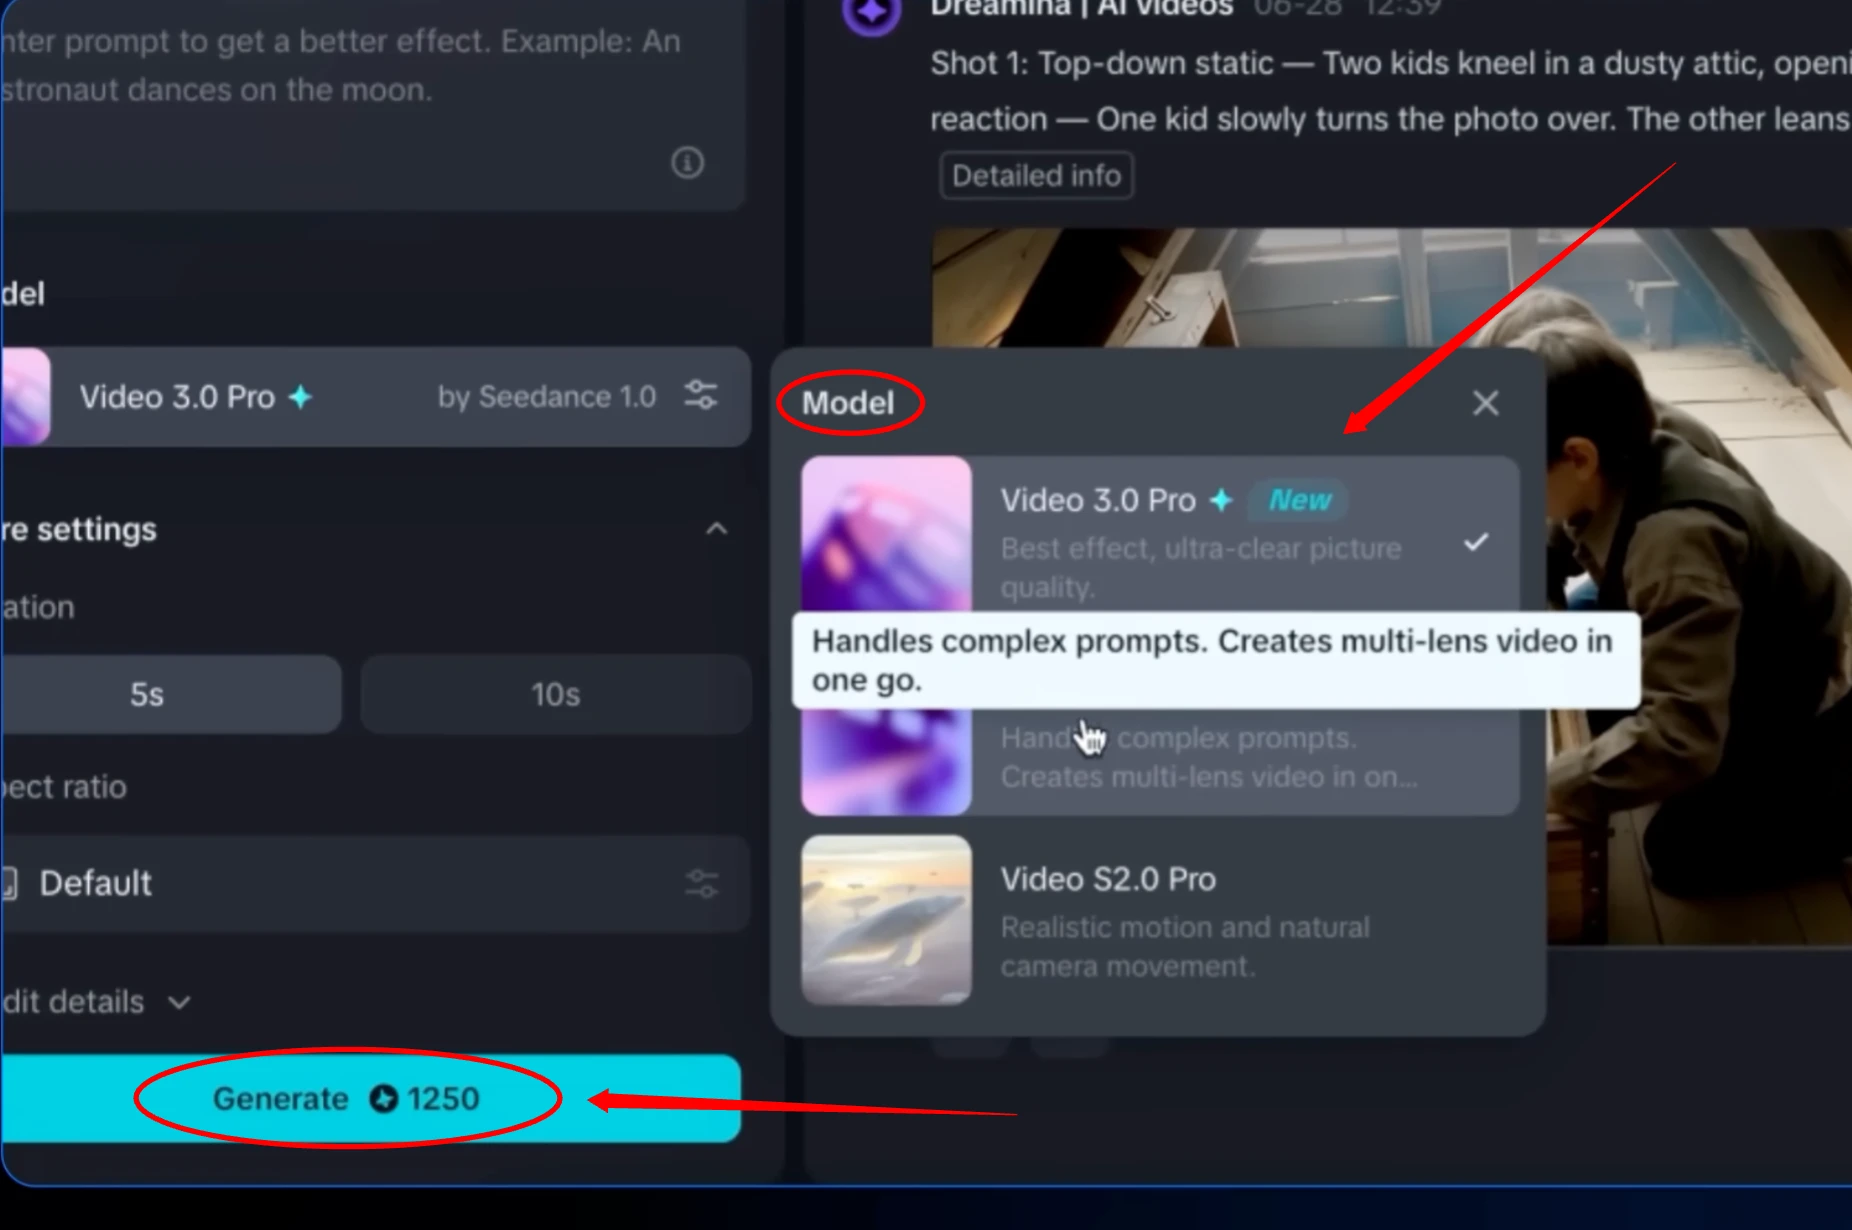
Videos 2.0 Pro turns text, images, or voice into cinematic videos.
Option 1: Text Prompt to Video
Steps:
- Go to Video Generator
- Select Text Prompt
- Type or paste your prompt
- Choose Videos 2.0 Pro model
- Set aspect ratio (e.g., 16:9)
- Click Generate
Dreamina creates a smooth and detailed video. You can download it with a click.
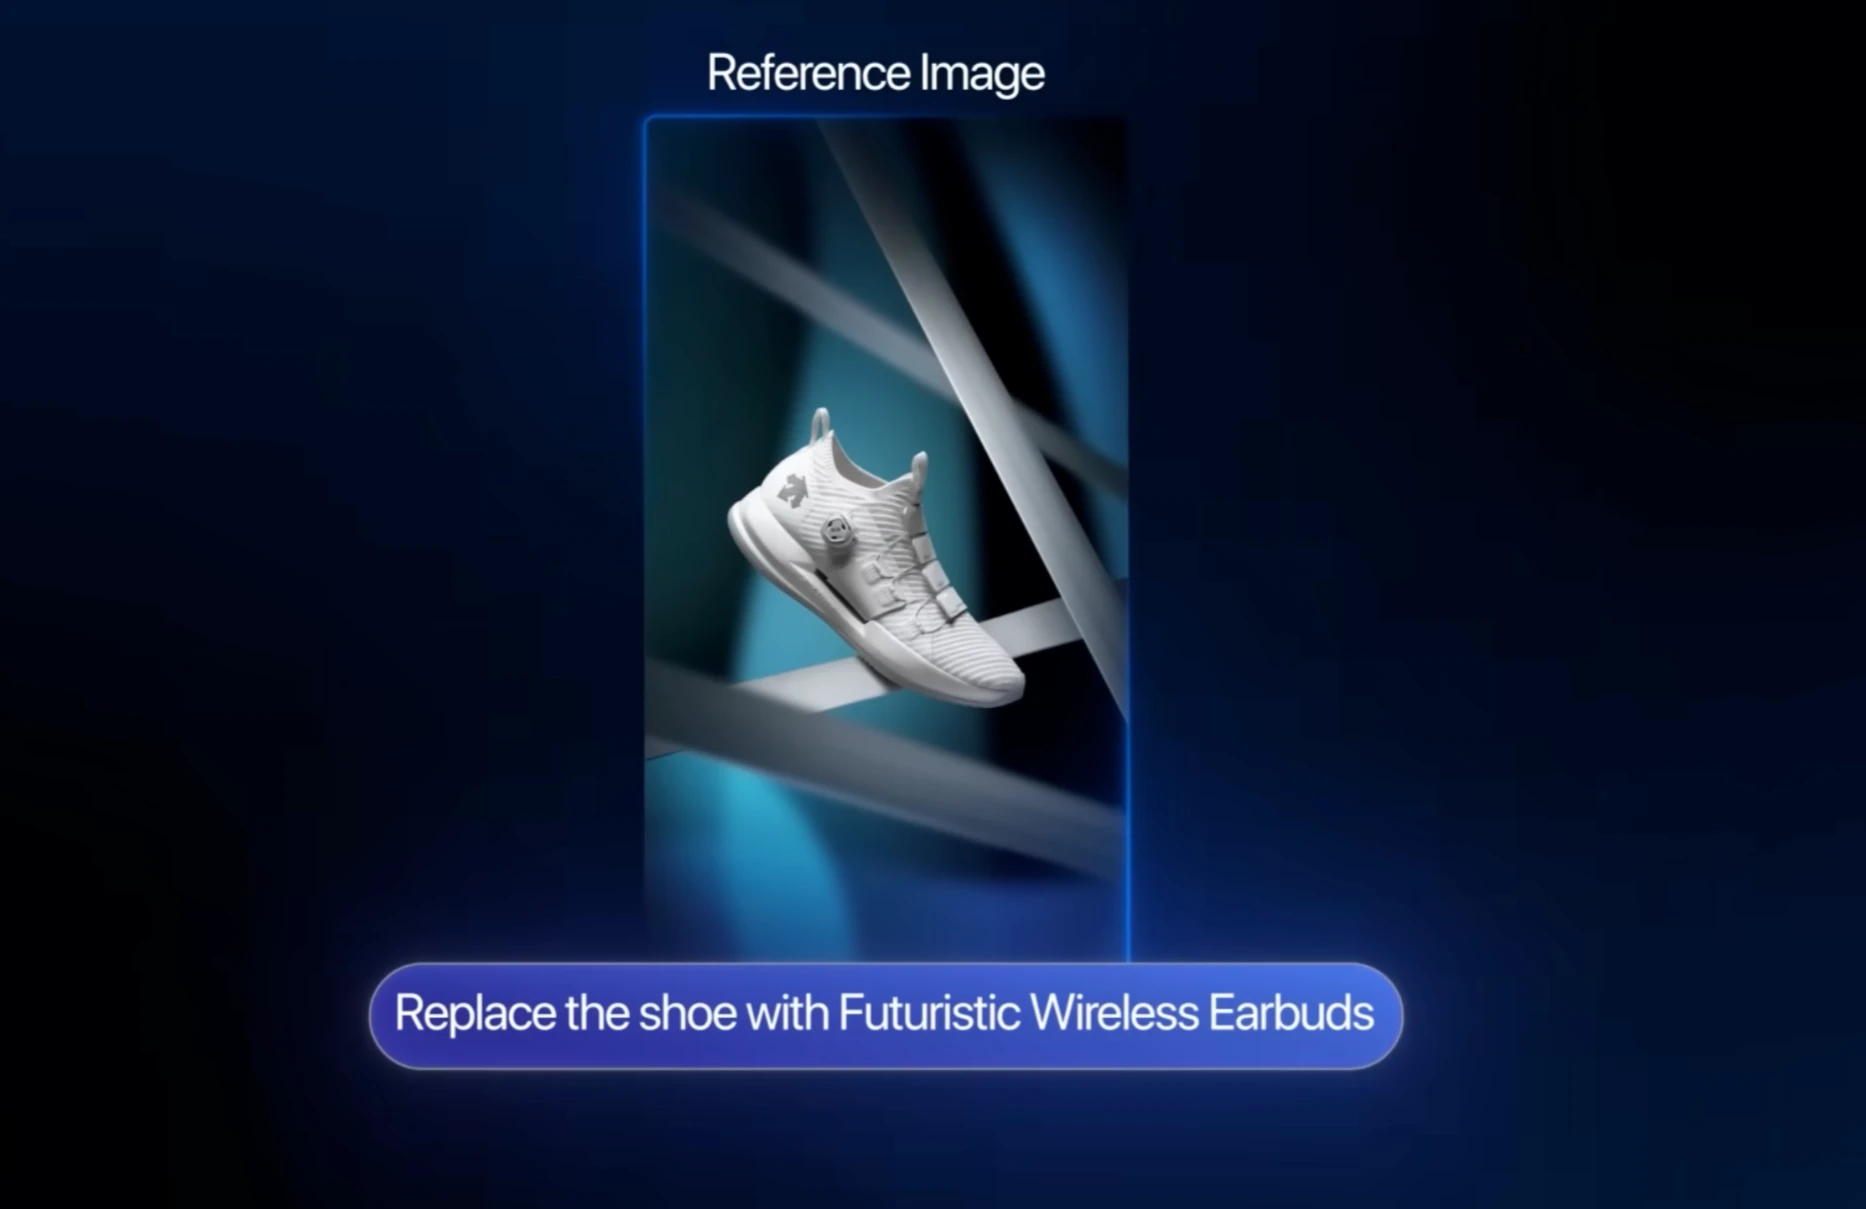
Option 2: Image Prompt to Video
Steps:
- Click Image Prompt
- Upload the image
- Type a guiding prompt
- Choose Videos 2.0 Pro
- Click Generate
Dreamina transforms your image into a visual story.
Conclusion
Dreamina AI is a complete visual creation tool that allows you to:
- Create realistic AI images from text
- Edit and enhance with tools like Inpaint, Expand, Remove, HD Upscale
- Generate trending styles like Ghibli, posters, and action figures
- Animate characters with lip-sync
- Turn ideas into professional-quality videos