Product Advertising Poster Design in Dreamina AI
Creating professional product posters no longer requires extensive design skills or expensive software. Today, I will guide you through the exact process of creating stunning, commercial-ready posters in just a few minutes using Dreamina AI, which is part of the CapCut all-in-one AI creative platform.
Dreamina is powered by the Seedream 3.0 model, which is highly regarded for image generation. The most impressive part of this tool is that it allows you to generate professional posters using only natural language prompts. You don’t need any prior design experience to achieve polished results.
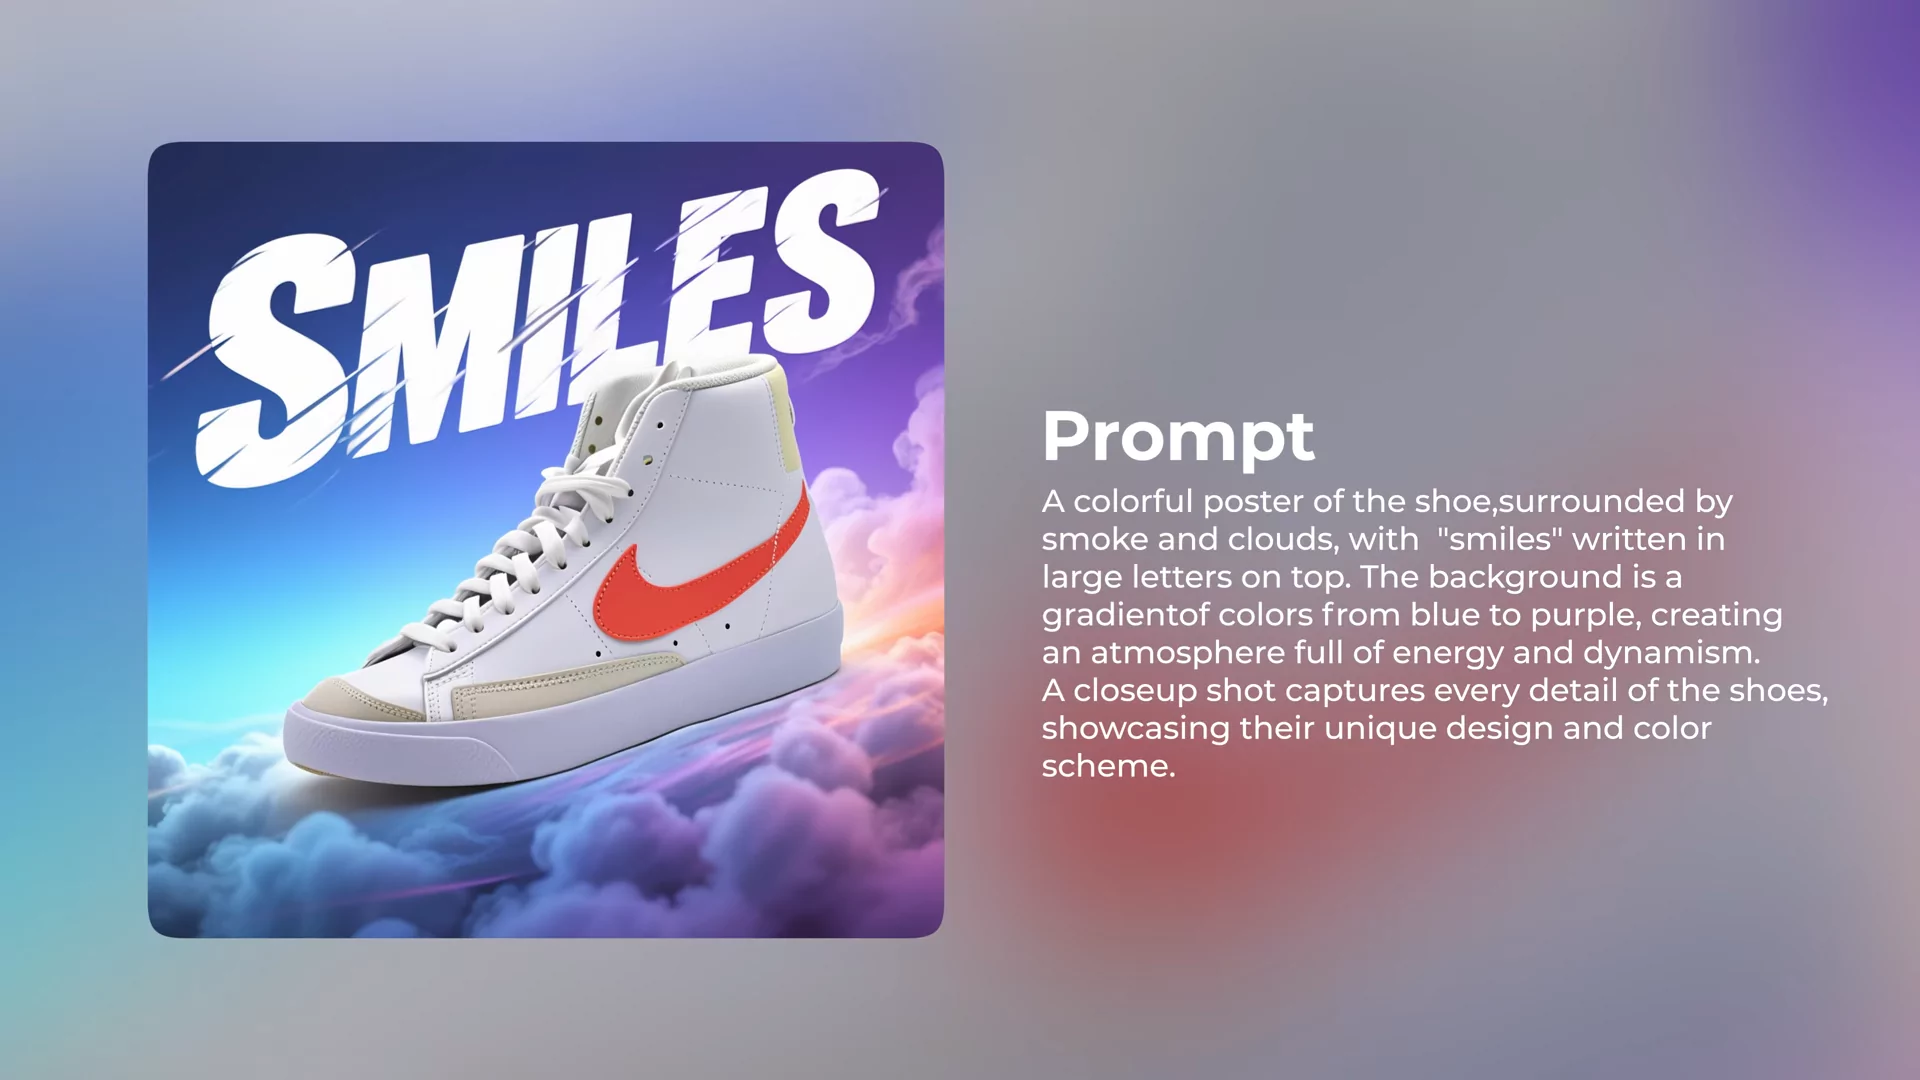
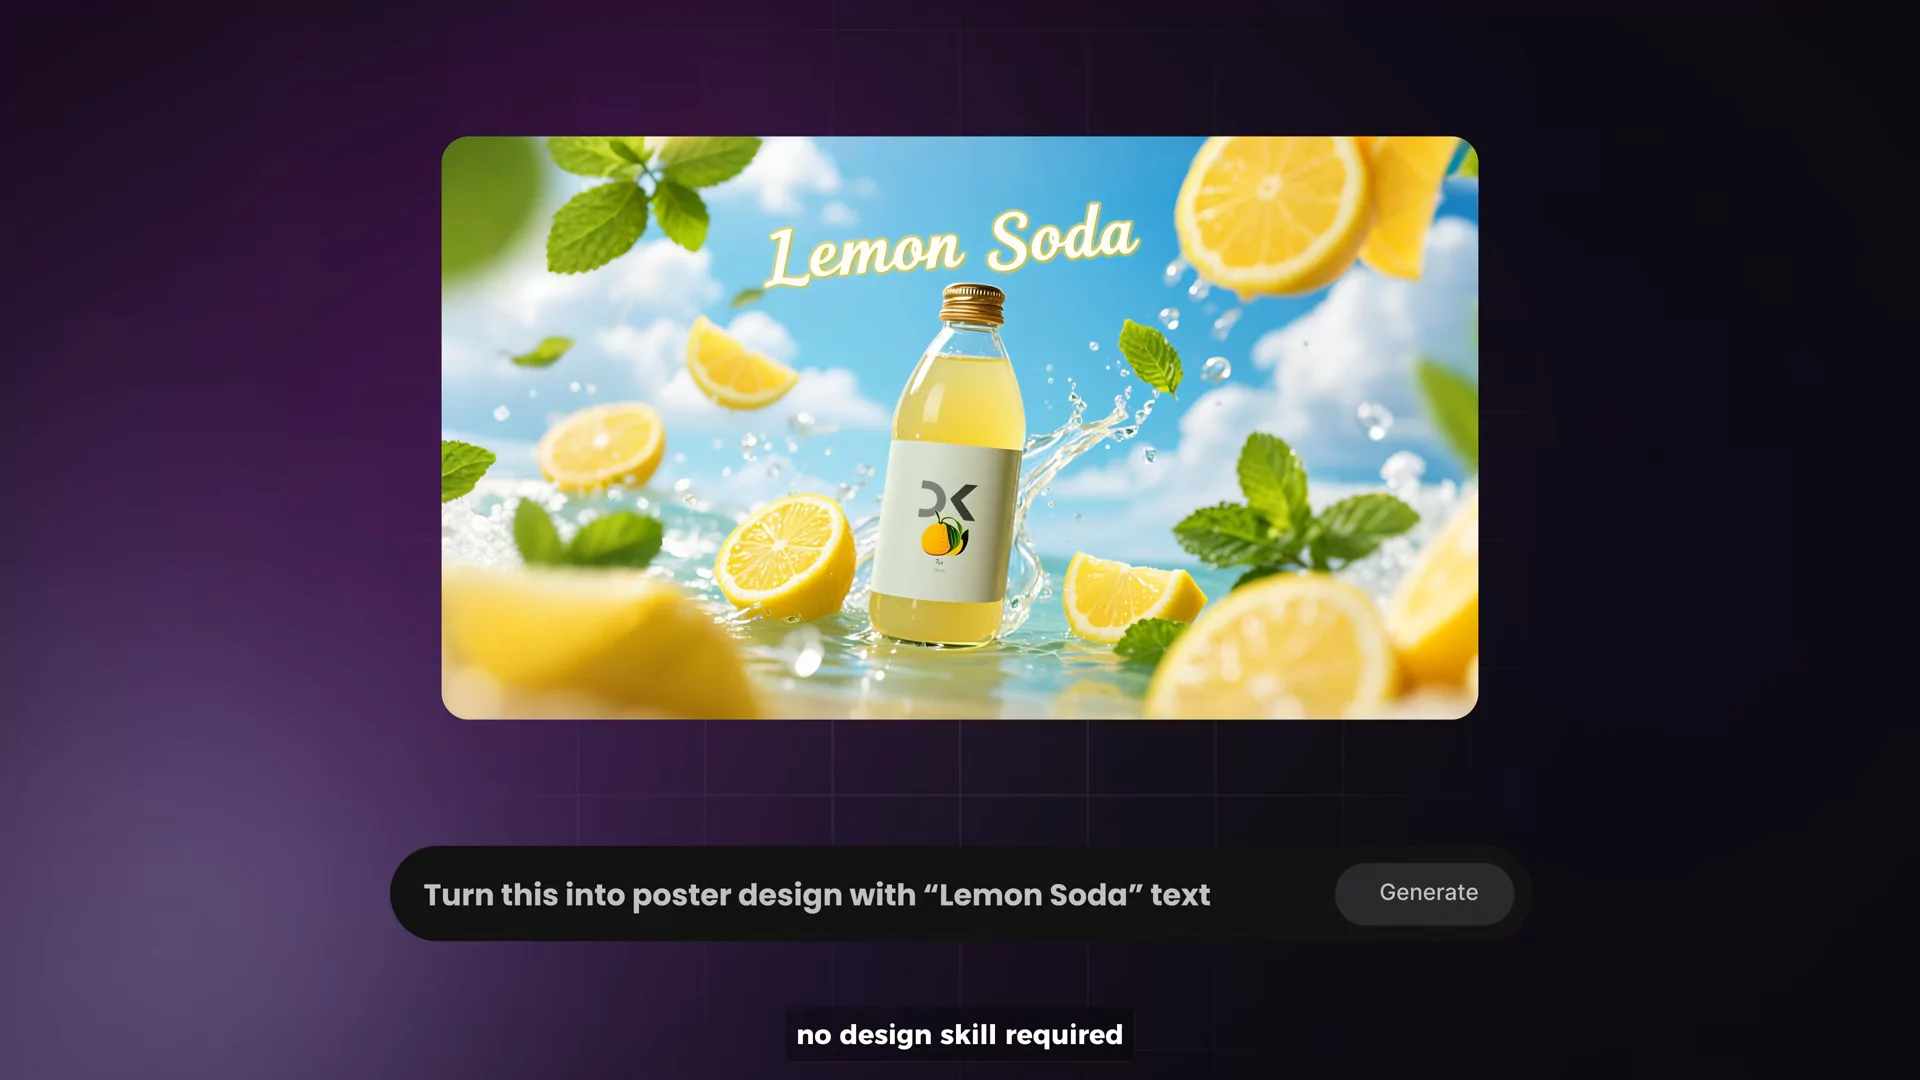
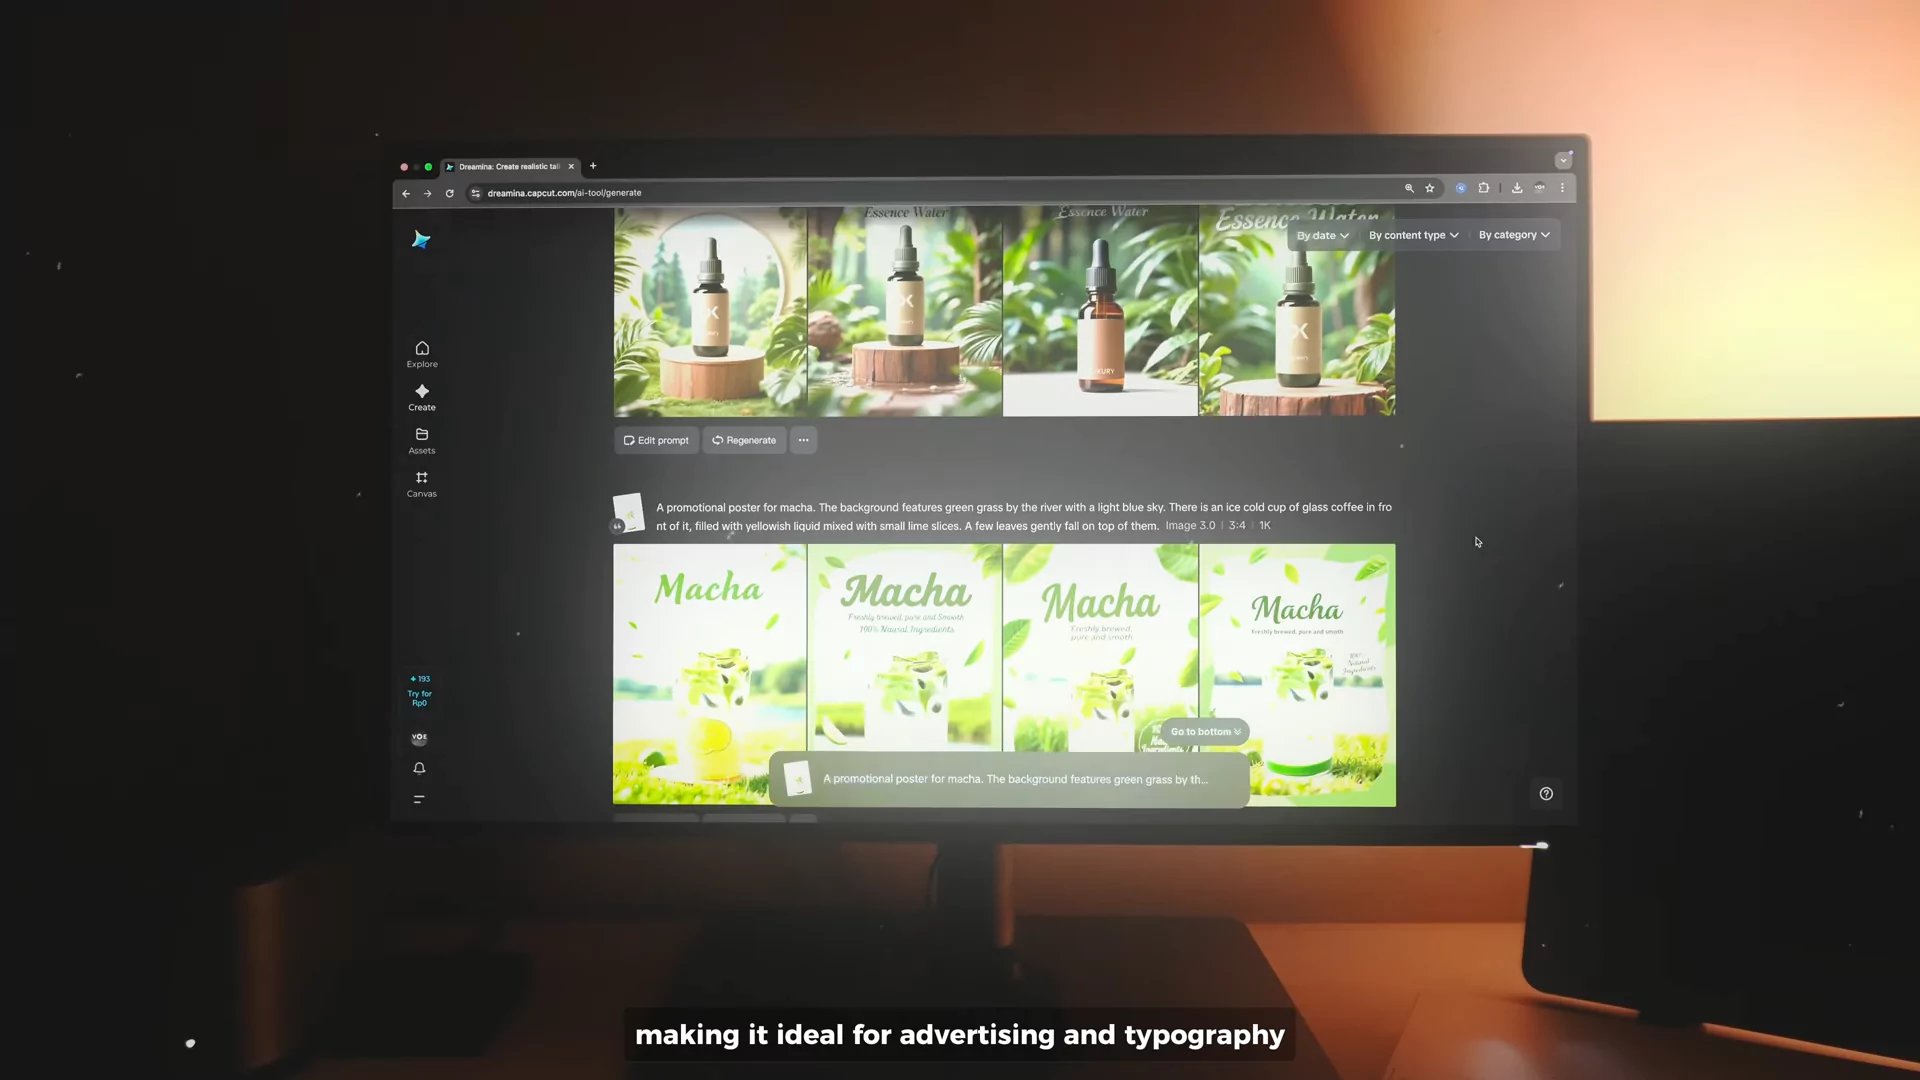
The tool also generates perfectly rendered text inside the image, avoiding random letters or messy typography. This makes it ideal for creating posters with headlines, taglines, and typography-focused designs.
In this guide, I’ll take you step-by-step through the process of designing a product advertising poster.
Why Dreamina AI Is Perfect for Product Poster Design
Before we jump into the tutorial, here’s what makes Dreamina AI an excellent choice for creating posters:
- Natural Language Input: Simply type what you want, like you’re describing it in everyday words.
- Accurate Text Rendering: The text appears exactly as you type it — no gibberish or random symbols.
- Preserves Product Integrity: The tool never alters your product image; it only works on the background and layout.
- Commercial Use Safety: Since your product remains untouched, the output is safe for marketing purposes.
- High-Resolution Outputs: Posters are generated in native 2K resolution, making them print-ready.
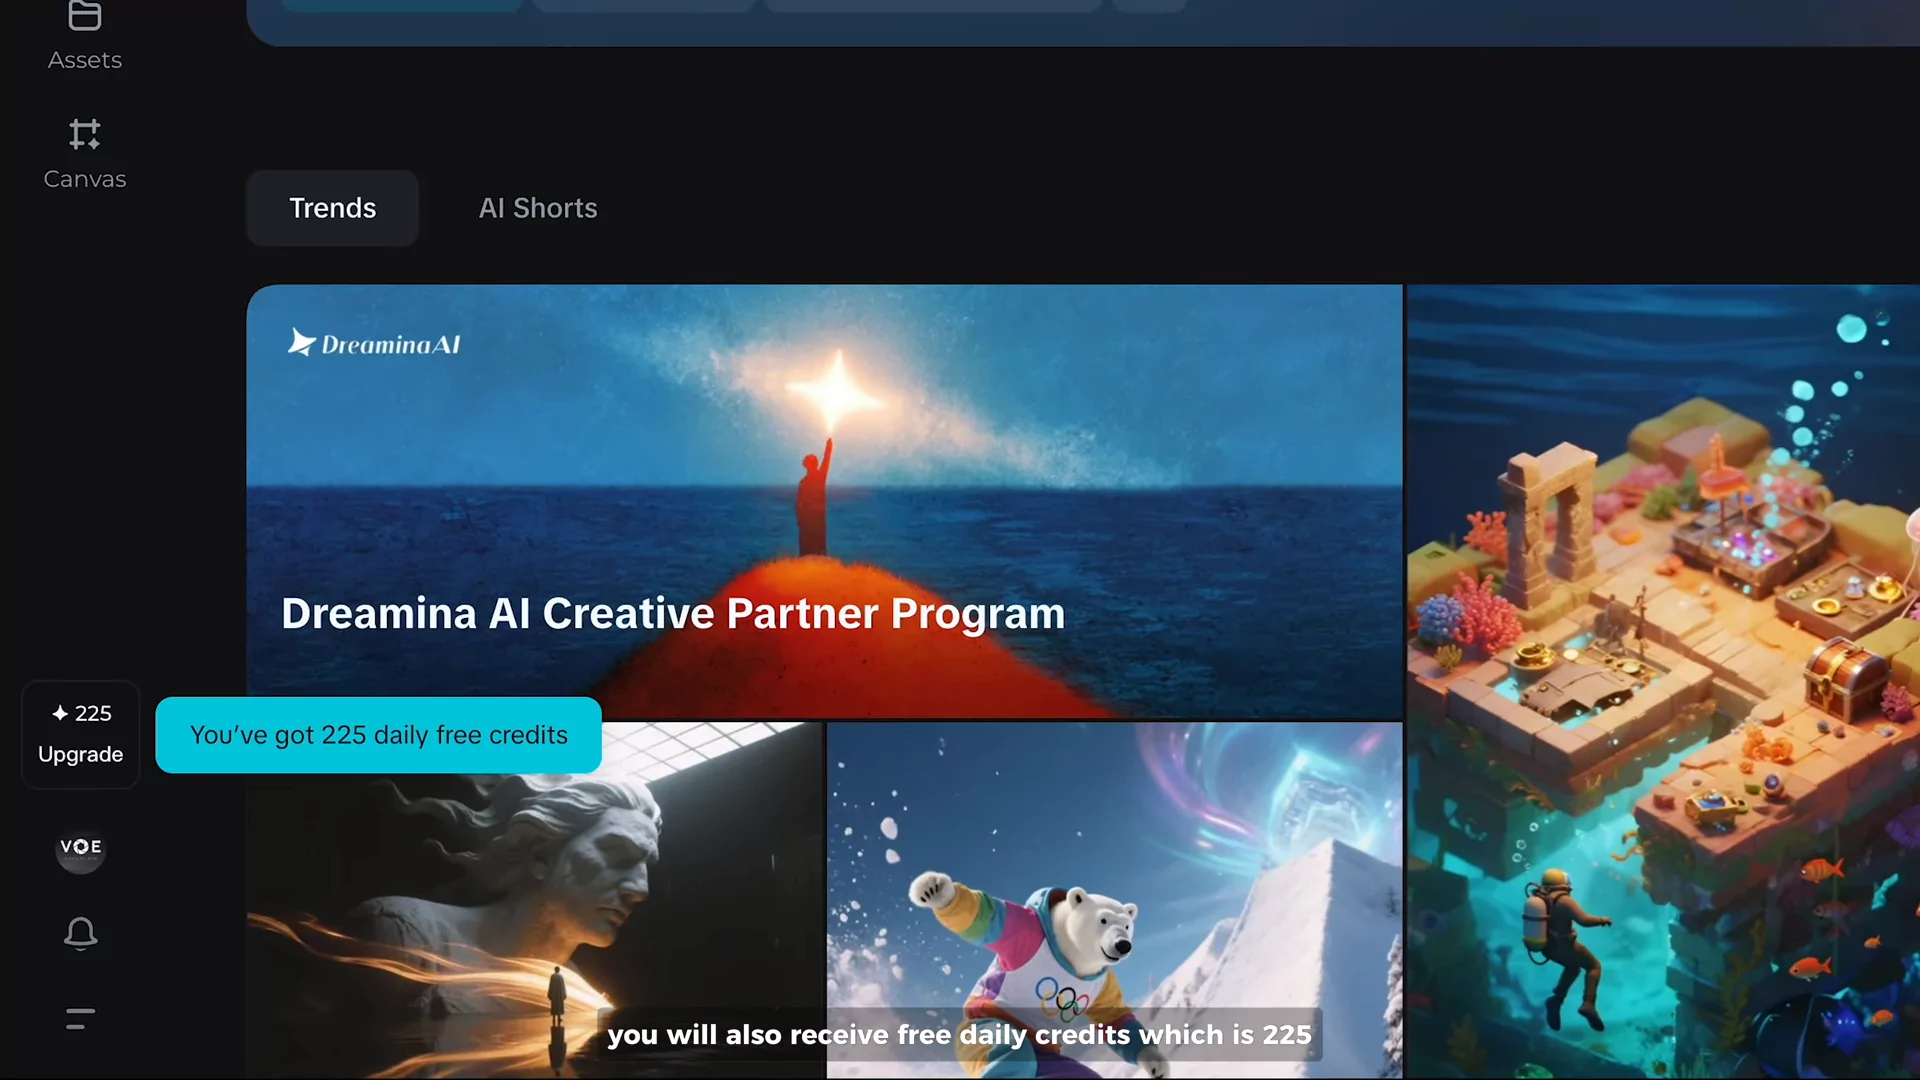
- Free Daily Credits: You get 225 free credits per day to start designing.
- Cost Efficiency: No need for costly software like Photoshop or Canva for manual layouts.
Step-by-Step Guide to Creating a Product Poster
Follow the steps below to create your own professional product poster in Dreamina AI.
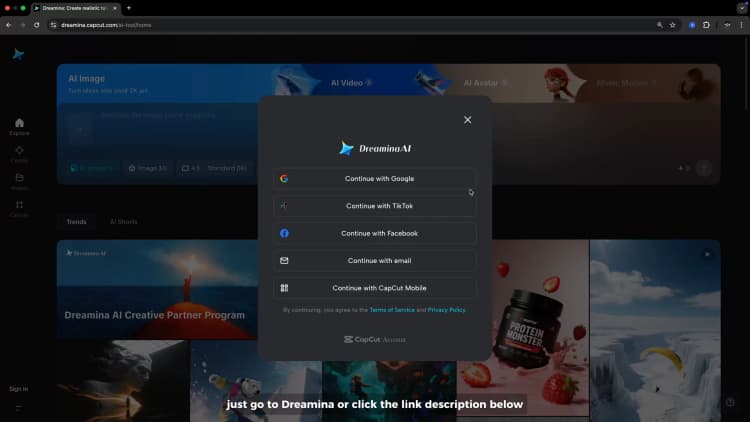
Step 1: Sign Up for Dreamina AI
- Visit the Dreamina AI website and sign up for free.
- Once registered, you will receive 225 free daily credits, which is enough to test and create a few designs.
- No upfront payment is needed unless you want to upgrade later for extra benefits like watermark removal and more credits.
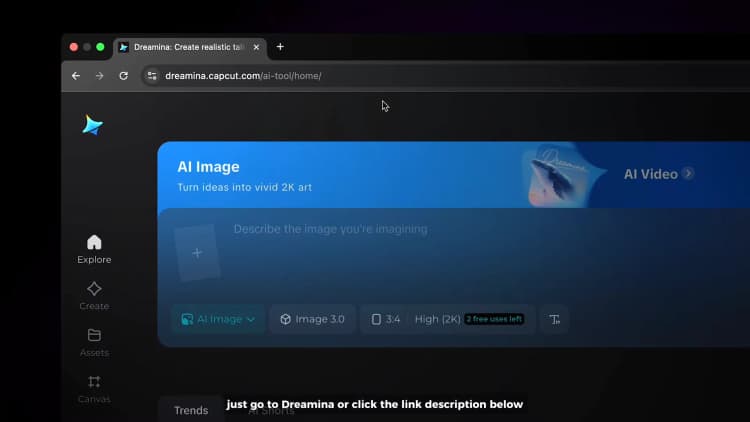
Step 2: Access the AI Image Section
- From the home menu, navigate to the “AI Image” option.
- This is where you will upload your product photo and start building your poster.
Step 3: Upload Your Product Image
- Upload the product image you want to feature in your poster.
- This image will be used as the reference point for Dreamina to design around.
Important Tips:
- Use a high-quality photo of your product for the best results.
- Ensure the product image is clear and well-lit.
Step 4: Remove the Background
Dreamina has a built-in automatic background remover to isolate your product.
- Set the Reference to Custom.
- Click Remove Background.
- The tool will automatically detect and isolate your product from the background.
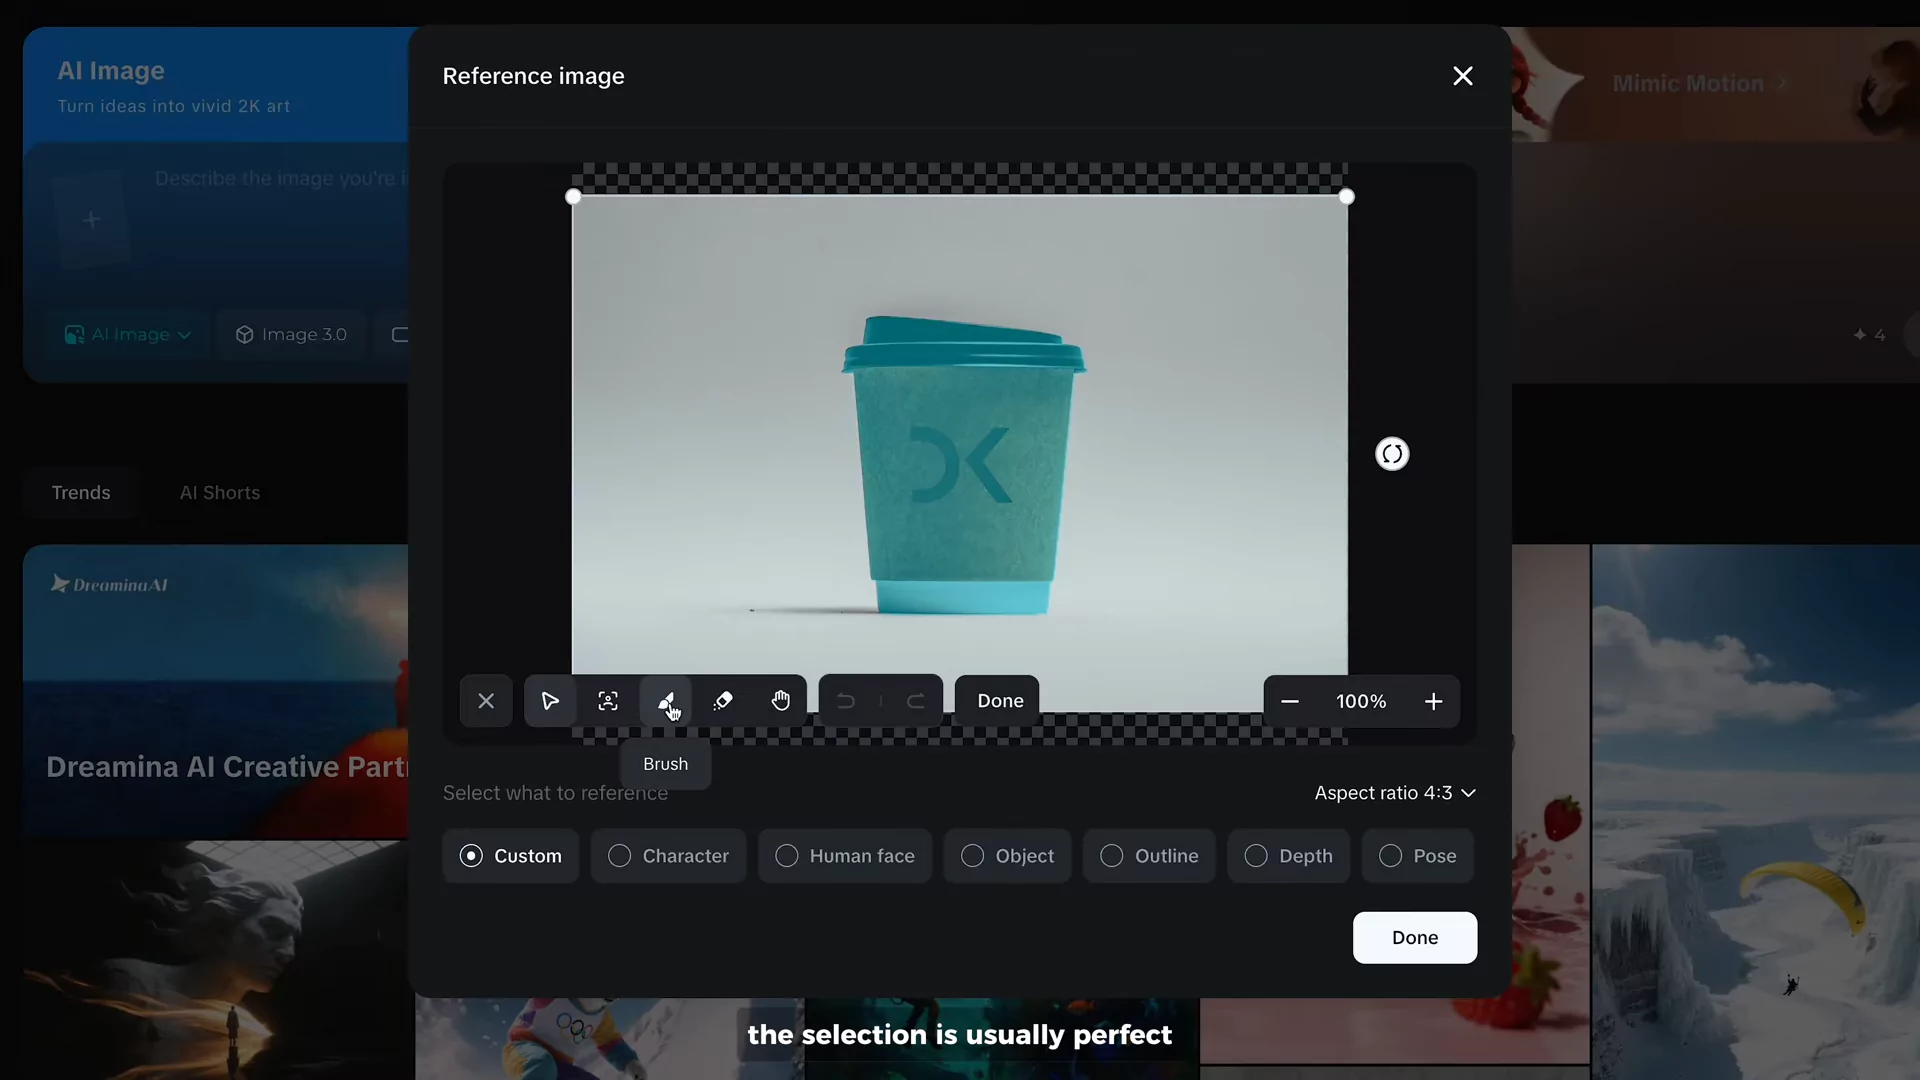
Optional Editing:
- Use the Brush Tool to fix missed areas.
- Use the Eraser Tool to clean up any unwanted spots.
This step ensures your product stands out and integrates seamlessly with the new background.
Step 5: Adjust the Aspect Ratio and Layout
- Set the aspect ratio to 4:3 for a standard poster layout.
- Adjust the size and position of your product within the frame.
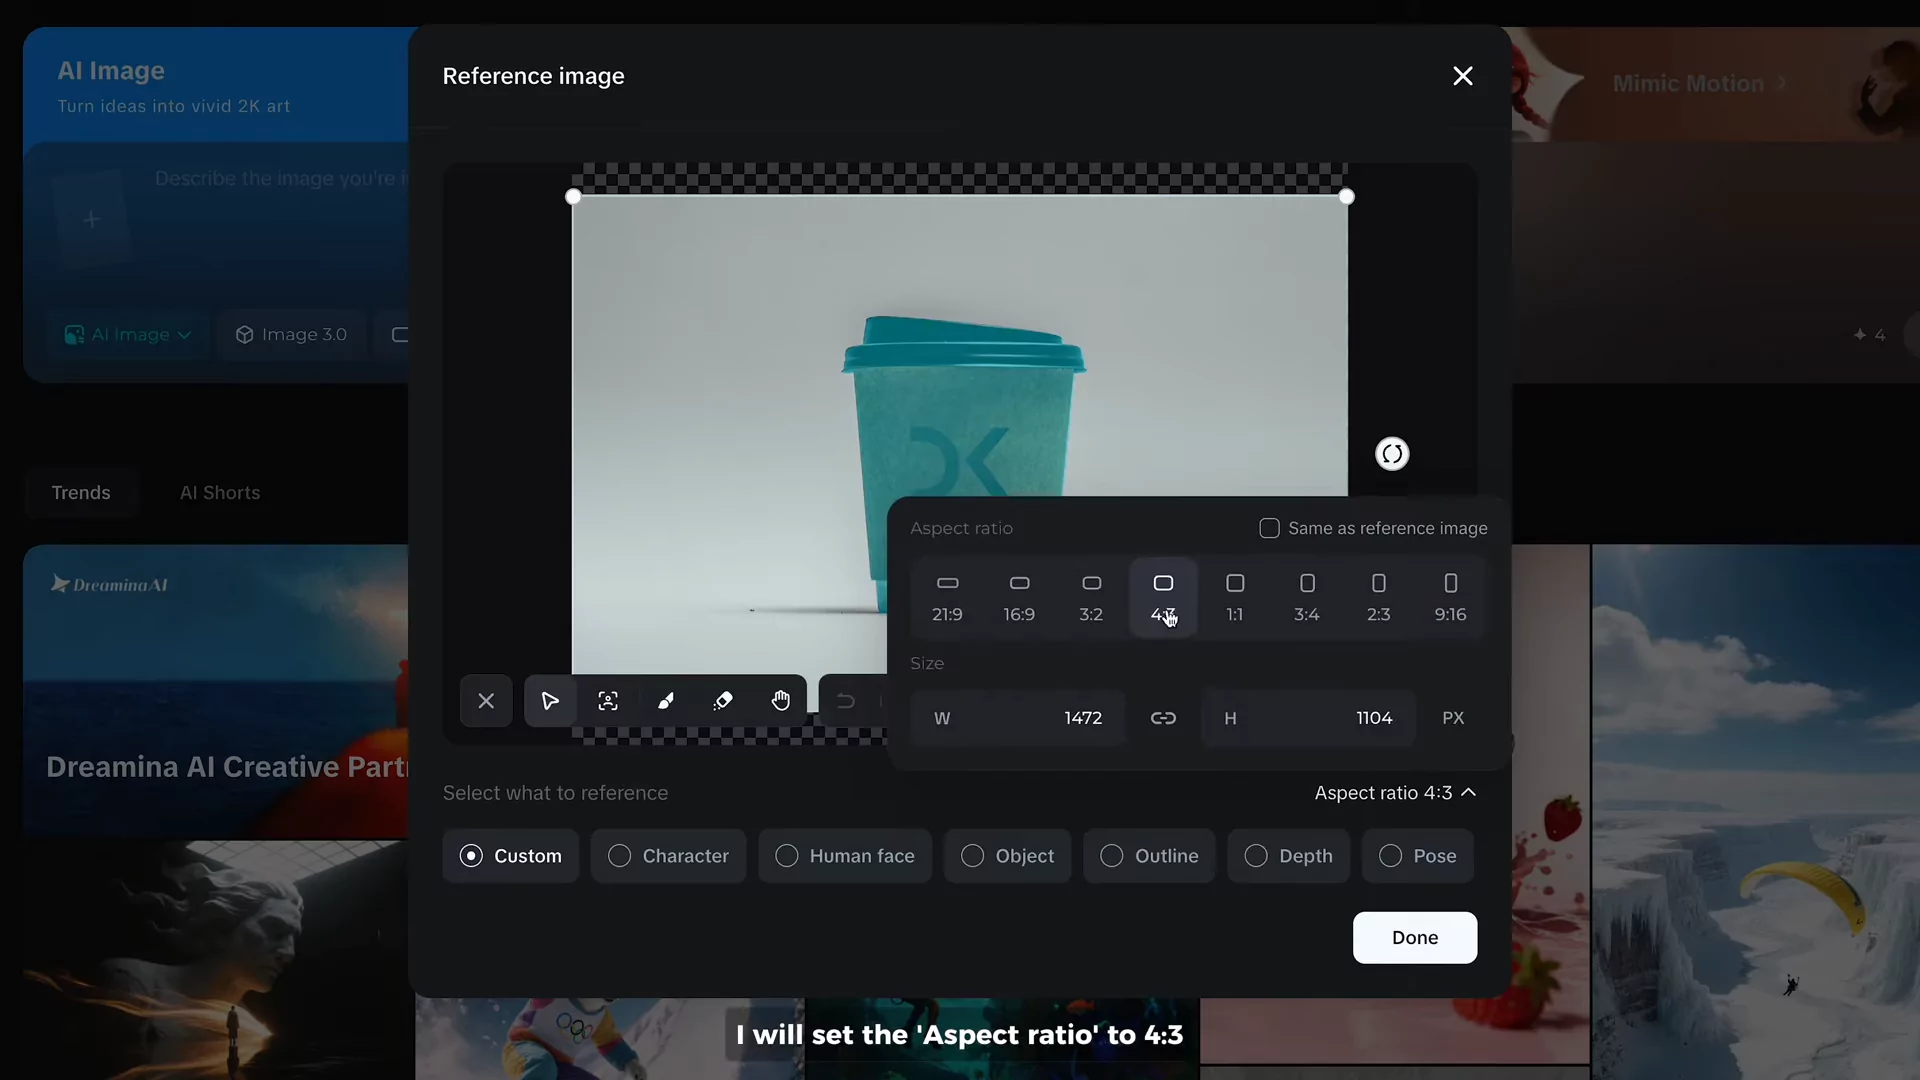
Why This Matters:
- The layout you set here directly affects the final result.
- Your product will stay in the exact position you define, while Dreamina generates the surrounding design.
Step 6: Write Your Prompt
This is where Dreamina’s magic happens. You’ll describe what you want in natural language.
- Simply write a text prompt describing the type of poster you want.
- You can include details like:
- Style (e.g., minimalist, modern, elegant)
- Background type (e.g., nature, abstract, cityscape)
- Lighting (e.g., soft, dramatic, warm)
Example Prompt:
"An elegant advertising poster with a soft golden glow, clean white background, and modern design elements."
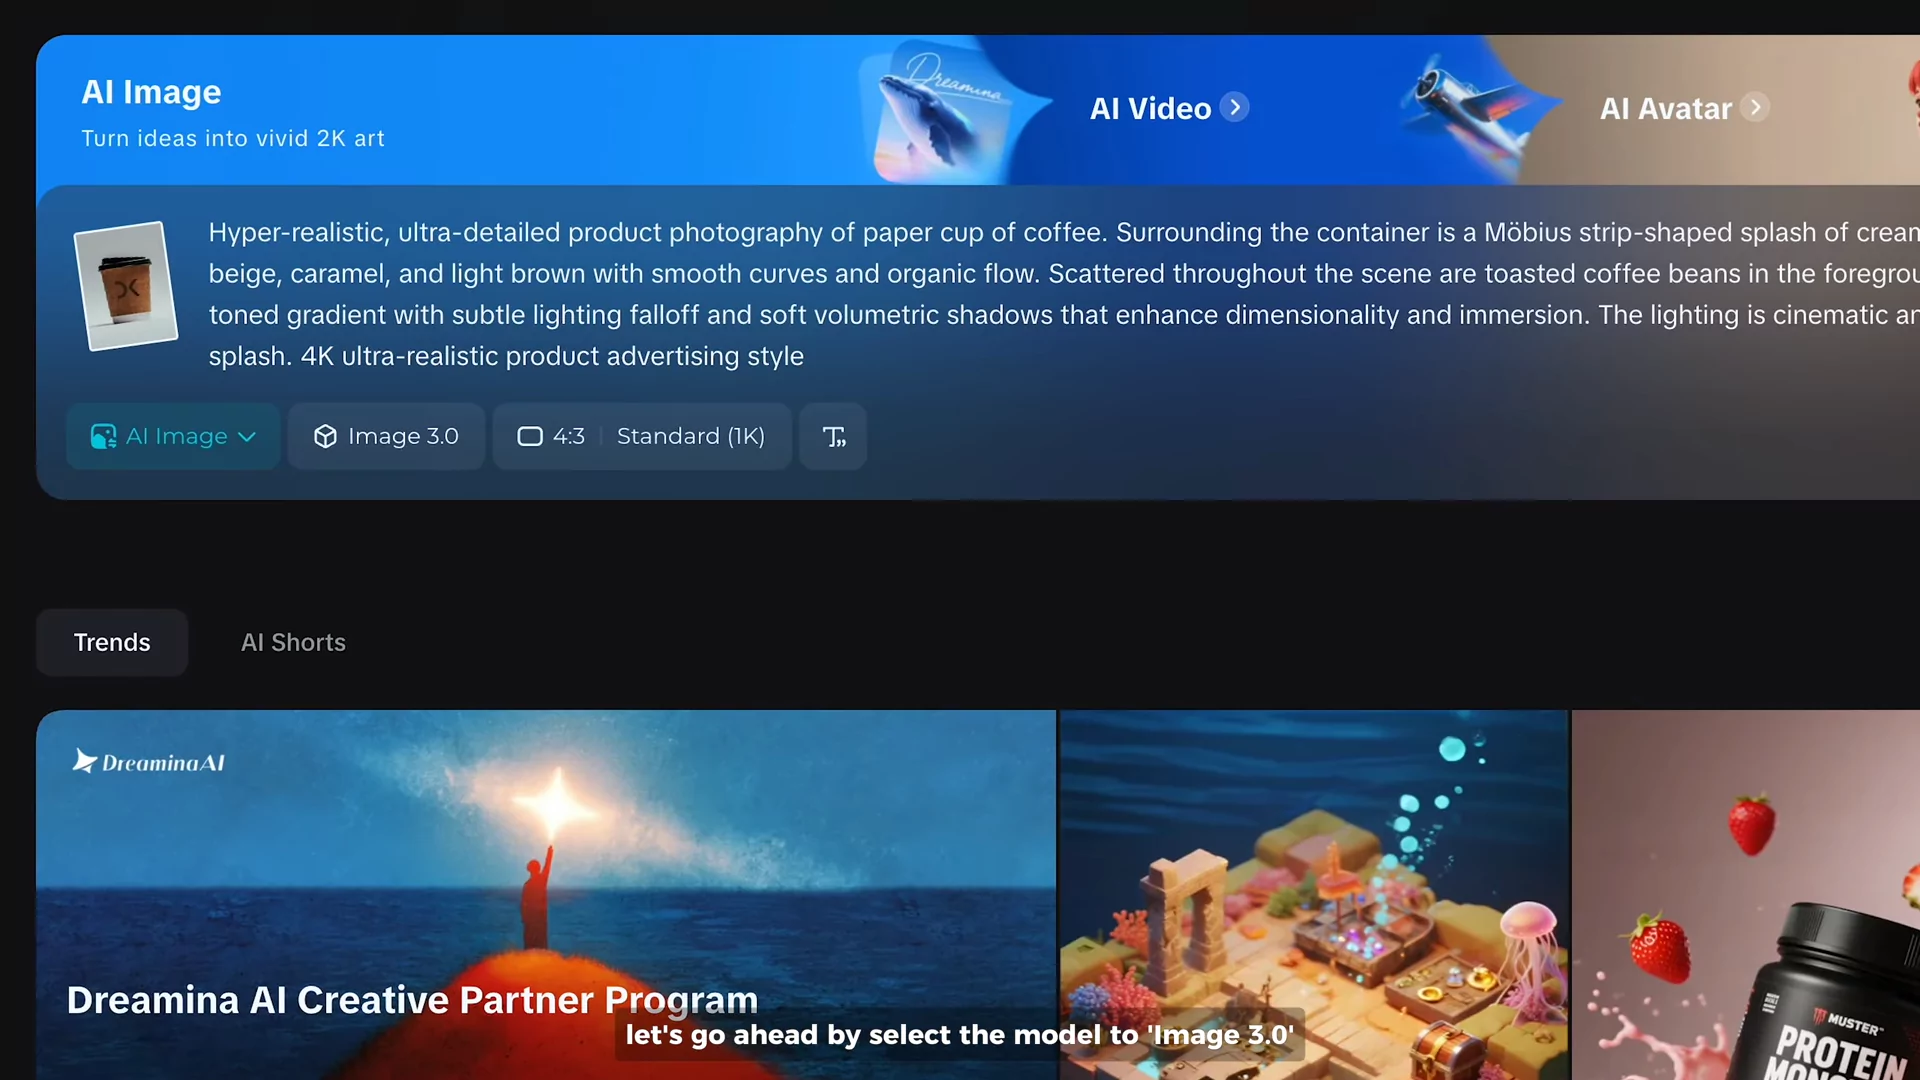
Step 7: Choose the AI Model
- Select Image 3.0 as the model.
- You can also try Image 3.1, but note that it’s still in beta testing.
Step 8: Generate Your Poster
- Click Generate and wait a few moments.
- Dreamina will produce four different poster designs based on your input.
If you’re not satisfied:
- Click Regenerate to get new variations.
Step 9: Select and Upscale the Final Image
- Click on your preferred poster.
- Hit Upscale to convert it into a high-quality 2K resolution image.
Step 10: Add Headline or Text
Dreamina can also embed text directly into your poster design. This feature ensures clean, accurate typography with no spelling mistakes or random characters.
- Add your headline or text inside double quotes within the prompt.
- You can also describe:
- Font Style (e.g., bold, cursive, modern)
- Font Color (e.g., black, white, gold)
- Click Generate again.
Example Prompt with Text:
"An elegant advertising poster with a soft golden background, featuring the product in the center, with the text 'Luxury Essence Water' in modern serif font, gold color."
Dreamina will create a complete poster with the product image and your headline perfectly integrated.
Step 11: Review the Output
- The generated poster will contain your text exactly as typed.
- There will be no weird spelling errors or broken letters.
- This makes it suitable for direct commercial use without additional editing.
Why Dreamina Is Safer for Commercial Products
When uploading your product to Dreamina, your product image remains exactly the same:
- No alterations to its shape, colors, or details.
- Only the background and surrounding layout are optimized.
Dreamina eliminates this issue, making it a reliable solution for commercial projects.
Printing Your Poster
All Dreamina-generated posters are created in native 2K resolution, which is print-ready.
This means you don’t need to upscale the image further for professional printing.
Free Plan vs. Paid Plan
| Feature | Free Plan | Paid Plan |
|---|---|---|
| Daily Credits | 225 | Higher Limits |
| Watermark Removal | ❌ Not Included | ✅ Included |
| Image Resolution | 2K Native Resolution | 2K Native Resolution |
| Access to Beta Models | Limited | Full Access |
Benefits of Upgrading
- More daily credits for bulk designing.
- Watermark-free posters ready for commercial distribution.
- Access to new features and beta models.
Key Time-Saving Advantages
- No Manual Layouting: Skip manual design work in tools like Photoshop or Canva.
- Instant Results: From upload to final poster in just a few minutes.
- Typography Accuracy: Perfectly rendered text every single time.
- Print-Ready Files: Immediate use for marketing campaigns or advertisements.
Final Steps
- Download the upscaled image directly from Dreamina.
- Save it in your project folder for easy access.
- You can now print or share the poster online without additional editing.
Conclusion
Creating professional, high-quality advertising posters has never been easier. With Dreamina AI, you can go from a basic product photo to a complete, polished poster in just minutes.
Here’s a quick recap of the process:
- Sign up and access the AI Image section.
- Upload your product image.
- Remove the background and refine with brush or eraser tools.
- Set aspect ratio and layout.
- Write a clear natural language prompt.
- Choose Image 3.0 model.
- Generate your poster.
- Add text or headlines with perfect typography.
- Upscale for final 2K resolution output.
- Download and print or publish your design.
Dreamina AI simplifies the entire poster creation process while maintaining commercial safety and professional quality.