Dreamina AI Image Generator
I recently spent a couple of days testing this new AI tool, and today, I want to show you everything I learned using Dreamina AI Image Generator. In this article, I'll walk you through how to:
- Generate stunning images
- Create graphic designs
- Make consistent characters
- Design professional logos
What is Dreamina AI?
Dreamina AI is a free online tool that lets users generate high-quality images, consistent characters, and even 3D-style logos. With just a few prompts and clicks, you can access powerful tools like an image generator, canvas editor, reference image tools, and more.
Every day, users receive 120 free credits, which are used to generate or edit images.
Dreamina AI Overview Table
| Feature | Description |
|---|---|
| Daily Credits | 120 credits (enough to generate approx. 60 images) |
| Login Options | Google, TikTok, Facebook, Email, Mobile |
| Tools Available | Image Generator, Canvas Editor, Reference Image, Logo Generator |
| Image Models | Image 2.1, Image 2.0 Pro, Image F1 Beta, Image 1.4 |
| Export Formats | JPG, PNG |
| Use Cases | Character Design, Avatars, Logos, Graphic Editing, Photorealistic Renders |
| Video/Music Generators | Still in beta |
Key Features
- Daily 120 Credits: Automatically reset every 24 hours.
- Multiple Image Models: Choose between different engines (Image 2.1, 2.0 Pro, etc.) to control style and quality.
- 4 Variations per Generation: Each generation gives you 4 image variations.
- Canvas Editor: Allows detailed image editing like background removal or element addition.
- Reference Image Feature: Insert a face or style from another image into your generated image.
- Upscale, Expand, Retouch: Modify images after generating them.
- Export Options: Save images in high resolution as PNG or JPG.
Getting Started with Dreamina AI
Dreamina AI is probably one of the best free image generators out there.
Once you click on it, it will take you to a sign-in page. You can log in using:
- Gmail/Google account
- TikTok
- Mobile
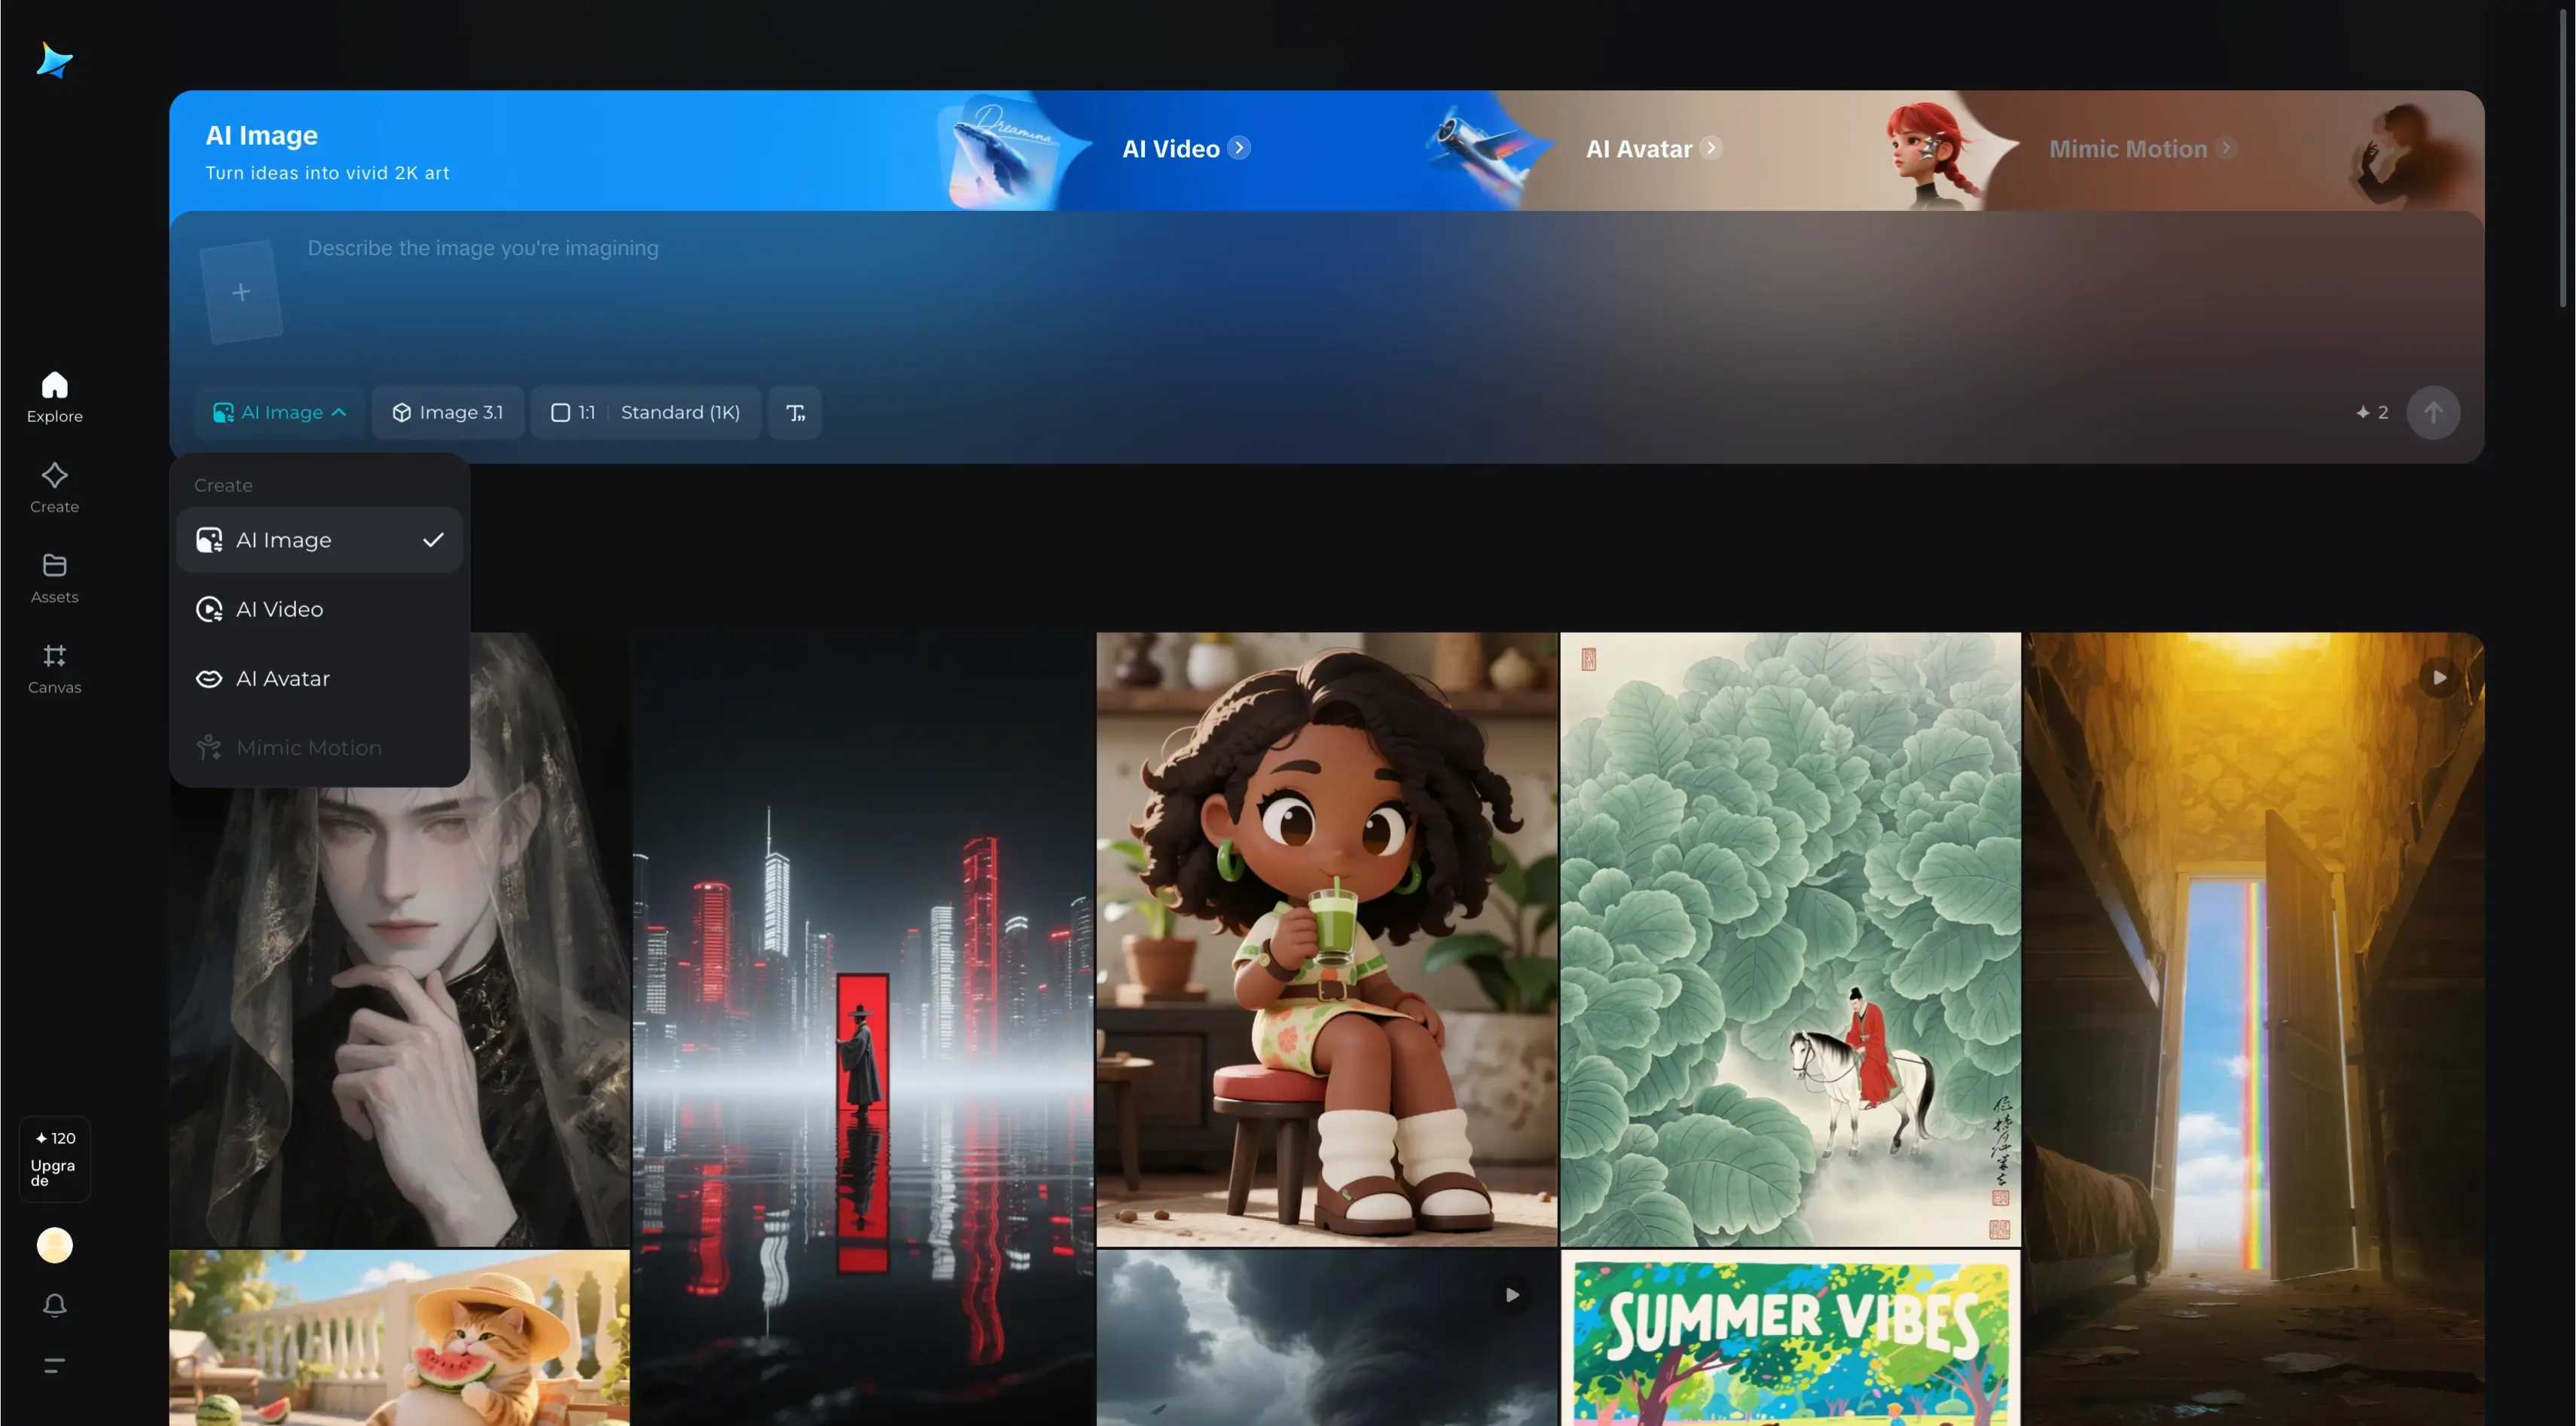
Navigating the Dashboard
After signing in, on the left-hand side, you'll see:
- Explore
- Profile
- Asset
- Image Generator
- Canvas Editor
On the top, you have quick navigation options:
- Generate
- Create on Canvas
These are essentially the same as the options on the left.
Note:
- The video generator is currently in beta.
- The music generator is also in beta.
Daily Credits
You get 120 credits daily.
I've already used mine for today, but in 24 hours, I'll get another 120.
How credits work:
- Each image generation = 2 credits
- Each generation = 4 image variations
Example:
I created an image using 2 credits, and Dreamina AI gave me 4 variations.
Assets Library
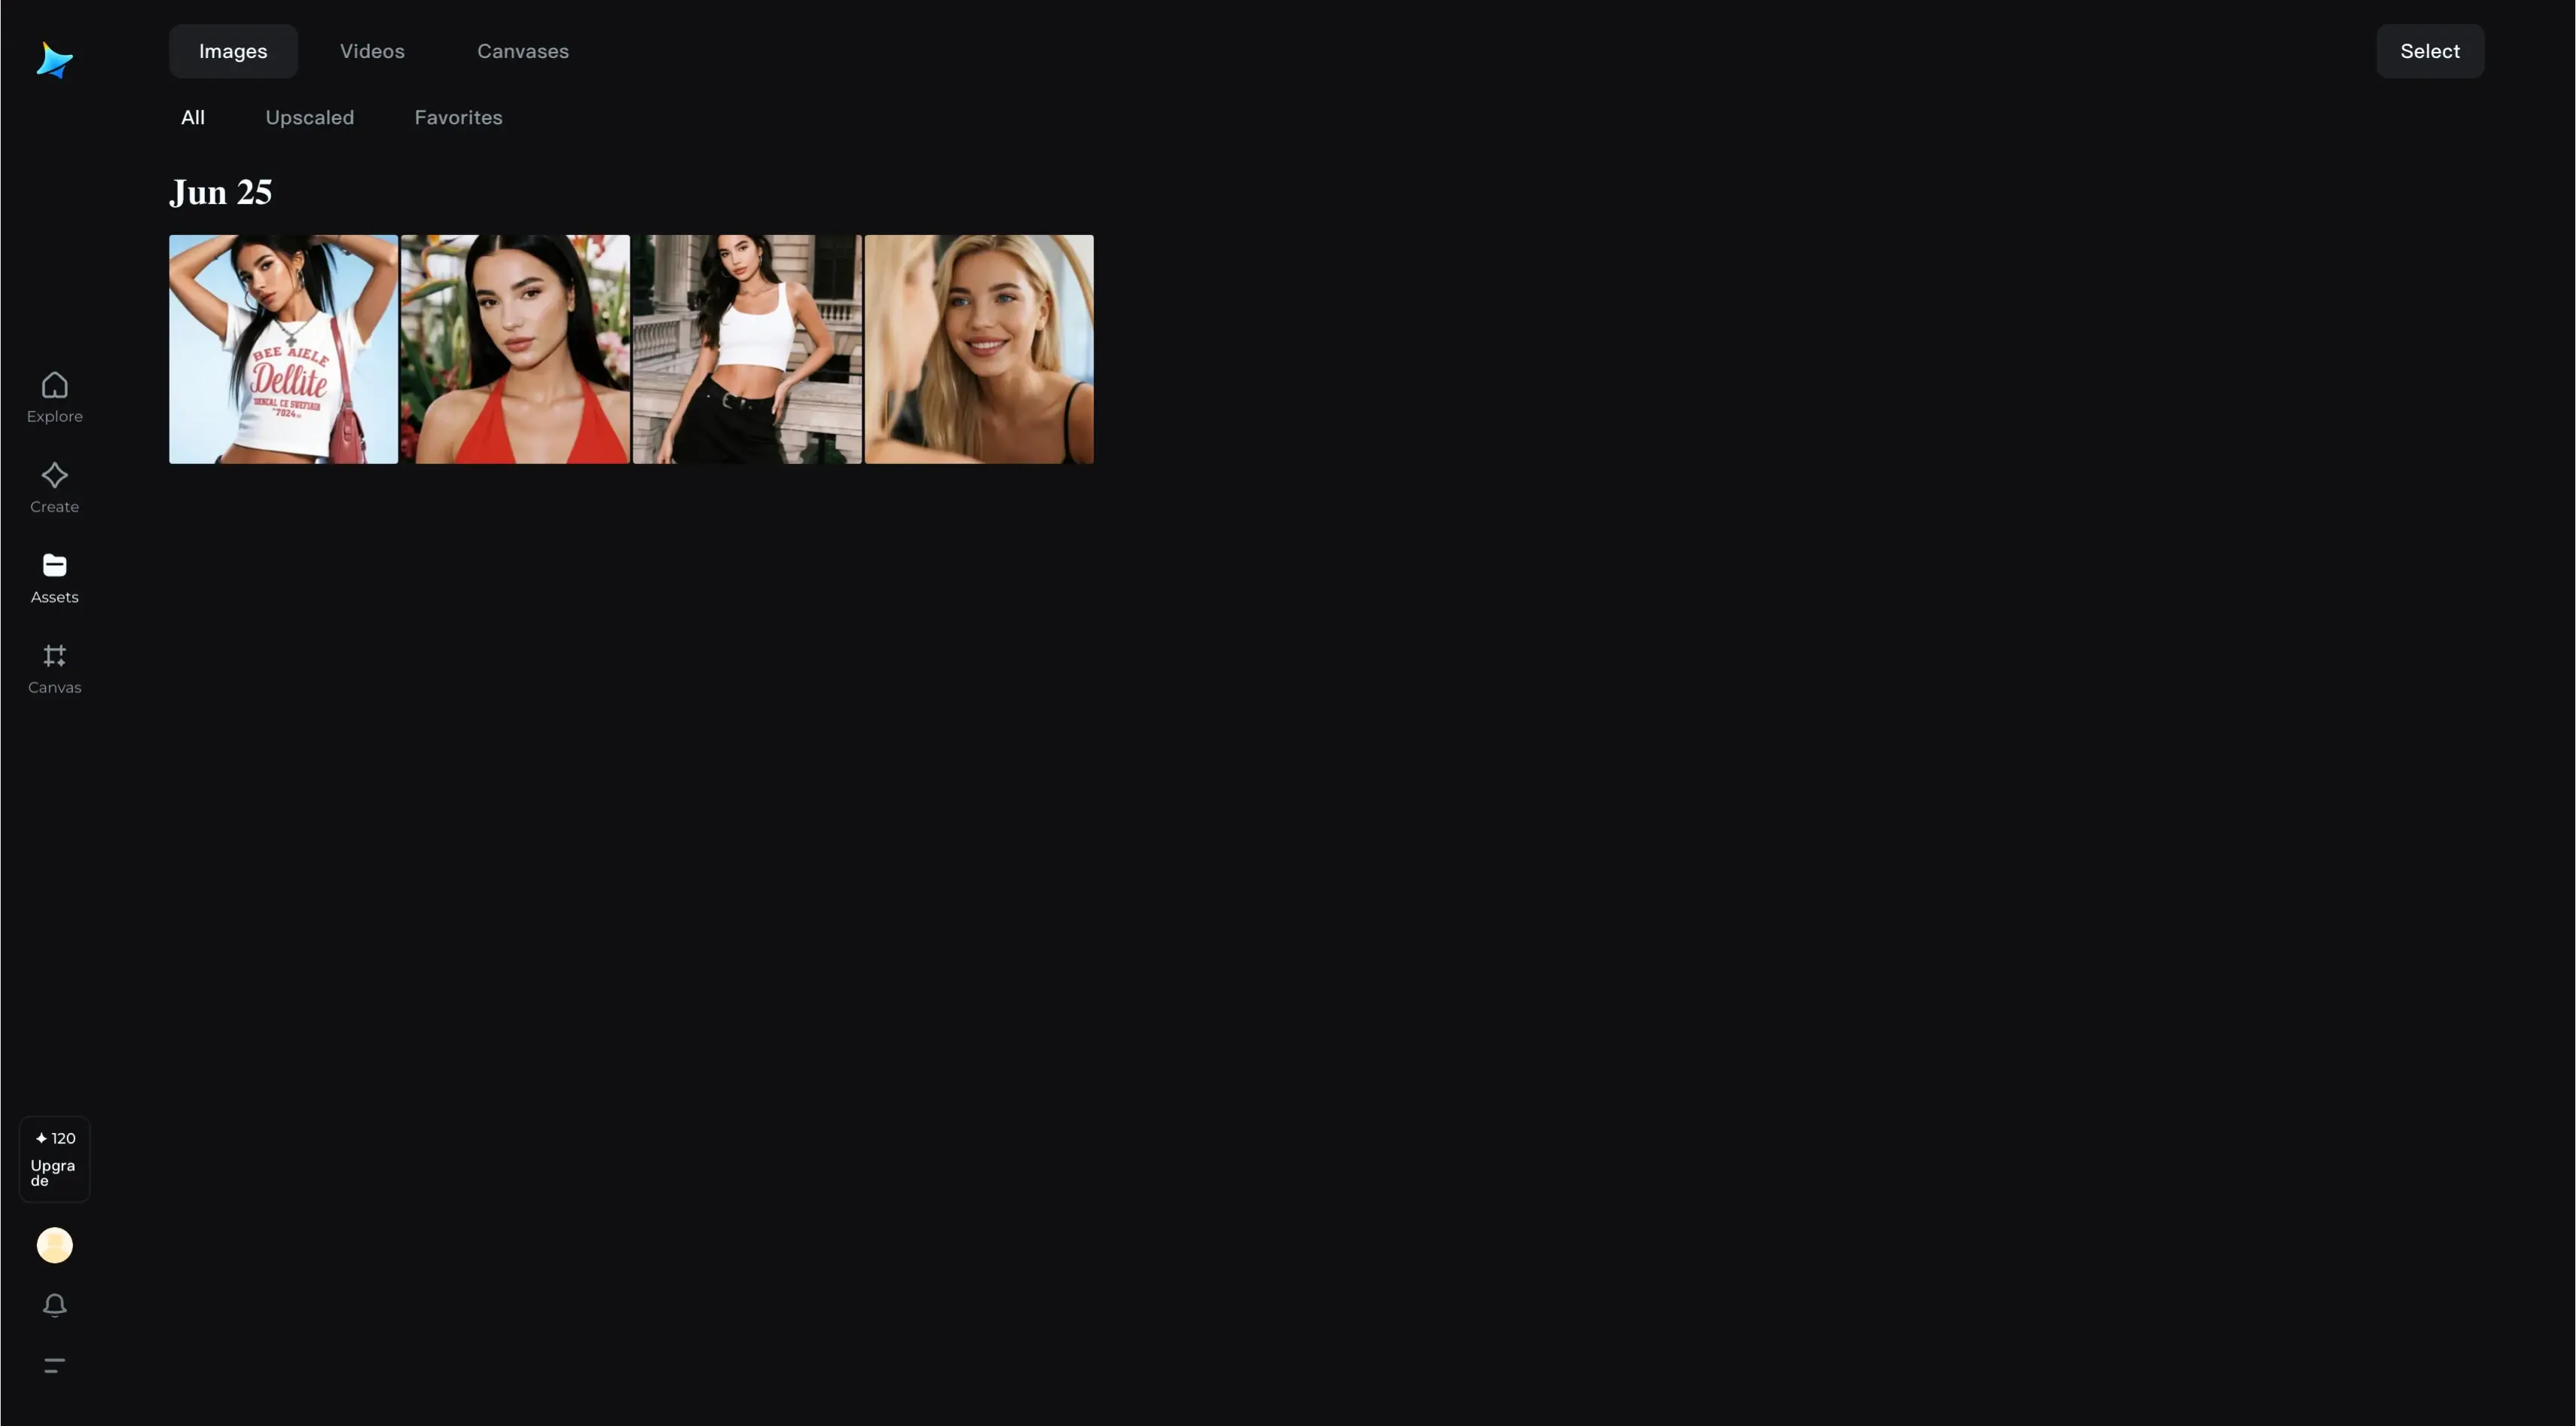
Click on Asset, and you'll find a library of all the images you've generated over time.
Then you have:
- Image Generator
- Canvas Editor (More on that later.)
How to Generate a Simple Image?
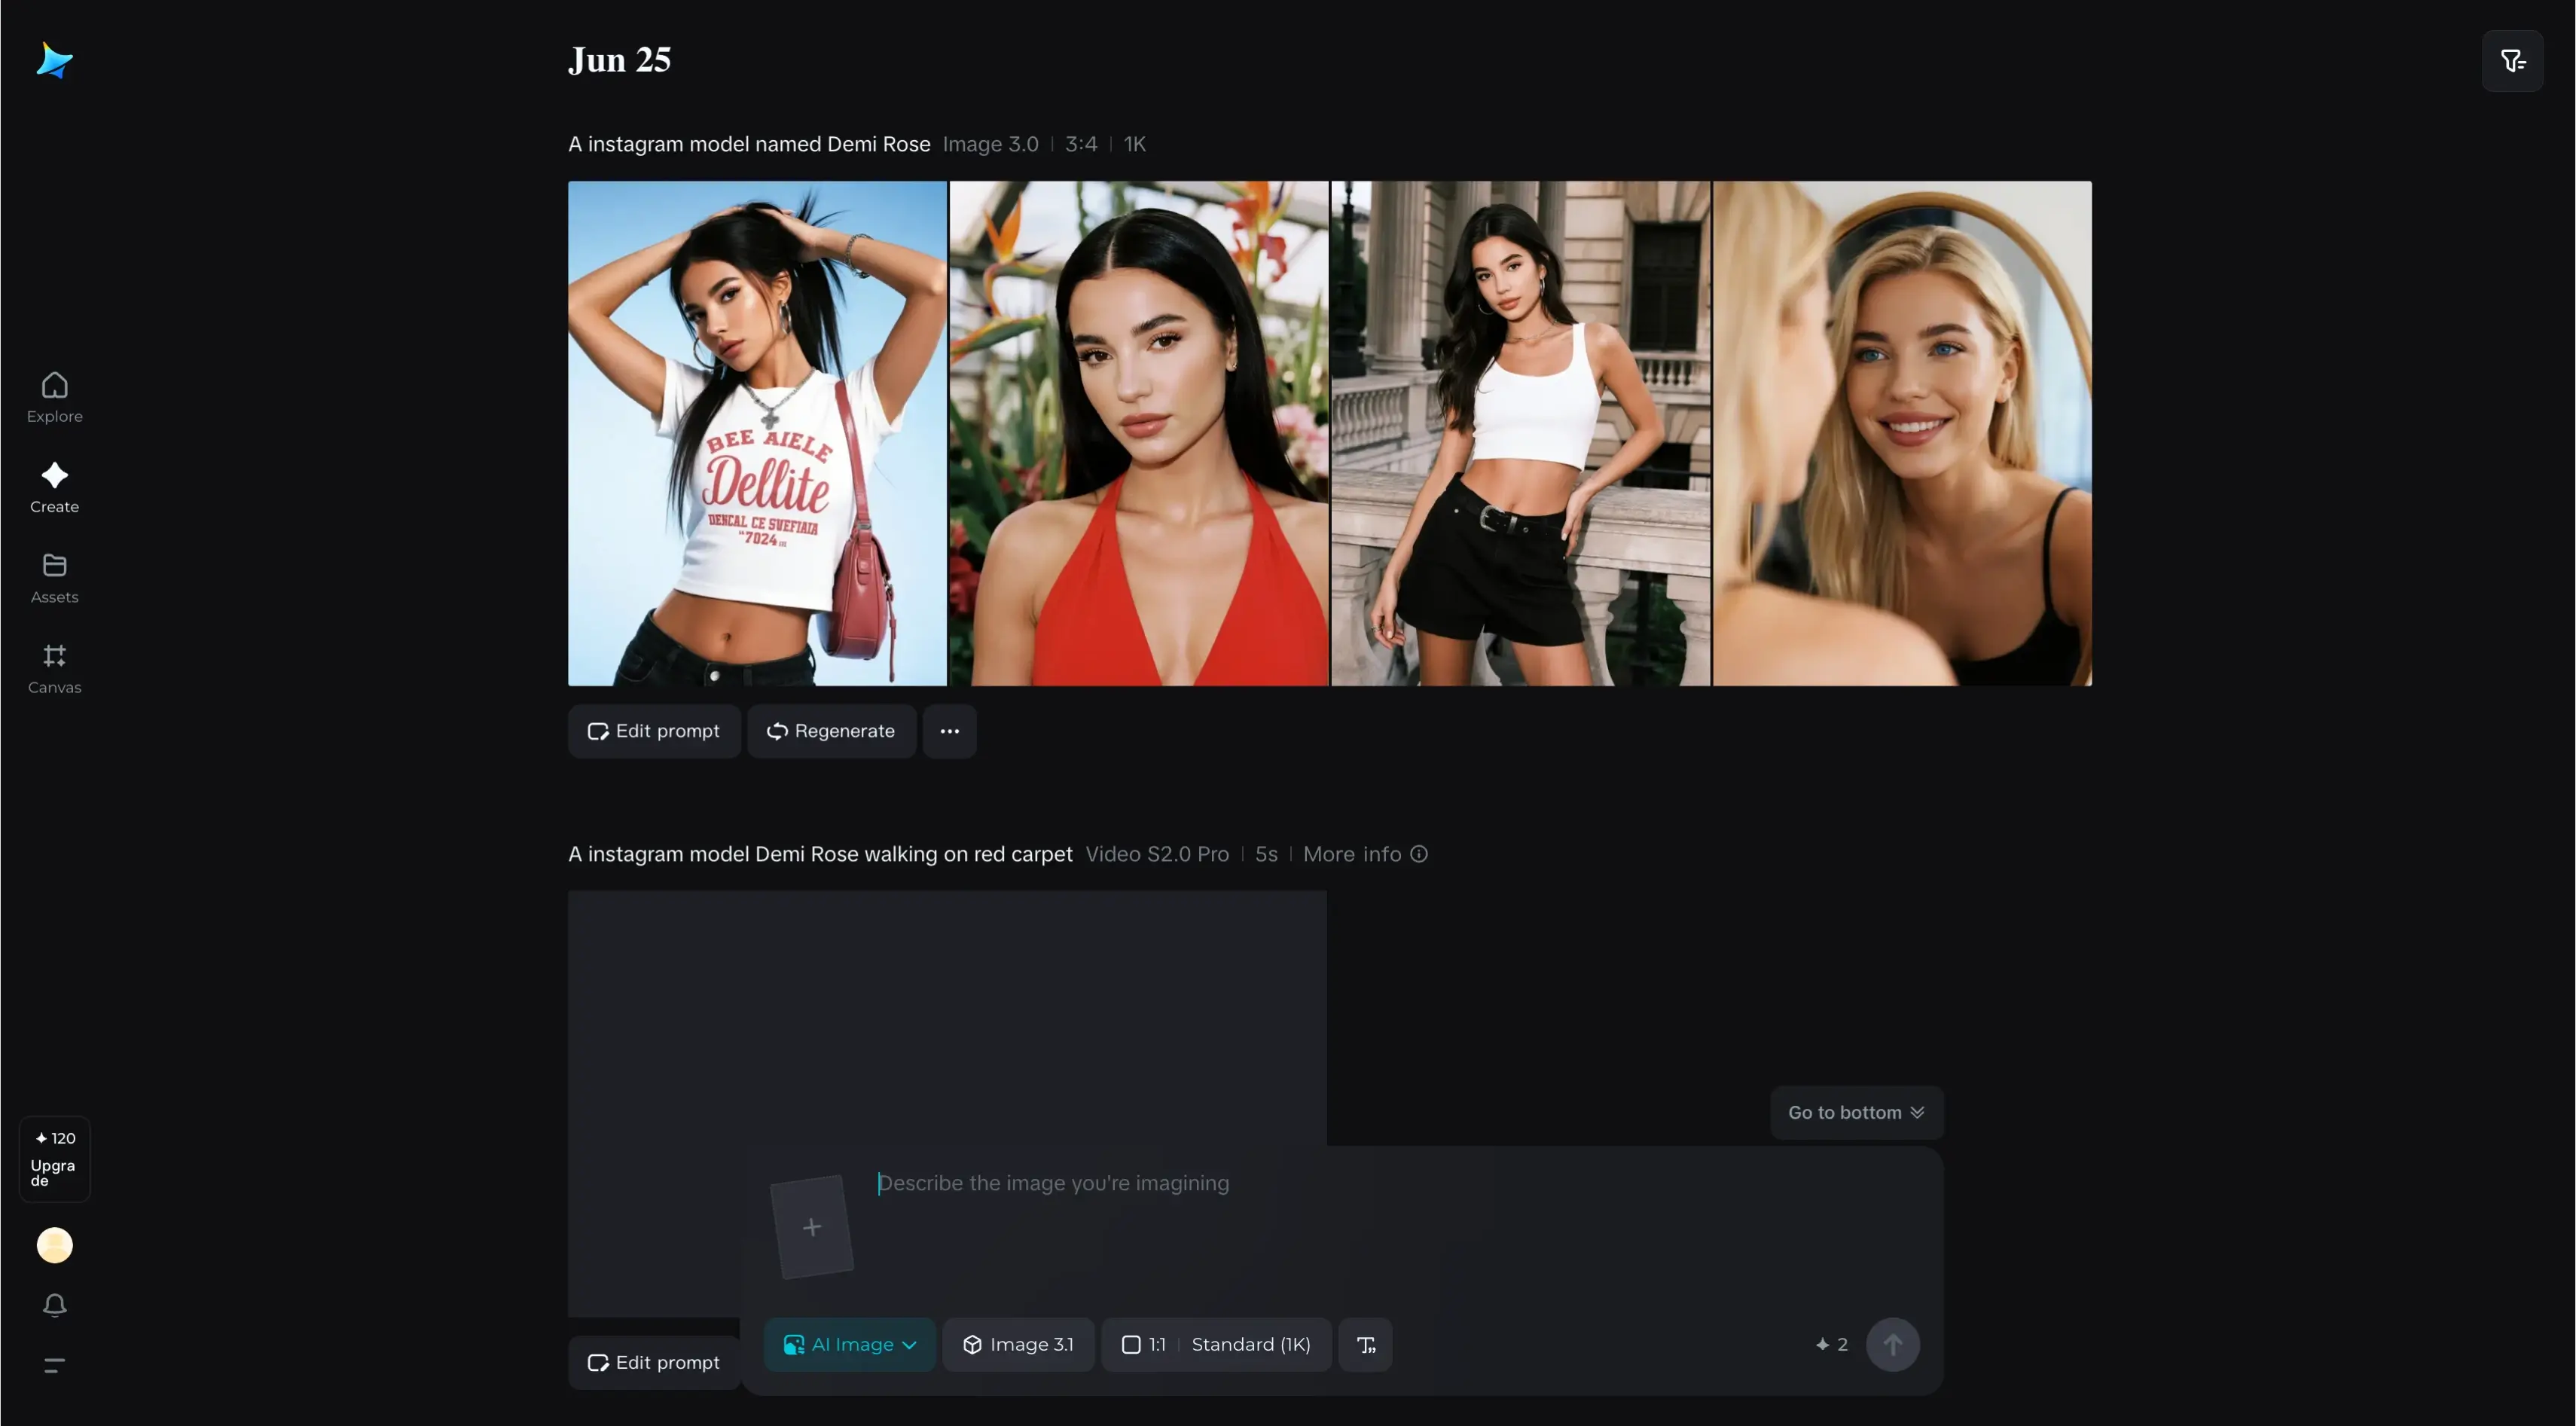
If you're unsure what to generate, you can:
- Click on someone else's image
- Check their prompt
- Copy the prompt directly
For This Guide:
I got my image prompt from ChatGPT — the more detailed your prompt, the better the result.
We'll start by generating a pure image, without reference.
Selecting the Right Image Model
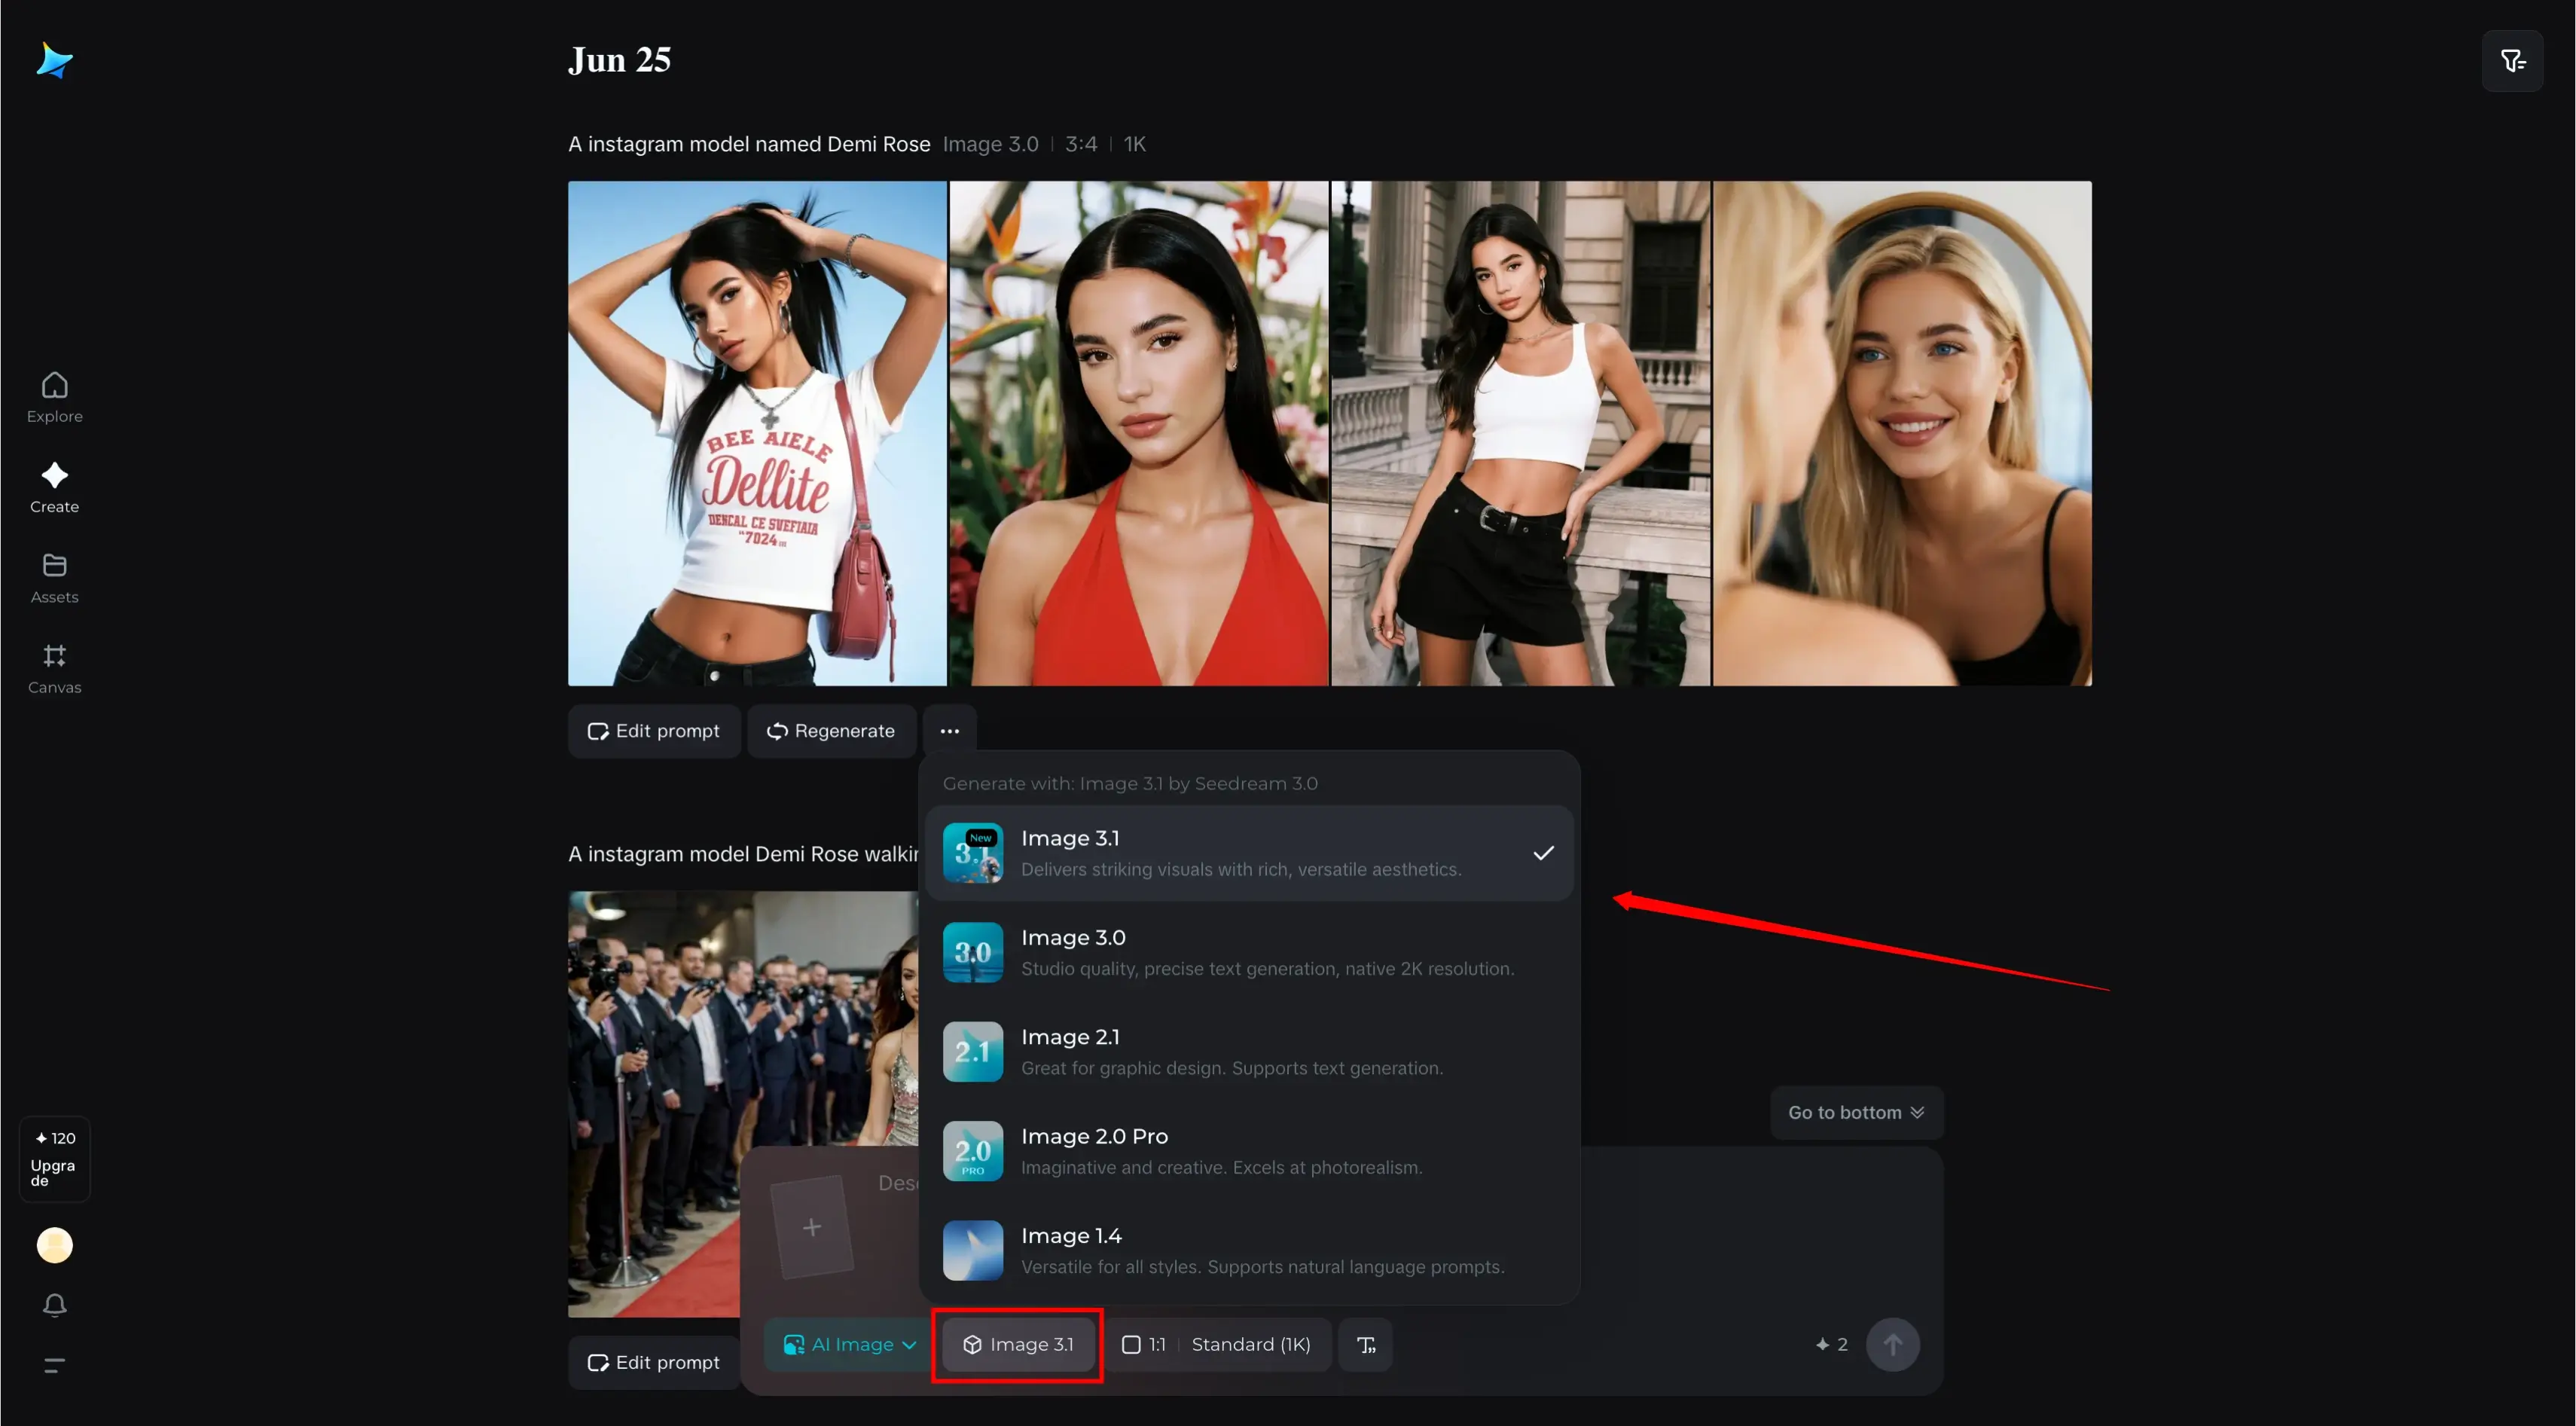
Dreamina AI provides three model options:
| Model Name | Description |
|---|---|
| Image 2.1 | Newest version (we'll use this) |
| Image 2.0 Pro | Older version |
| Image F1 Beta | High-end (showing later) |
Settings:
- Quality: 8 or 9 (Don't go 10 – it's overdone)
- Aspect Ratio: 3:4
Click Generate.
Takes around 5–10 seconds, depending on server load.
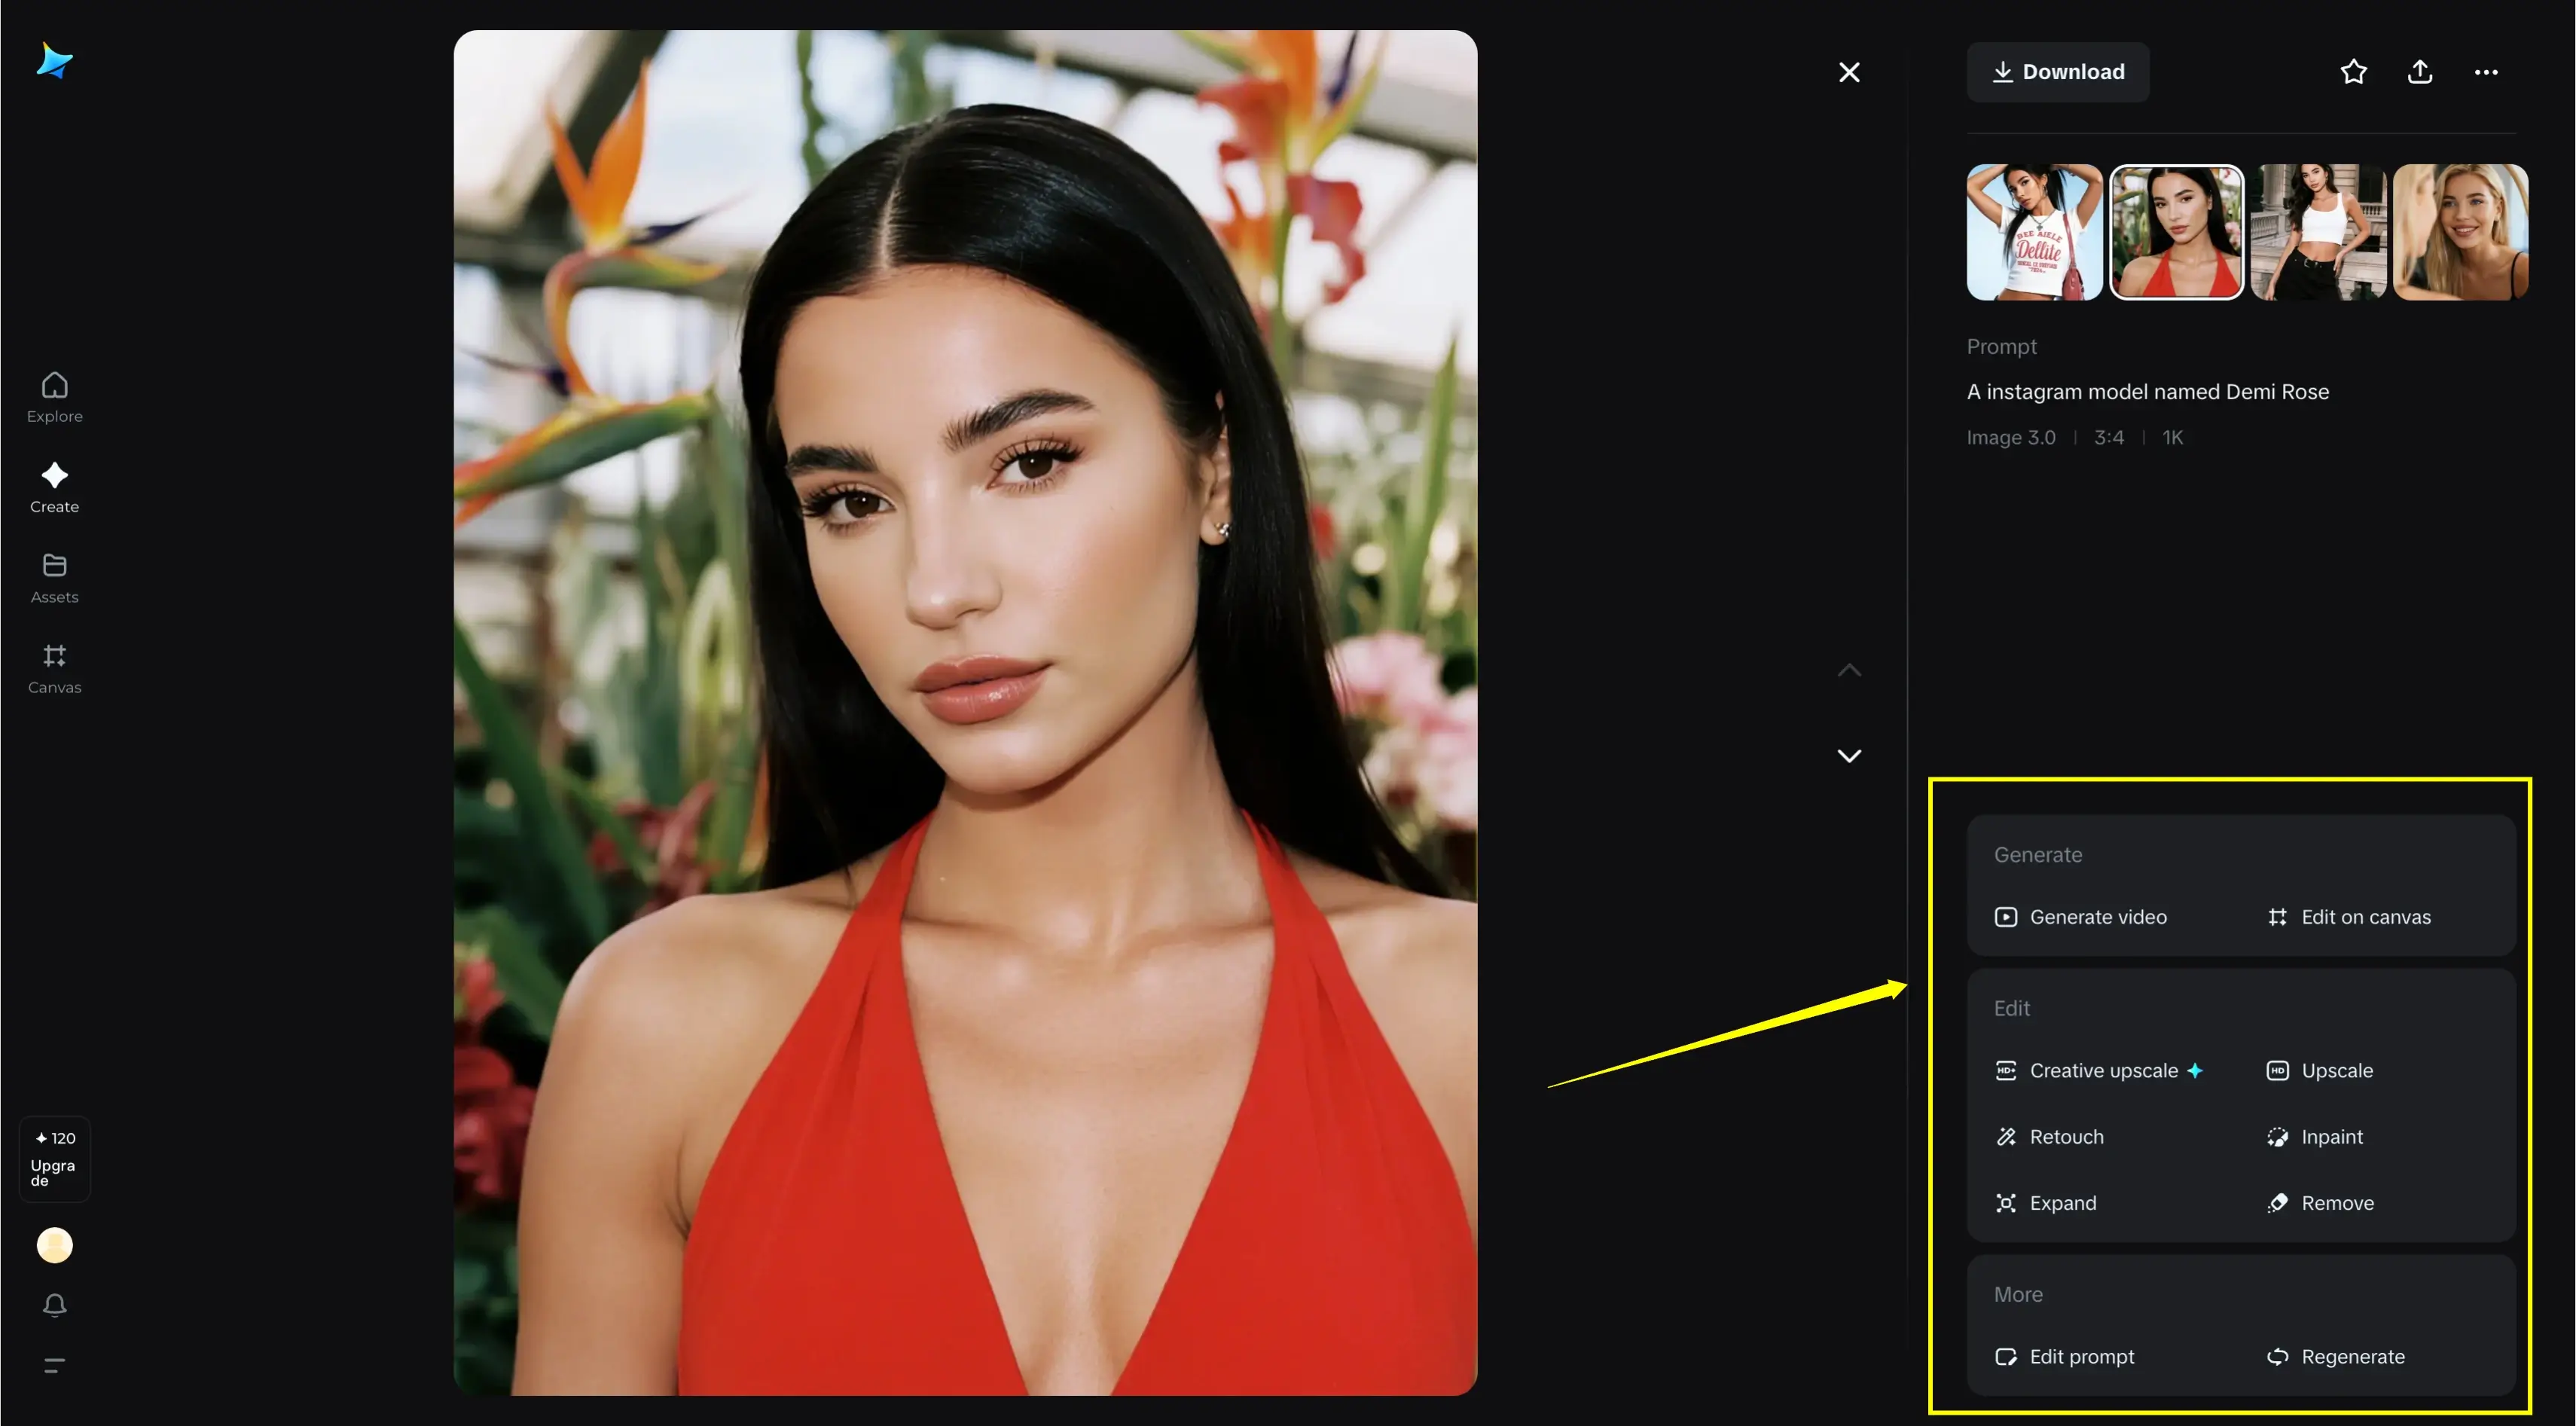
Editing Your Image
After generation, click the image to:
- Upscale
- Retouch
- Expand
- Remove parts
Each action will cost 2 credits.
Example:
I used Image 2.1 to generate an image.
Then, I used Image 1.4 for the same prompt — the result was totally different.
Every model gives unique styles.
Upscaling and Expanding Images
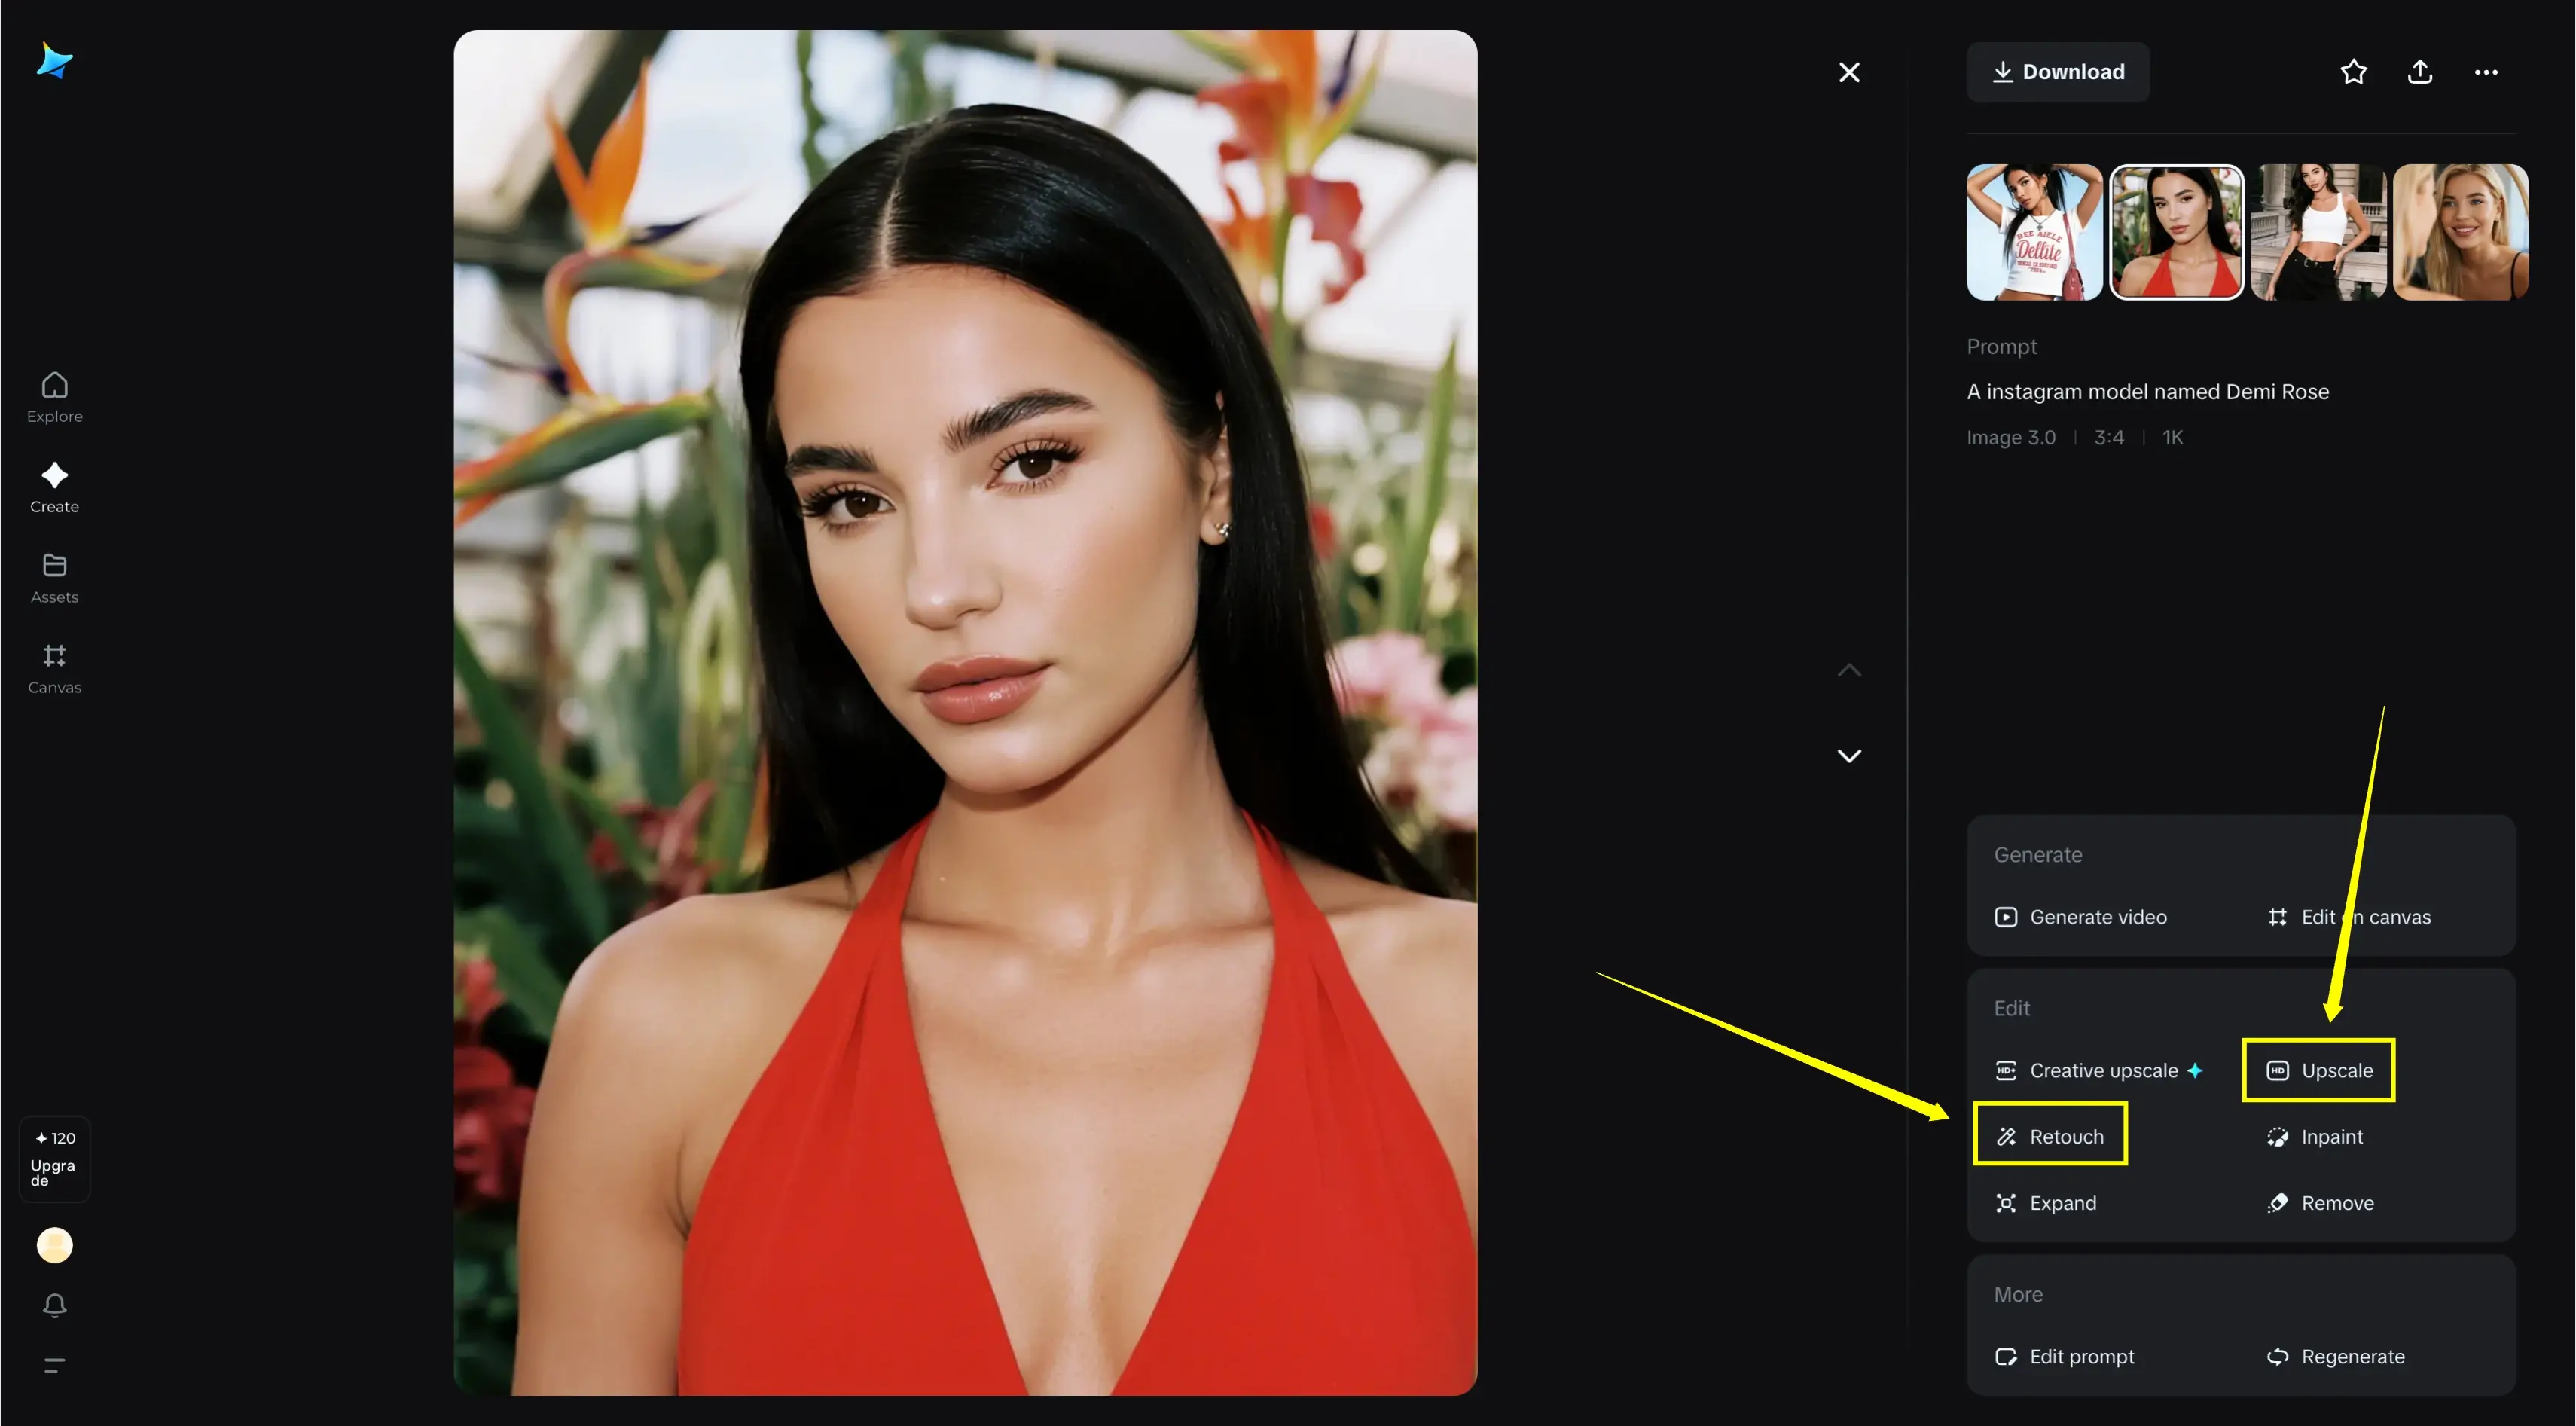
If you like the image:
- Click Upscale (costs 2 credits)
- Click Expand to add elements
Example:
I chose to expand an image by:
- Adding cars on the left
- Adding extra people on the right
If you're not satisfied:
- Click Regenerate (uses credits)
- Click Reprompt
Using a Reference Image
Let's say you want to use a reference image.
- Click Reference Image
- Pick an image (e.g., a girl's face)
- Choose Style, Edge, or Depth
- Focus on Human Face (for this case)
- Click Save
Now we need a new prompt.
I searched for Cyberpunk-style prompts and copied one.
Settings:
- Model: Image 2.1
- Quality: 9
- Ratio: 3:4
Paste the prompt → Click Generate
Result:
The generated image used her face with a Cyberpunk body.
This is how the Ref Image feature works.
Canvas Editor – Basic Graphic Design
Let's explore the Canvas Editor.
Upload an image (Example: a design with a drink)
Now I want to:
- Remove the drink
- Add a new element (like a water bottle)
Click Remove → It takes about 2 seconds
Now add a water bottle image
→ It works like Photoshop.
When satisfied:
- Click Export
- Choose format: JPG, PNG
- Choose size
- Click Download
Creating a 3D Logo from Text
Now let's try Text-to-Image feature.
My prompt:
Create 3D logo using letters ML. Make it metallic.
Settings:
- Model: Image 2.1
- Quality: 9
- Aspect Ratio: 1:1 (Square)
Click Generate
Got a few results.
I liked one — so I:
- Clicked Upscale
- Clicked Remove Background
If you're not happy:
- Keep regenerating
- Improve your prompt
You can then export the logo to:
- Photoshop
- Figma
Generating a 3D Avatar
Dreamina AI is also great for creating 3D avatars.
Steps:
- Upload an image (I used the same girl)
- Use Human Face as reference
- No need to add prompt
- Set Quality: 9
- Click Generate
Result:
Generated a 3D-style version of her.
Now, try with:
- Image 1.4 for a different look
Click Generate again
Both images turned out really well.
To remove reference:
- Hover over the reference image
- Click Remove
Example of Realistic Image (Beta Model)
Let's go to Assets and try something else.
I used a prompt with the F1 Beta model.
Settings:
- Aspect Ratio: 3:4
- Credits Used: 5
Click Generate
Result:
- Movie-quality, photorealistic image
Even though this model is still in beta, the results are impressive.
Upscaled it → looks stunning
Summary: Key Features of Dreamina AI
| Feature | Details |
|---|---|
| Credits | 120/day (2 credits per image) |
| Models | Image 2.1, 2.0 Pro, F1 Beta |
| Image Variations | 4 per generation |
| Canvas Editor | Works like Photoshop |
| Reference Image Use | Face replacement, stylization |
| Text-to-Image | Logo creation, objects from text |
| 3D Avatar Generation | Upload face and generate 3D character |
| Export Formats | JPG, PNG (great for web or design use) |
Final Thoughts
Dreamina AI is one of the most intuitive and free image-generation tools I’ve tested recently. With daily credits, multiple model options, and tools for editing, designing, and generating everything from characters to logos, it has proven incredibly helpful.
Dreamina AI is:
- Easy to use
- Totally free
- Gives 120 daily credits
- Offers reference image support
- Allows text-based generation
- Has canvas-based editing
Just use good prompts, explore different models, and take advantage of features like canvas editor, image expansion, and logo design.
Thanks for following along with me. I hope this guide helps you make the most out of Dreamina AI.